
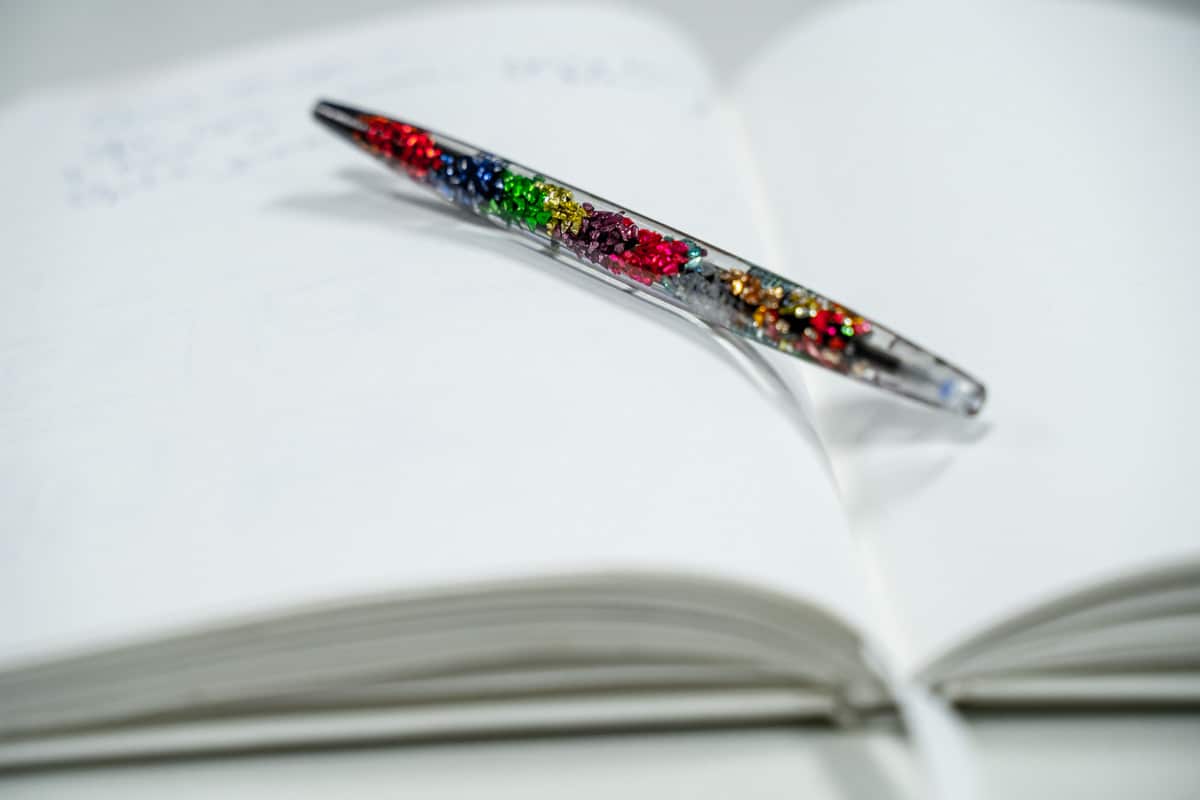
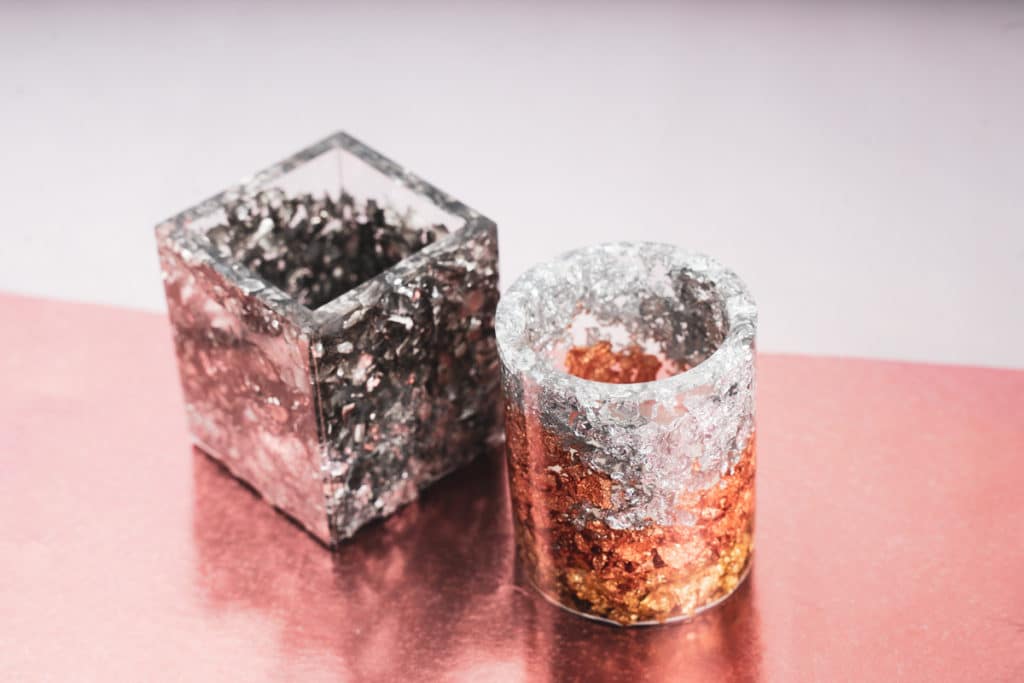
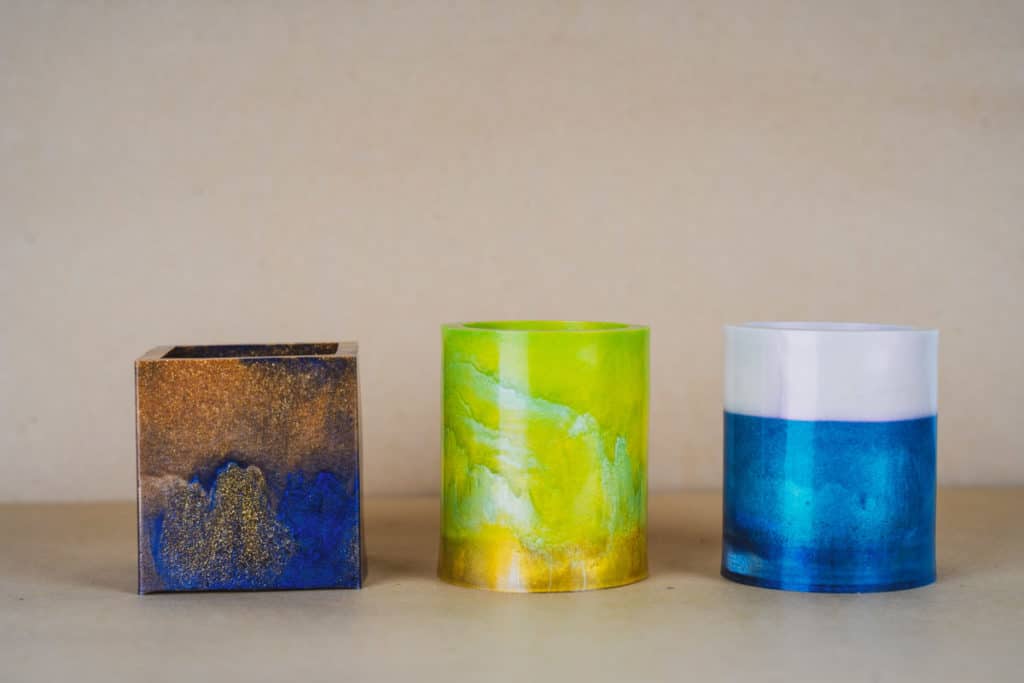
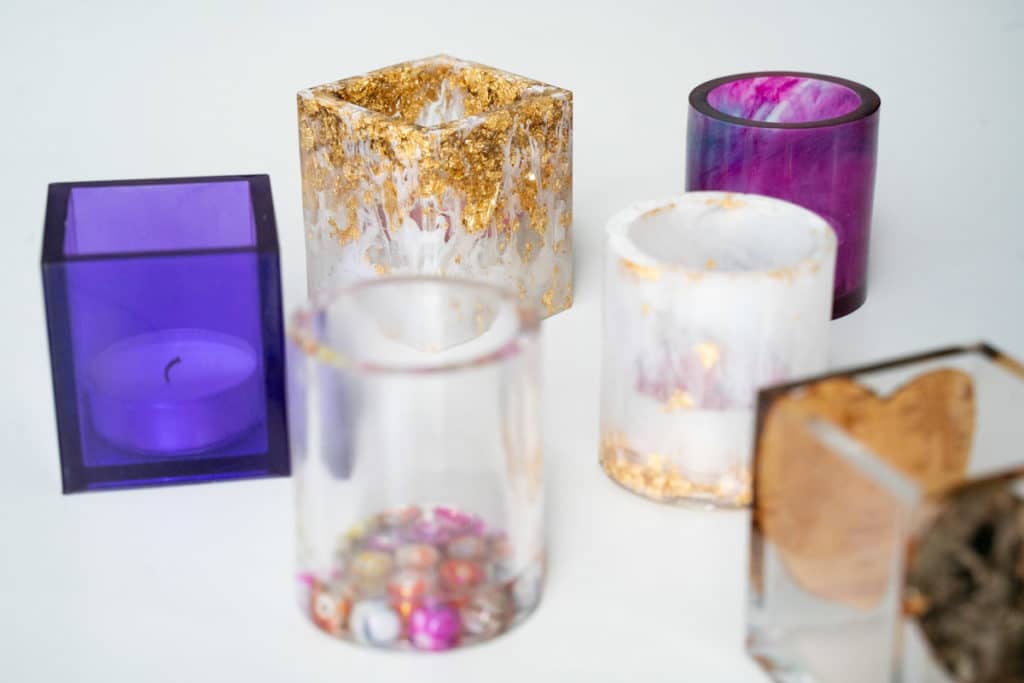
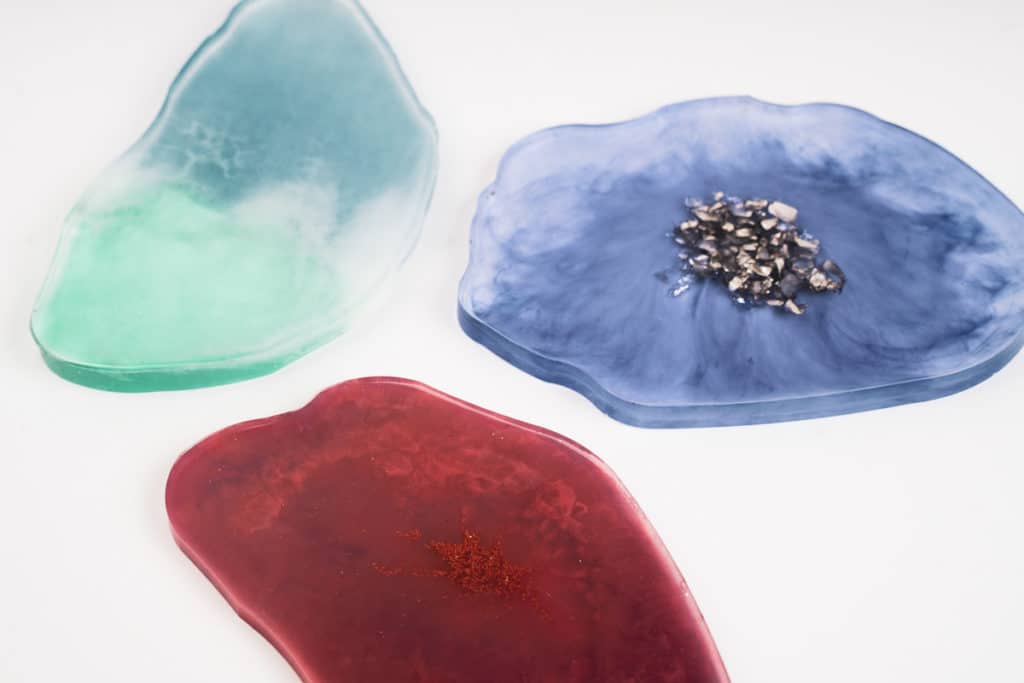
Jewellery lovers can easily create alluring individual pieces themselves using epoxy resin. Due to the versatility of the resin, there are no limits to creativity in design. Create your own epoxy resin jewellery using a suitable silicone mould and our EPODEX resin. Jewellery is the perfect gift for that special someone, whether a friend or loved one. The crystal-clear material becomes a real eye-catcher with small, incorporated elements such as flowers, pearls, or glitter particles.
The following post provides step-by-step instructions including valuable tips and tricks on how to make a resin necklace.
What You Need
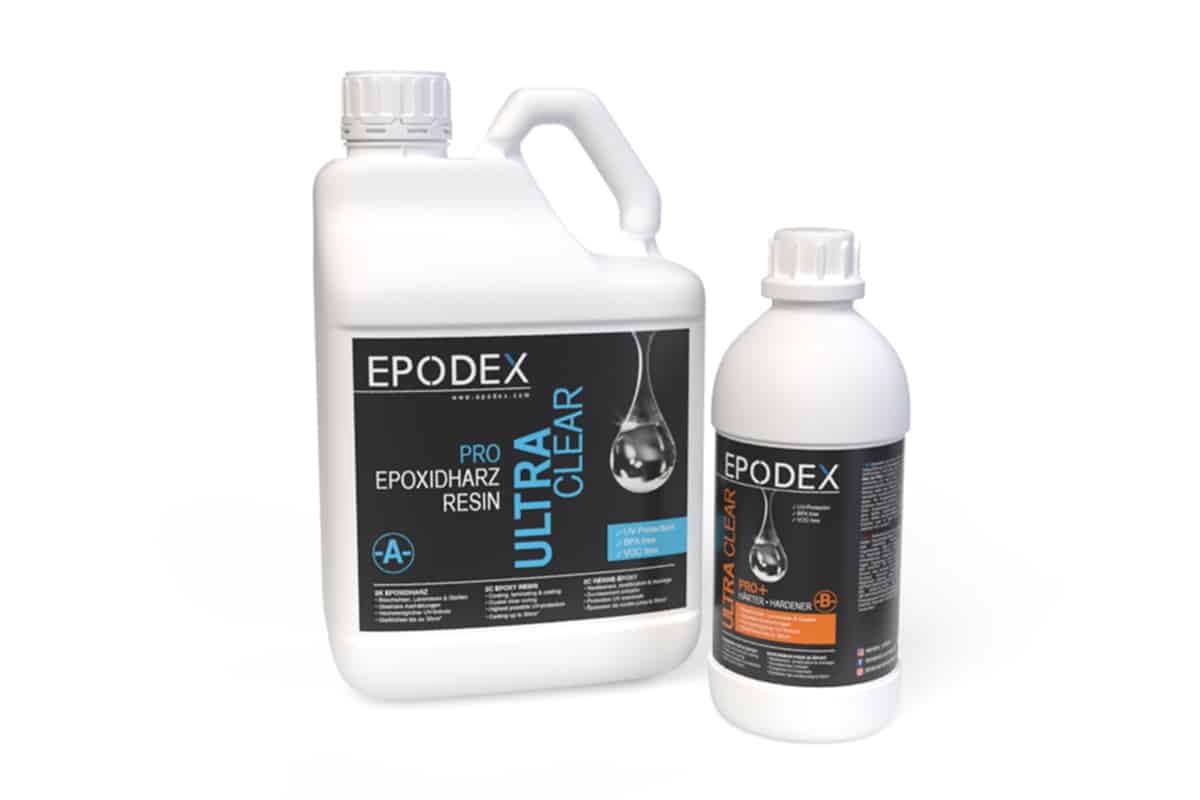
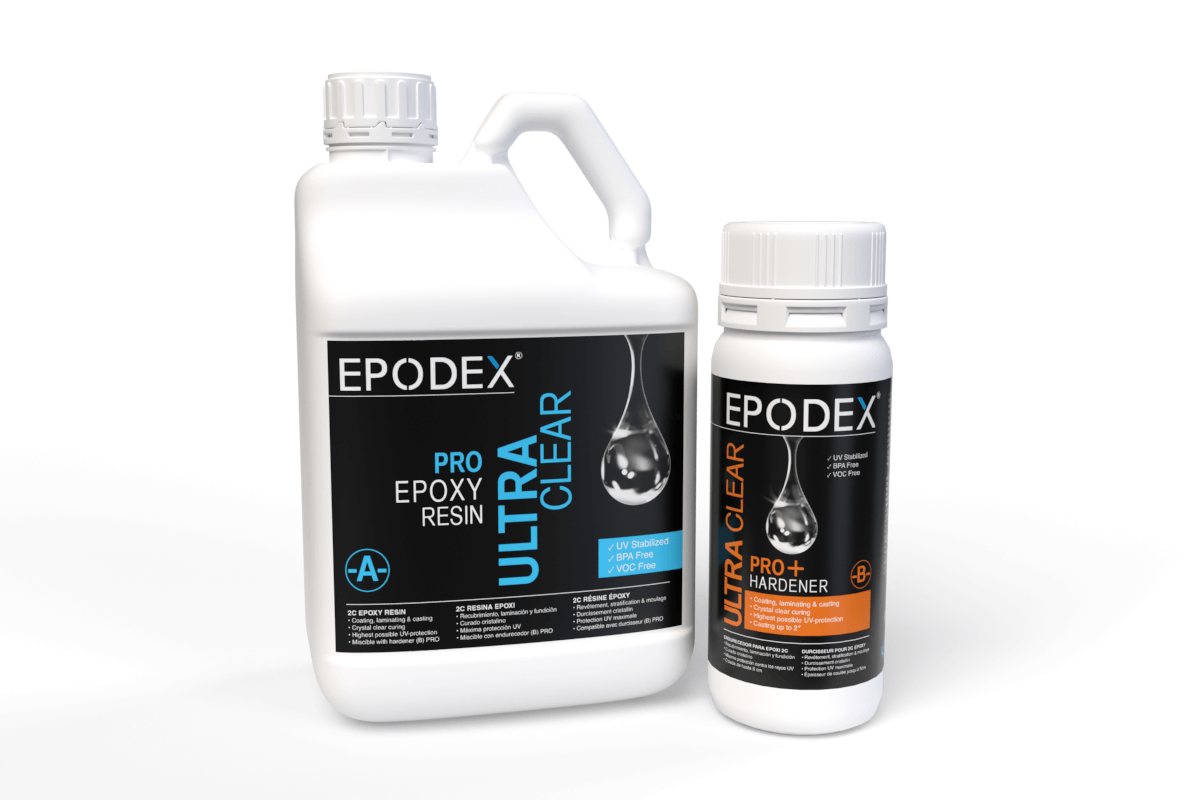
- EPODEX PRO System
- EPODEX Polish
- Nitrile Gloves
- Mixing Cups
- Stir Stick
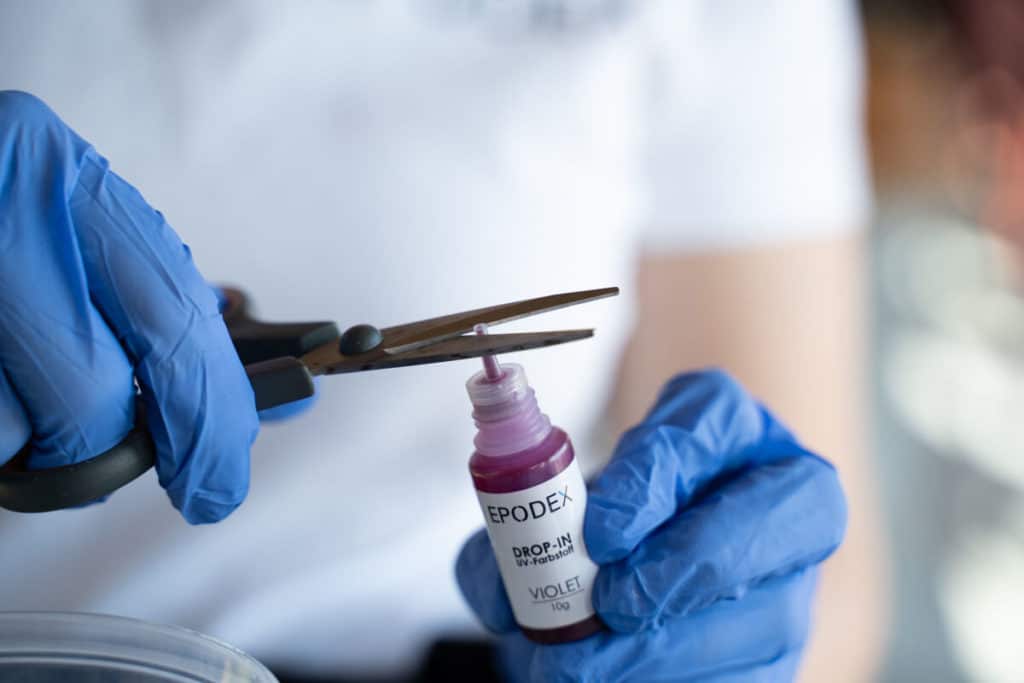
- EPODEX Drop-In Colour Pigments, if a coloured result is desired
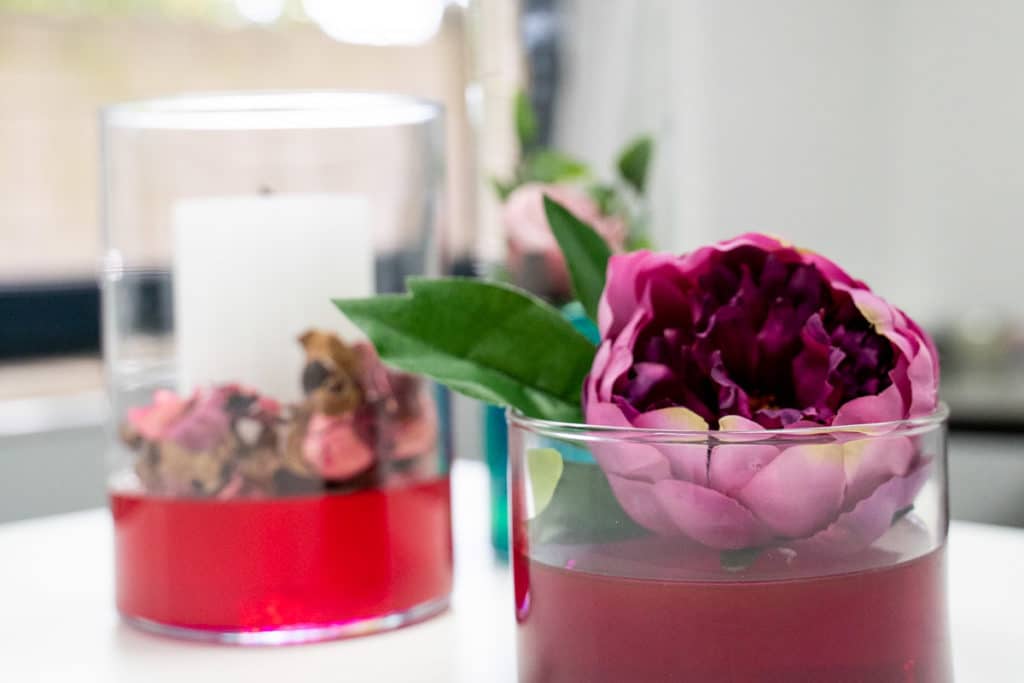
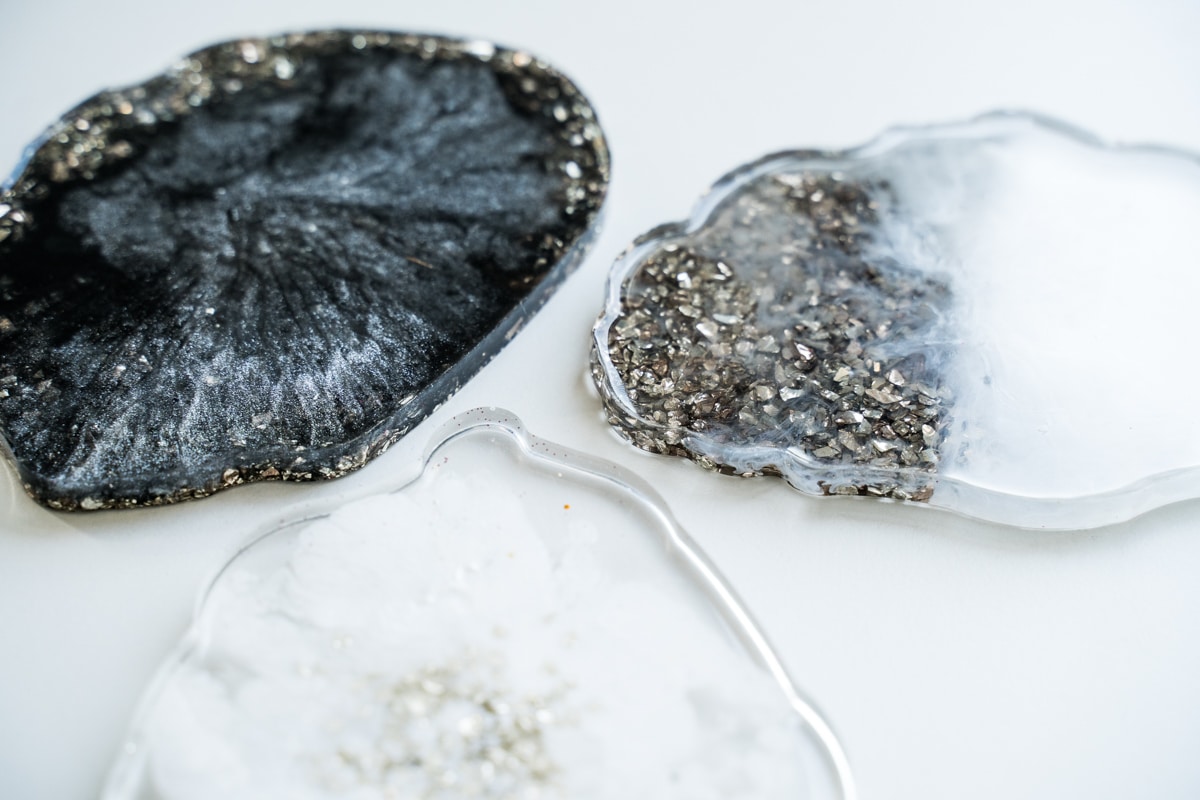
- Pearls, glitter, dried flowers etc.
- Chain with Eyelet
- Kitchen Scale
- Pliers

How-To Guide
Preparation
Have all materials ready. Note that you should work at room temperature and the humidity should not exceed 70%. All materials and tools should also be at room temperature.
Step 1
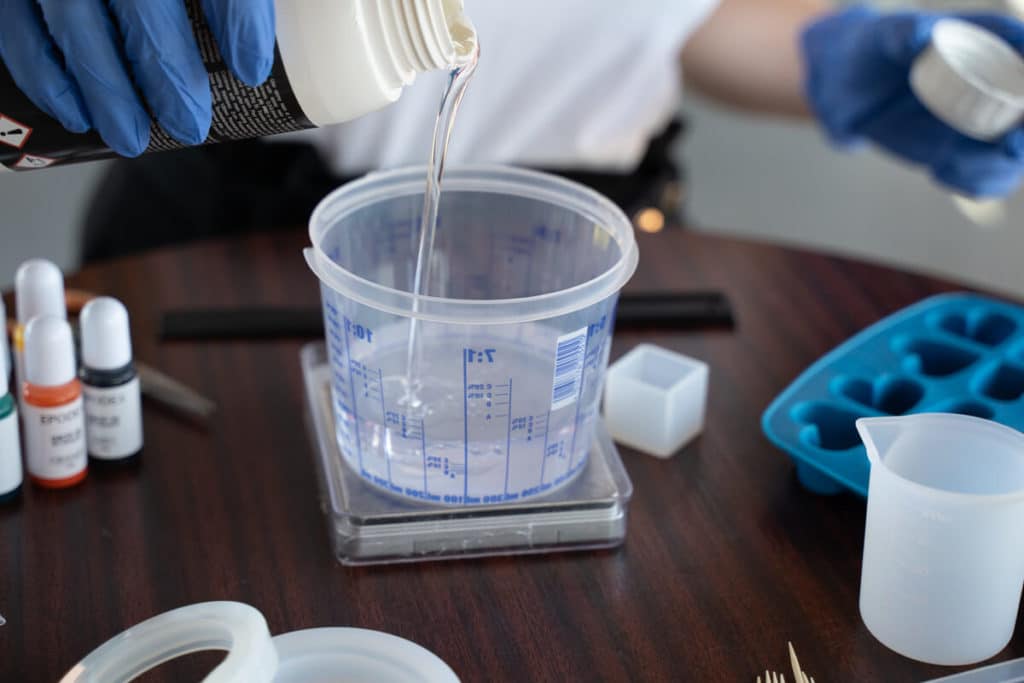
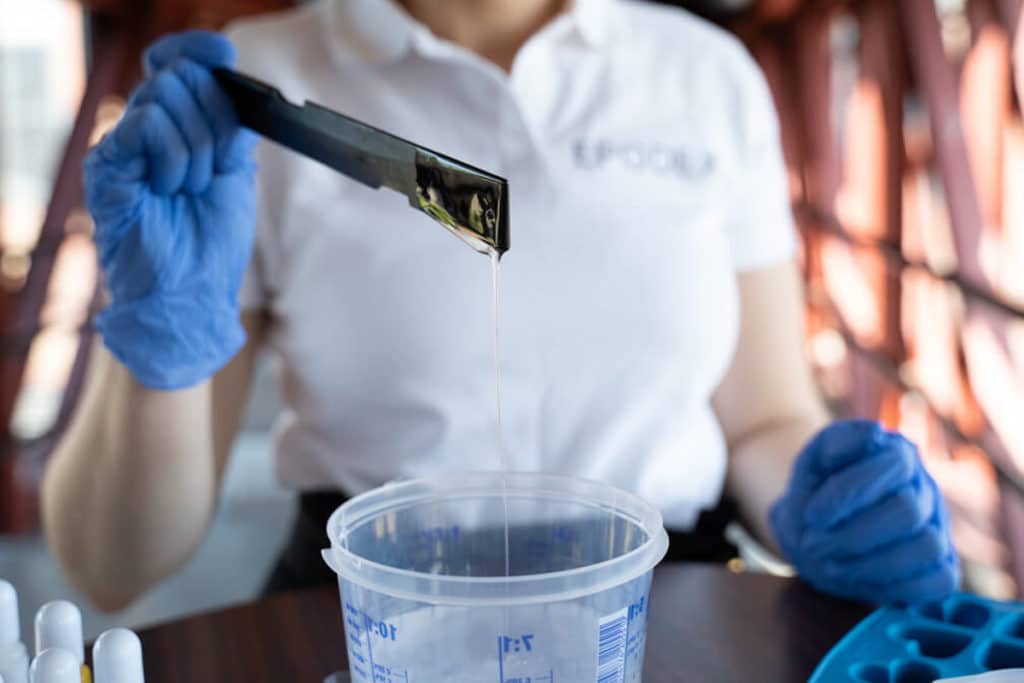
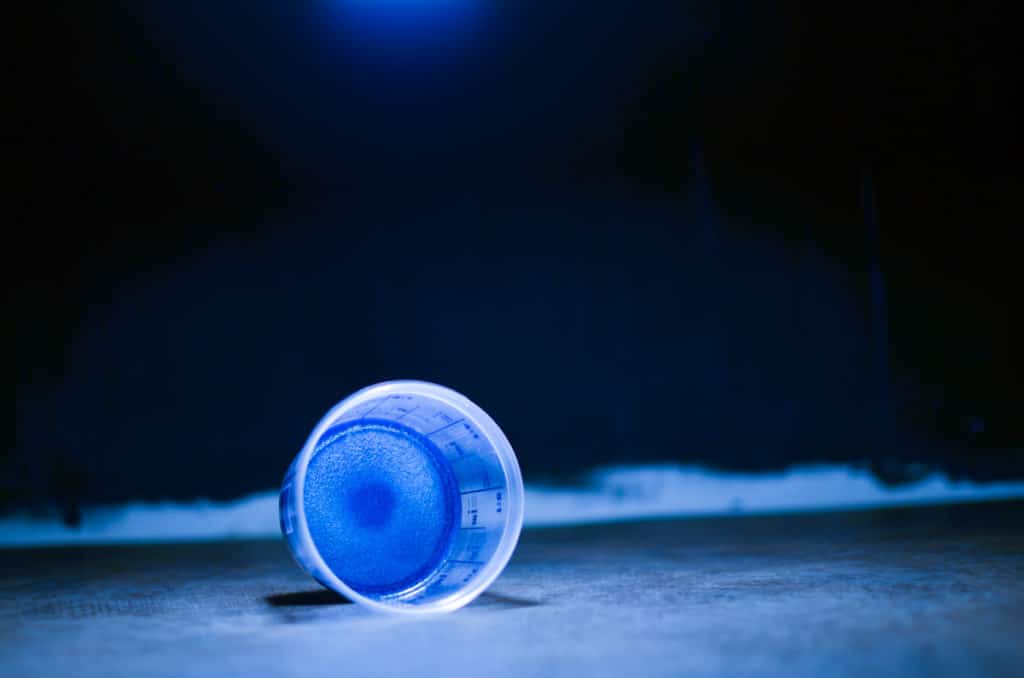
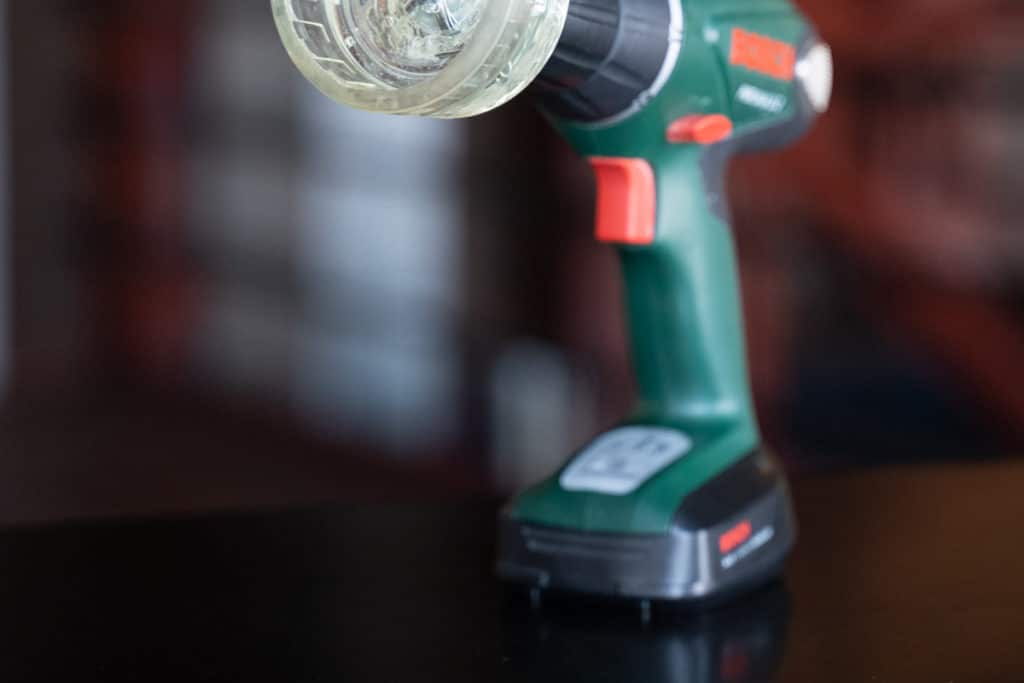
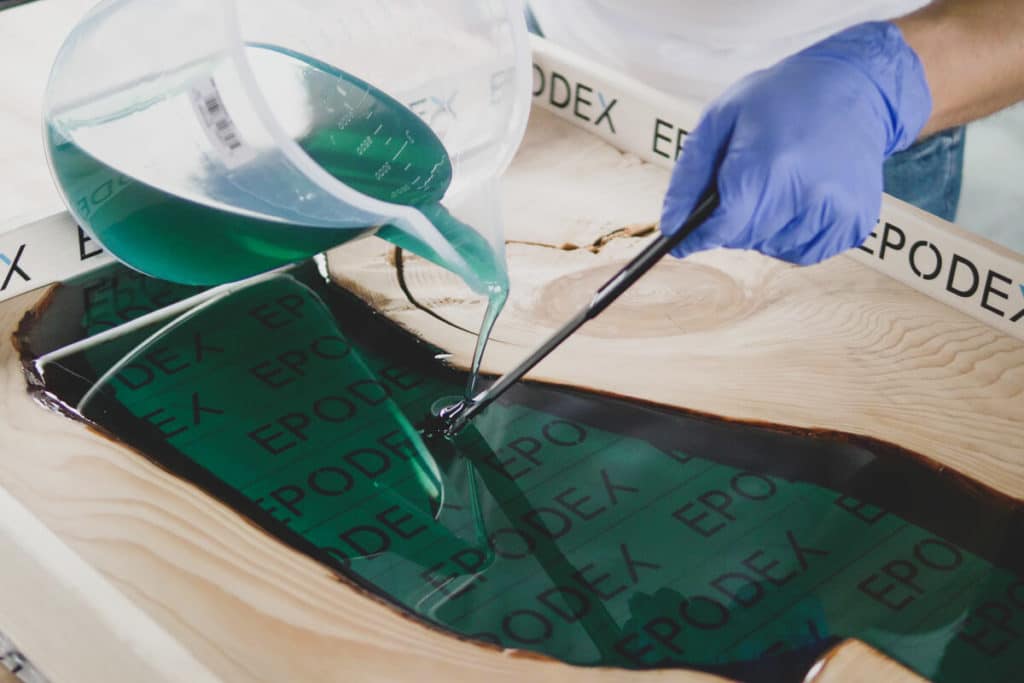
Put the disposable gloves on and mix our EPODEX PRO System according to the instructions in a ratio of 2:1. Stir well until there are no visible streaks present.
Step 2
Pour the finished resin into a mixing cup. Thoroughly stir the resin again after repotting.
Step 3
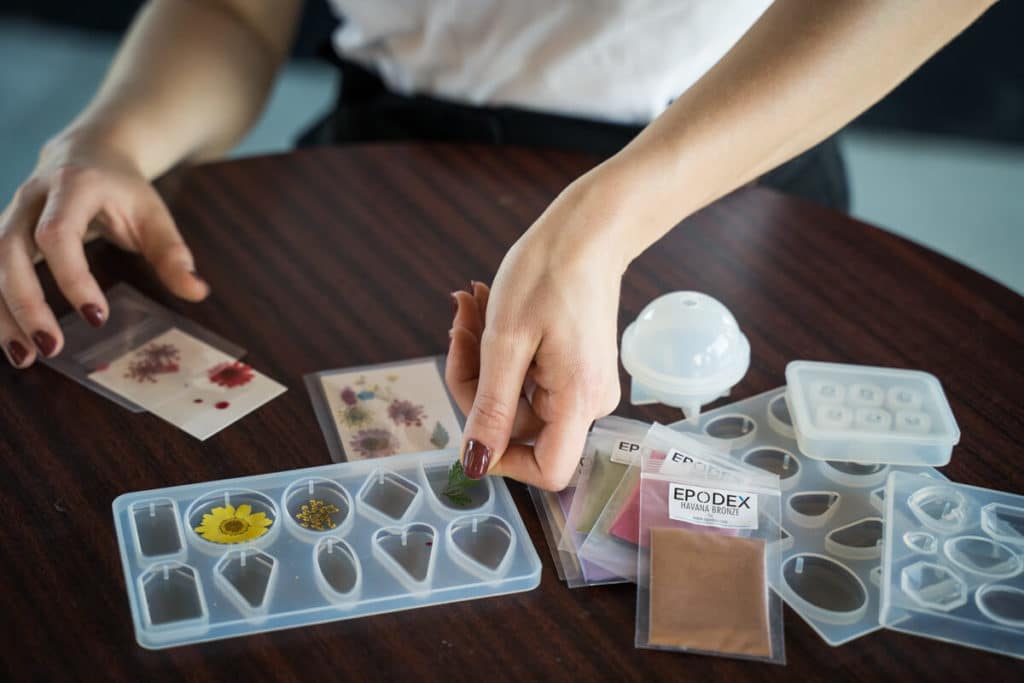
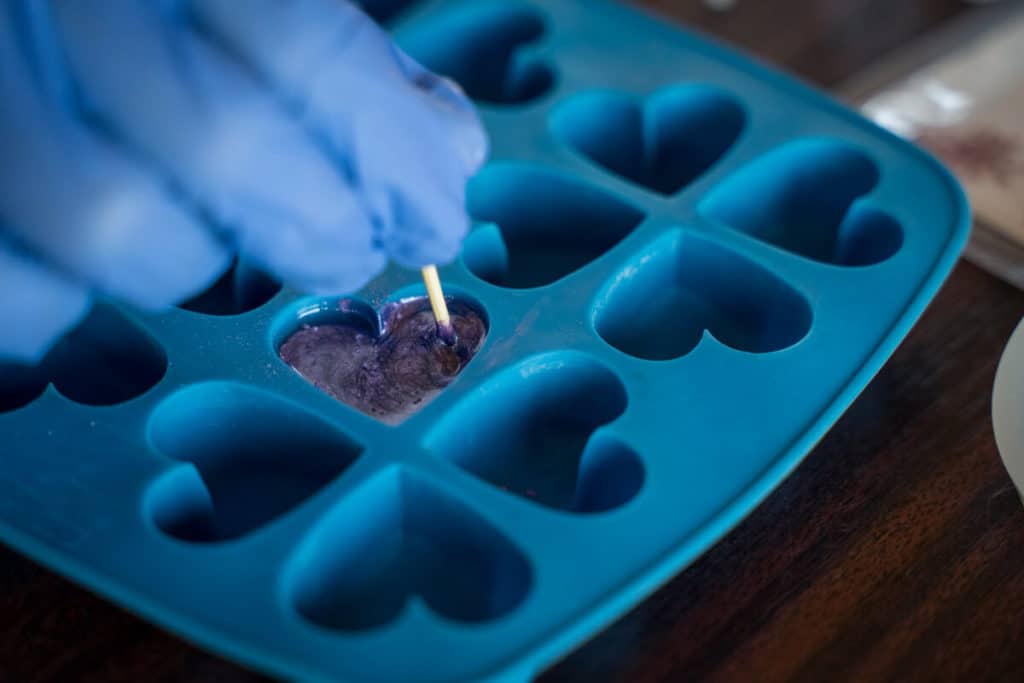
Now pour the clear resin into the silicone mould.
Step 4
Now you can place the glitter, flowers, pearls, or pigments in the resin according to your taste.
Step 5
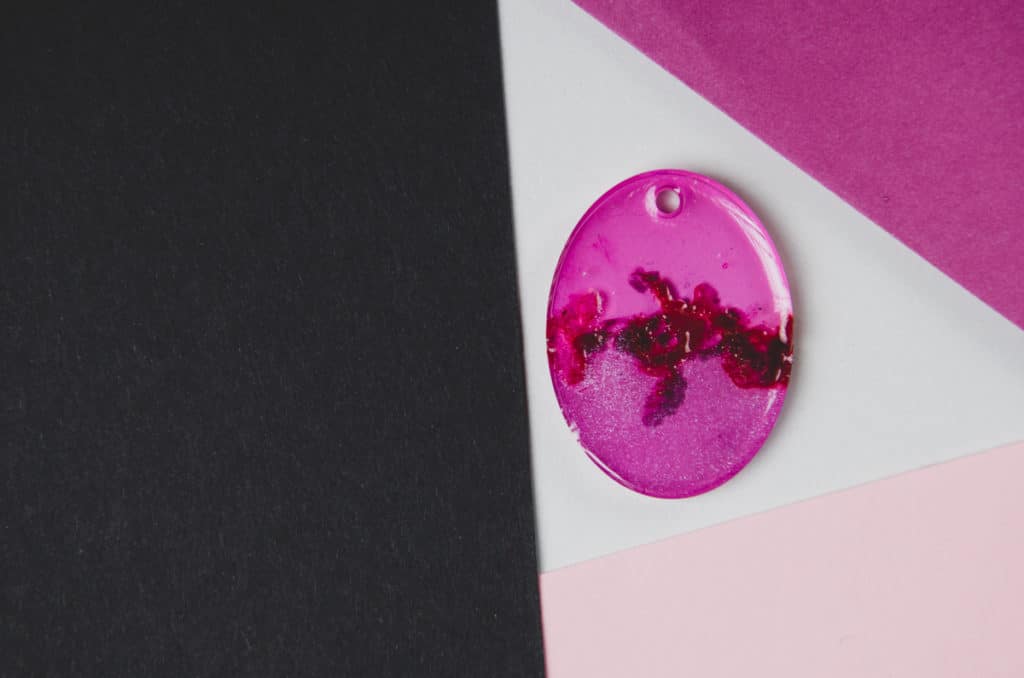
After 24 hours the resin has hardened and you can take the pendant out of the mould.
Step 6
The eyelet must be bent open with pliers. Then attach the pendant.
Step 7
The pendant is now ready and can be pulled into the chain.
Step 8
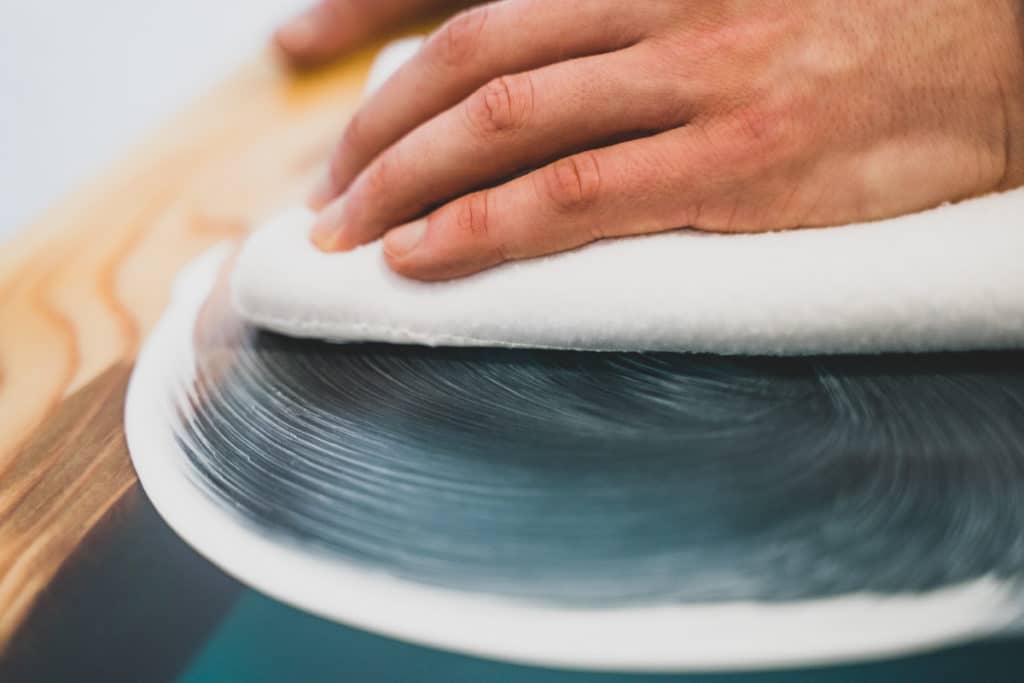
If the silicone mould has left streaks, you can polish them away with EPODEX polishing paste and a microfibre cloth.

More than
1000000+
Satisfied customers


")


