Liquid Resin

Liquid Resin by EPODEX

Nature produces its own liquid resin. Trees use it to repair damages to their bark. Besides natural liquid resin there are also synthetic liquid resins like epoxy resin, acrylic resin and polyurethane resin. These casting resins have different properties and can be used for different purposes. EPODEX specialises on high-quality epoxy resin, which is resistant and easy to process.

Cast Liquid Resin

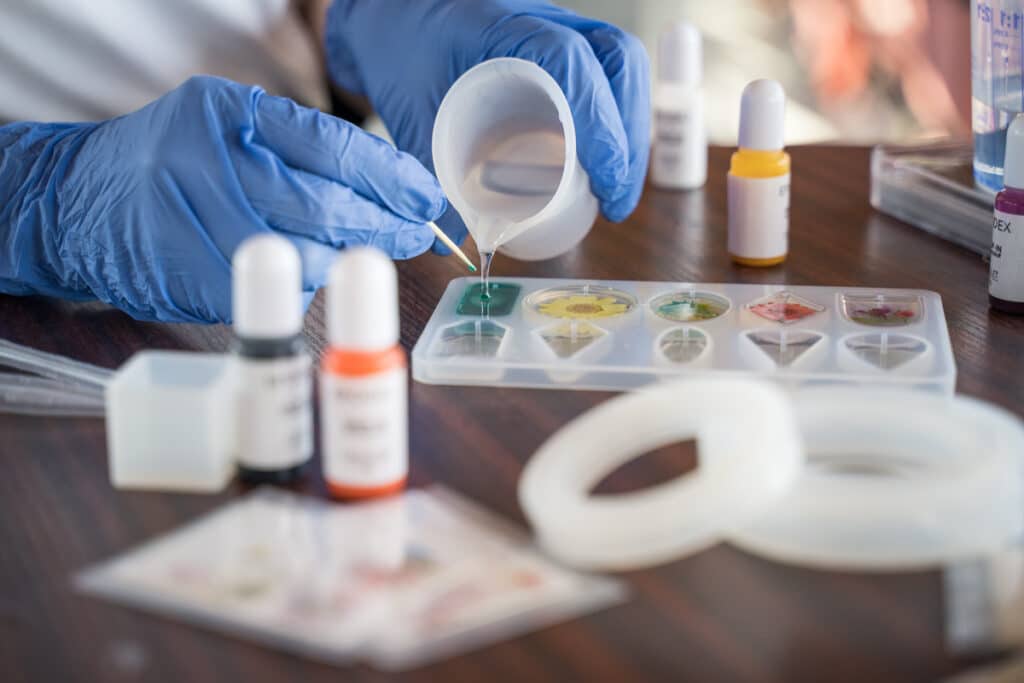
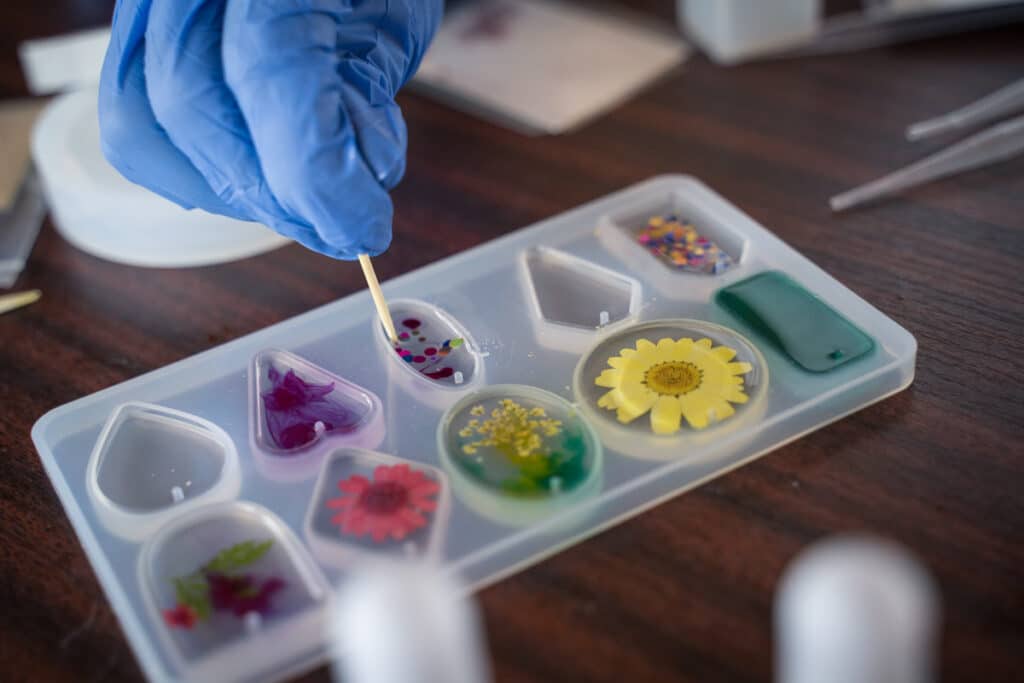
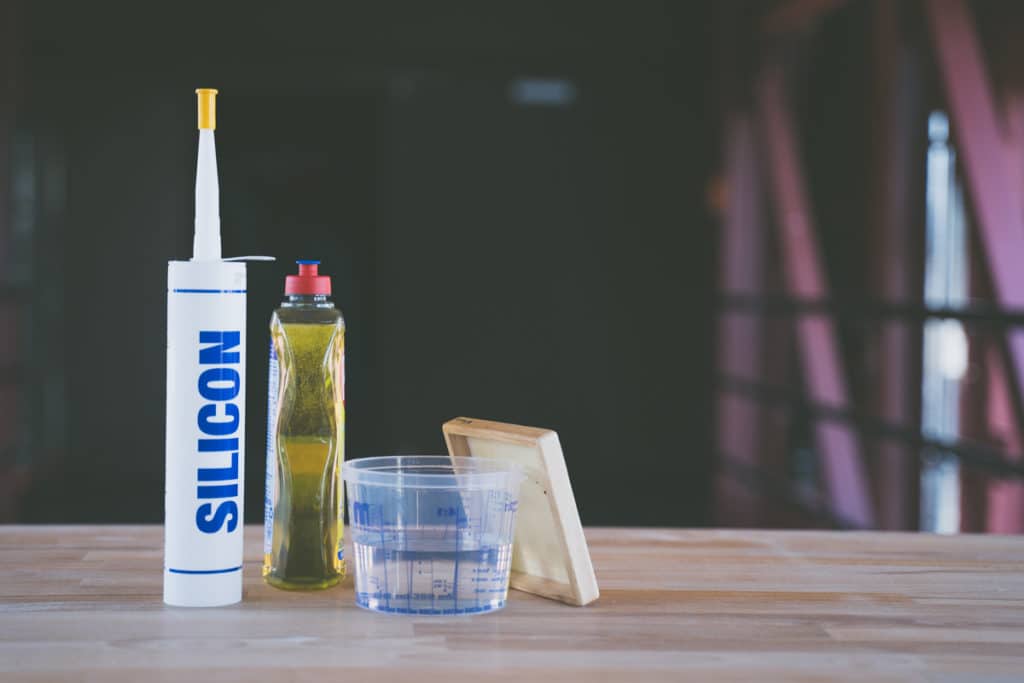
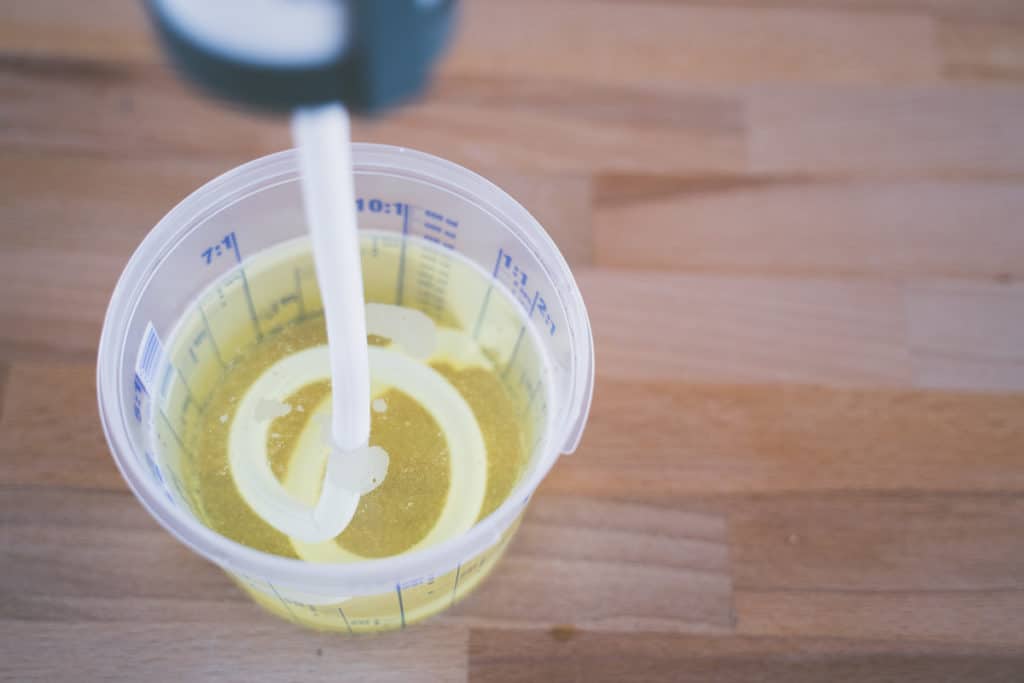
During processing, liquid resin is fluid and it cures by chemical reaction of the resin A-component and the hardener B-component. Depending on the type of resin and pouring height, it cures more or less rapidly. Once cured, our liquid resin is crystal clear, break-proof, non-sticky and glossy. Our colour pigments and flakes can also be mixed into it. The different characteristics and the wide colour range of our products make it easy for you to find the right liquid resin for your project.

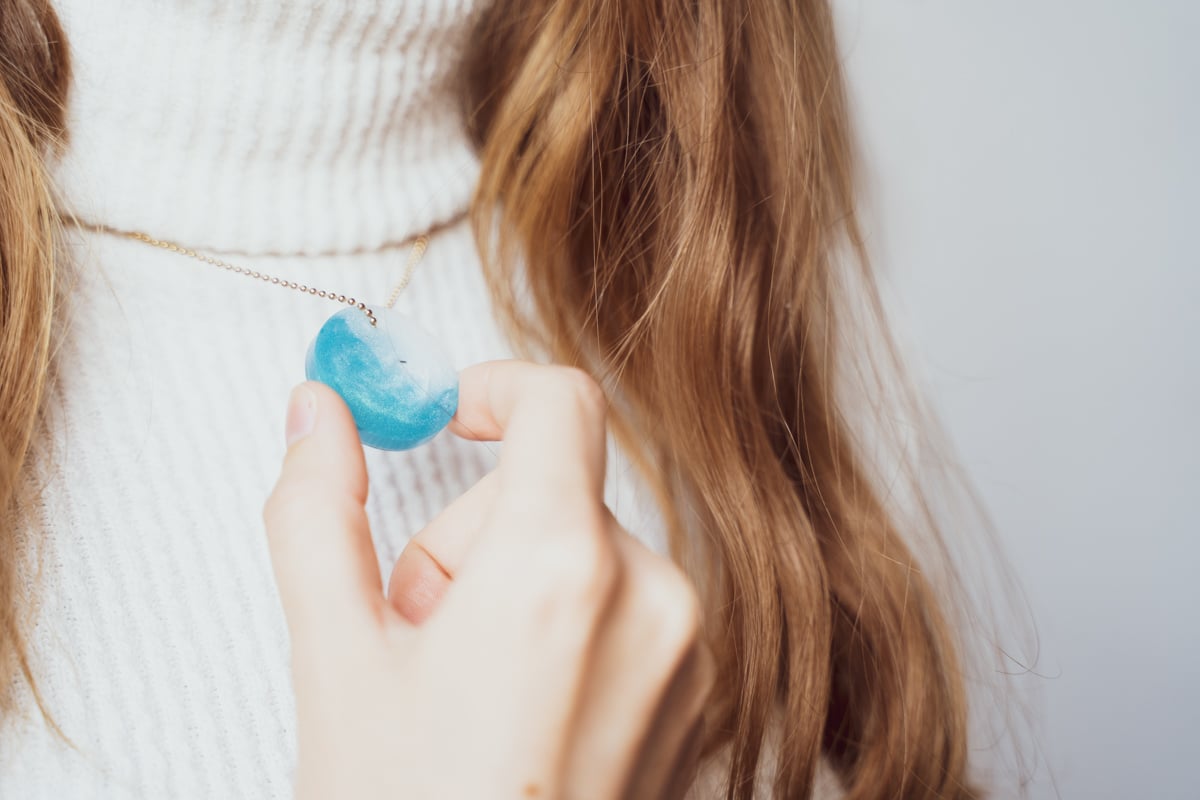
Our resin kit EPODEX ECO is the best choice for laminating, gluing and coating at low pouring heights. Among others, this fast curing and inexpensive liquid resin allows you to easily coat tables and floors. With our PRO system you can pour up to 2 cm thick and this, without too much heat. It is UV-resistant and does not yellow. The PRO system is ideally suited for epoxy resin jewellery or furniture.

If you plan on making a river table, EPODEX PRO+ will guarantee perfect result. It is optimised for casting heights of up to 5 cm but allows castings heights of up to 30 cm under certain circumstances. You can learn more about that in the adjacent video.

Fields of Application and Use

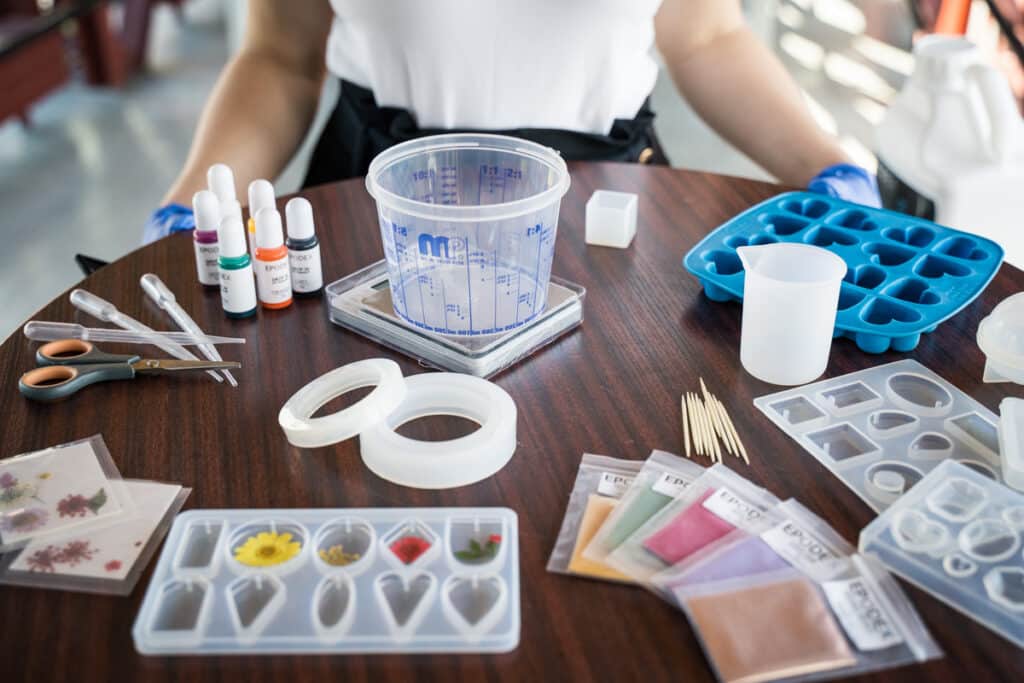
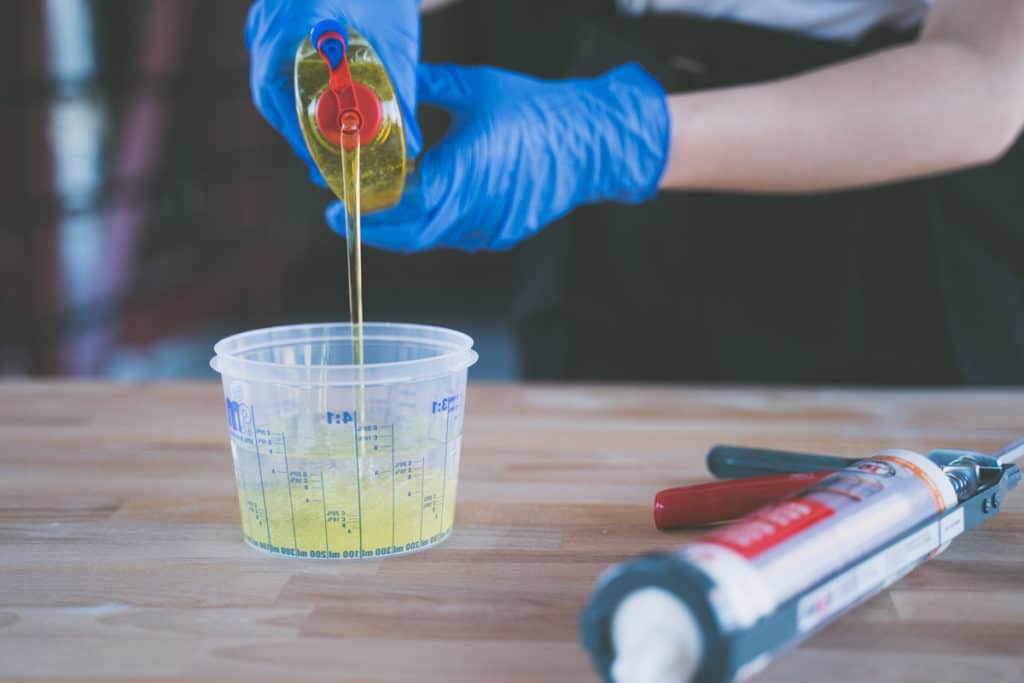
Liquid resin is a mixture of resin, hardener and, if necessary, additives. Due to its versatility, it is used in industry and craft as well as in private households. You can coat floors, wood and other surfaces with liquid resin to make them more resistant and easy to clean. Or you can use it to make stone carpets, penny floors or to cover your existing floor in your dream colour. You can design your own jewellery and pictures or refine entire pieces of furniture.

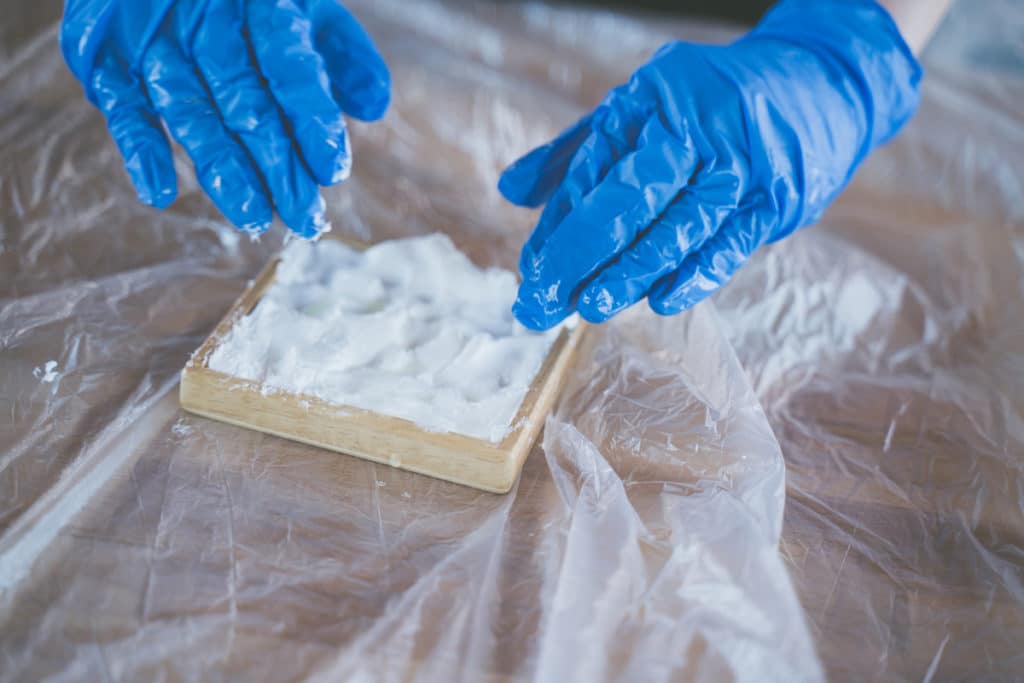
Many projects can be realised with epoxy resin and wood. Coating your wooden table add a protective layer against daily use. A protected table can withstand any strain. It is the perfect solution to keep the natural, rustic look  of the wood and to increase the durability. Liquid resin makes wooden surfaces more resistant to moisture, dirt and UV radiation, whereas untreated wooden surfaces need regular care and are susceptible to damage. By using our easy to process liquid resin, you can enjoy your wooden objects for many years to come!

Steve Smith
Steve Smith
Any questions? I am glad to help!

More than

1000000+

Satisfied customers

4.77/5

Based on 5,633 ratings

Website very informative, product selection is also very interesting, the order was also delivered in a few days.

24.02.2024

Everything great! Especially the telephone contact. I would find it helpful if more videos were included. Explanations of what you have to consider.

28.02.2024

There was a small problem with my last delivery, which was fixed immediately after a short call without any problems.

03.03.2024

Transparency
Quality
Customer Service

Buy Liquid Resin

On EPODEX e-shop you can purchase liquid resin that meets the highest standards. Our 2-part epoxy resin, which is mixed from a resin-component and a hardener-component, is available crystal clear with or without colour pigments. Our service team will be happy to answer your questions via telephone, e-mail or WhatsApp.

Epoxy resin table with cogwheels

Epoxy resin table with cogwheels DIY

Epoxy resin decoration tables are easy to make yourself and guarantee an individual eye-catcher in your home. In this article we will show you how you can make a table with gears and lighting yourself with just a few tools and in a short time. This project is very suitable for beginners and can also be modified with other objects according to your wishes. In only 5 steps you can cast your cogwheel epoxy resin table with EPODEX:

You need:

epoxidharz tisch mit zahnraedern diy

Pouring a table with cogwheels – that’s how it works:

Preparation: 
Have all materials ready. Note that you should work at room temperature and the humidity should not exceed 70%. All materials and tools should also be at room temperature. Start by cleaning the table and getting rid of dust. The surface must be grease-free, dust-free and dry before you proceed to the next step.

Step 1: Guide the light wire through the opening of the table and fix it around the inside of the table with the black modeling clay.

Step 2: Put on the disposable gloves and mix the amount of resin and hardener in a ratio of 2:1, which you need for a thin primer layer of about 0.2mm. Pour the epoxy resin onto the table. Leave the primer to gel for 20 hours.

Note: When component B meets component A, the mixture will become slightly milky/streaky. Stir until all streaks have disappeared to obtain a crystal clear result.

Step 3: Carefully apply the cogwheels with tweezers. Since the surface is not yet completely hardened, it can lead to marks and defects if the gears are moved on the surface. When all gears are in place, apply a second thin layer of epoxy resin consisting of the A and B components. Again, make sure that you only mix as much epoxy resin as you need for this layer and wear disposable gloves. Let the layer cure for one day. The second thin layer of primer on the gears is important, as it may cause the objects to outgas. This can cause subsequent bubbles which the defoamer cannot remove.

Step 4: After the 24 hours curing time you can now apply the main layer. Put on your gloves and mix the epoxy resin in the correct ratio. The best way to do this is to use a mixing can, as it offers a large volume.
When the main layer is poured, you have to wait another 24 hours until the table is completely cured and can be loaded.

Tip: If there are any bubbles, you can remove them with a hair dryer. To do this, hold the hair dryer on a small, lukewarm setting at a distance of 30 cm from the table. It is important that you do not hold the hair dryer in the same place for too long.

Step 5: When the epoxy resin is completely cured, the last step is to fix the battery compartment for the lighting under the table with a hot glue gun. Once the glue is dry, your new decoration table is ready.

Resin jewellery pendant DIY

Resin jewellery pendant DIY

Resin jewellery is becoming more and more popular. No wonder – with EPODEX epoxy resin you can realize small and large projects exactly to your taste. Resin jewellery is a special, individual gift for your loved ones. In today’s article we will show you how you can make your own resin jewelry pendant for necklaces, keys or earrings. This small project is easy to realize even for beginners and a good introduction to the hobby of resin art!

You need:

Optional according to your wishes:

resin jewellery blue

Resin jewellery pendant casting – this is how it works:

1. Preparation:
Have all materials ready. Note that you should work at room temperature and the air humidity should not exceed 70%. All materials and tools should also be at room temperature.

2. Mix the resin:
Weigh the resin and hardener in the exact mixing ratio with your gram scale. Mix one portion of EPODEX Pro resin and hardener together and stir the two components thoroughly. Apply a thin layer to the bottom of the silicone mould.

3. Embed objects:
If you do not want your pendant to be clear or solid, wait until the first layer has reached a firm, gel-like consistency and then mix a new portion of epoxy resin.
You can then use tweezers or pliers to place a small object on the base layer. If you want to sprinkle glitter, note that the base layer should also be hardened or cured. Otherwise the pigments will sink to the bottom of the mould and prevent the 3D effect. Put a thin layer of resin on the small object and let the layer cure.

4. Seal the object:
After the hardening you can mix a last layer of epoxy resin and cover the silicone mould up to the top with it. Let your pendant cure completely in the mould and only then take it out. Before that the resin is still flexible.

5. Polish the pendant:
When the pendant has set, you can remove it from the mold. You can carefully smooth the edges with the cutter. If the appearance is duller than you would like, you can carefully polish the pendant. Afterwards the pendant is ready and you can use it.

resin schmuck anhaenger epoxy 1
resin schmuck anhaenger kunstharz 1
resin schmuck anhaenger herstellen 1

Silicone Mould DIY

Making the silicone mould yourself

Making a silicone mould yourself is not difficult at all! You want to build the right silicone mould for your epoxy resin project? No problem – with just a few tools and in a short time you can build your individual silicone mould with our instructions. You can either use a finished work piece as a template or build a frame in the required dimensions. In this article you will learn how to make a silicone mould yourself step by step, so that you can use it for your own purposes.

Accessories for building a silicone mould

Everything you need for the construction of your silicone mould, you can get cheaply at the hardware store and drugstore.

You need:

  • water
  • dish soap
  • bucket
  • white silicone
  • cartridge press
  • gloves
  • the workpiece, which is the template for the silicone mould
  • alternatively: wooden strips for a mould in the desired dimensions
  • optional: a cutter and adhesive tape
make yourself silicone mold

Making a silicone mould yourself – Instructions

After you have prepared everything you need, you can start building your silicone mould. Wear gloves while making the mould.

Step 1: Mix release agent together

To make it easy to shape and model the silicone, mix 1 part of dishwashing soap with 4 parts of water in a bucket to form a highly concentrated soapy water. This soap water is a reliable release agent due to the high glycerine content, in which you can form the silicone dimensions without the mass sticking.

Step 2: Add silicone to the soapy water

Open the cap of the silicone and put the cartridge into the press. Now carefully press as much silicone into the soap bath as you need for a first coating layer of your mould.

Step 3: Press on the base layer

Knead the silicone in the soapy water with your hands until you get a well formable, but not too solid mass. When this condition is reached, press a first layer of silicone on the original. This first layer serves to prevent holes from forming and to make the mould as accurate and tight as possible. Therefore be very conscientious when pressing and make sure that every spot is covered.

Step 4: Making the mould

Now proceed with the main layer of silicone in the same way as in the second step. So put the rest of the needed silicone in the soapy water and knead the mass well. When the perfect consistency is reached, take the silicone out of the water and spread the mass accurately on your original work piece. This second layer should be much thicker than the first one, because it ensures that the form holds well and doesn’t crack.

Step 5: Let the silicone cure

After an hour, your silicone mold will be solid. In any case, leave the original object in the mould at least that long. As soon as your silicone mould no longer sticks and has solidified, you can remove the original. If your original was not completely covered by silicone, you can remove the mould and use it as a whole. If you have to cut out your original, remember that you have to glue the gaps cleanly so that no material will leak when using the mould. Use a very strong adhesive tape and check before the first casting whether the mould is really tight or needs to be repaired.

Step 6: Use silicone mould

After curing you can remove the template. Now you can use your silicone mould as a casting mould. The mould can be used over and over again if handled properly.

silicone molds diy
epodex silicone mold manufacturing
silicone mold make yourself
diy silicone mold instructions
cart
FOX v.2.4.1.5
Languages
chat-icon