
Epoxy Garage Floor


Epoxy Garage Floor
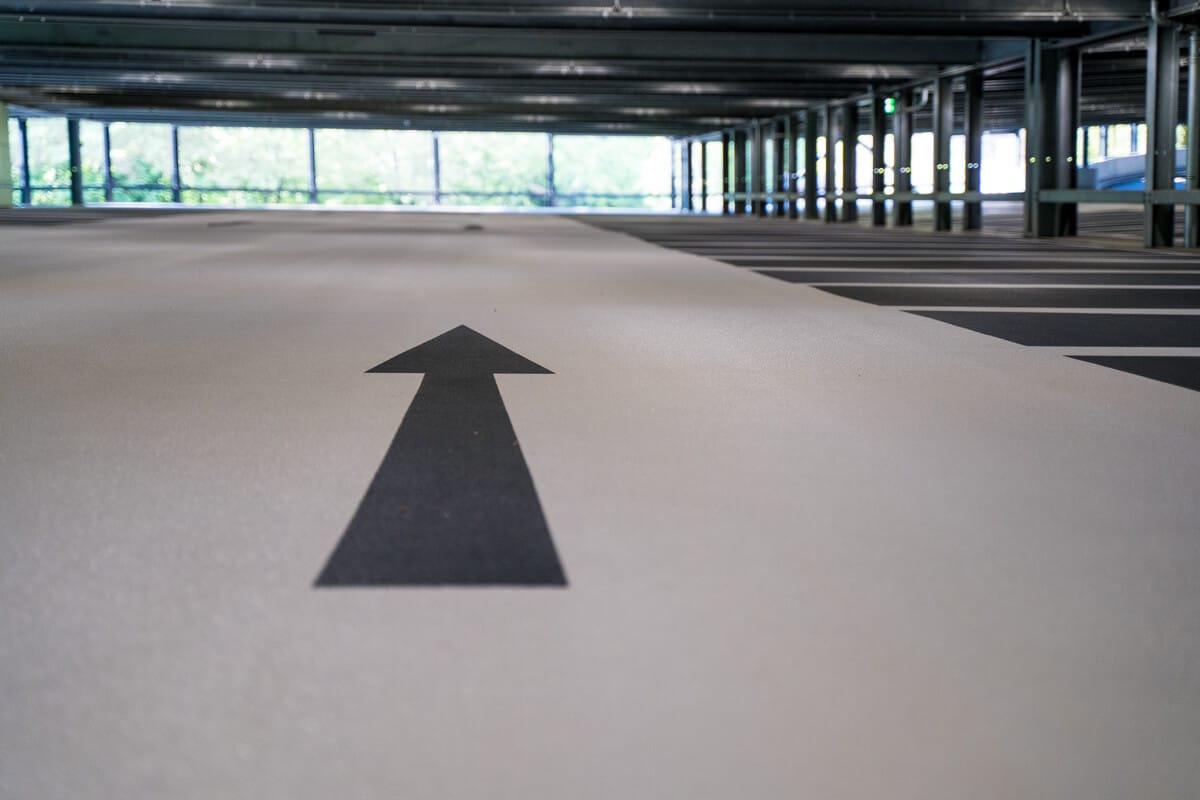
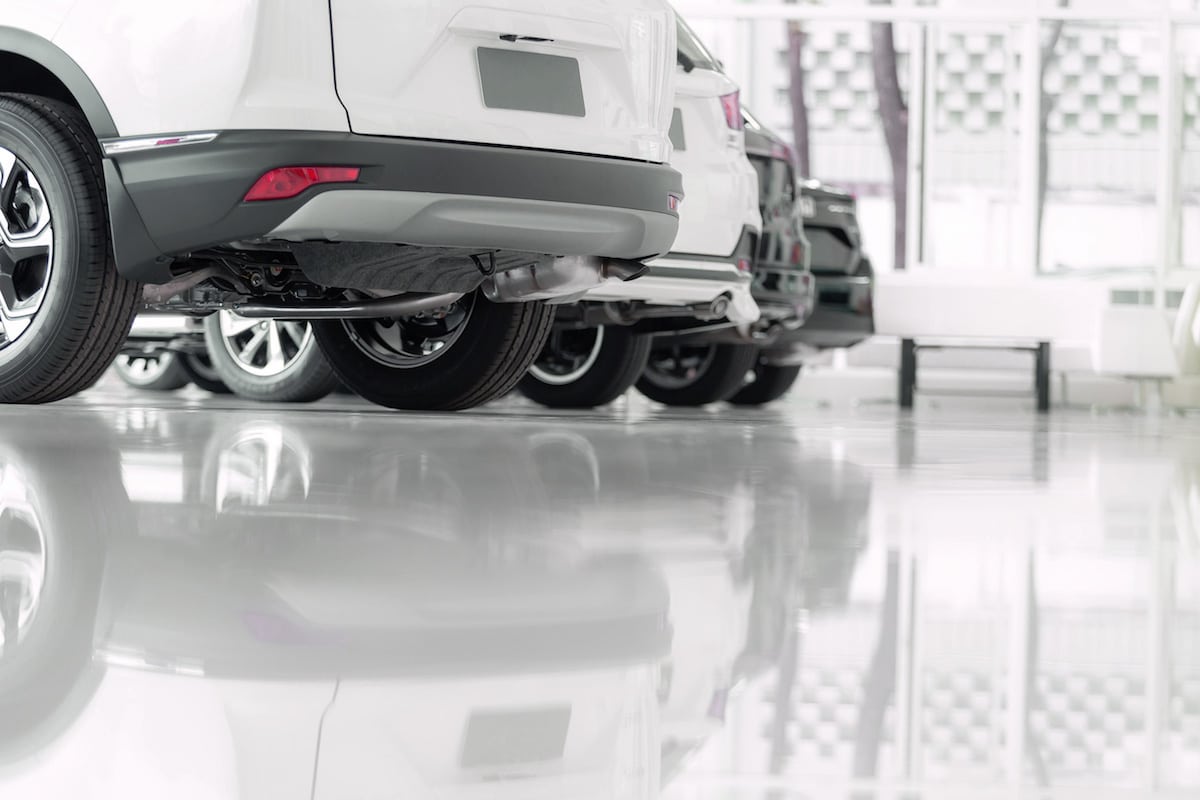
Looking for an easy-to-clean long-lasting floor? Well, EPODEX’s epoxy garage floor is the solution for you! Forget about oil stains and cracks, the hassle is over. Shop now!
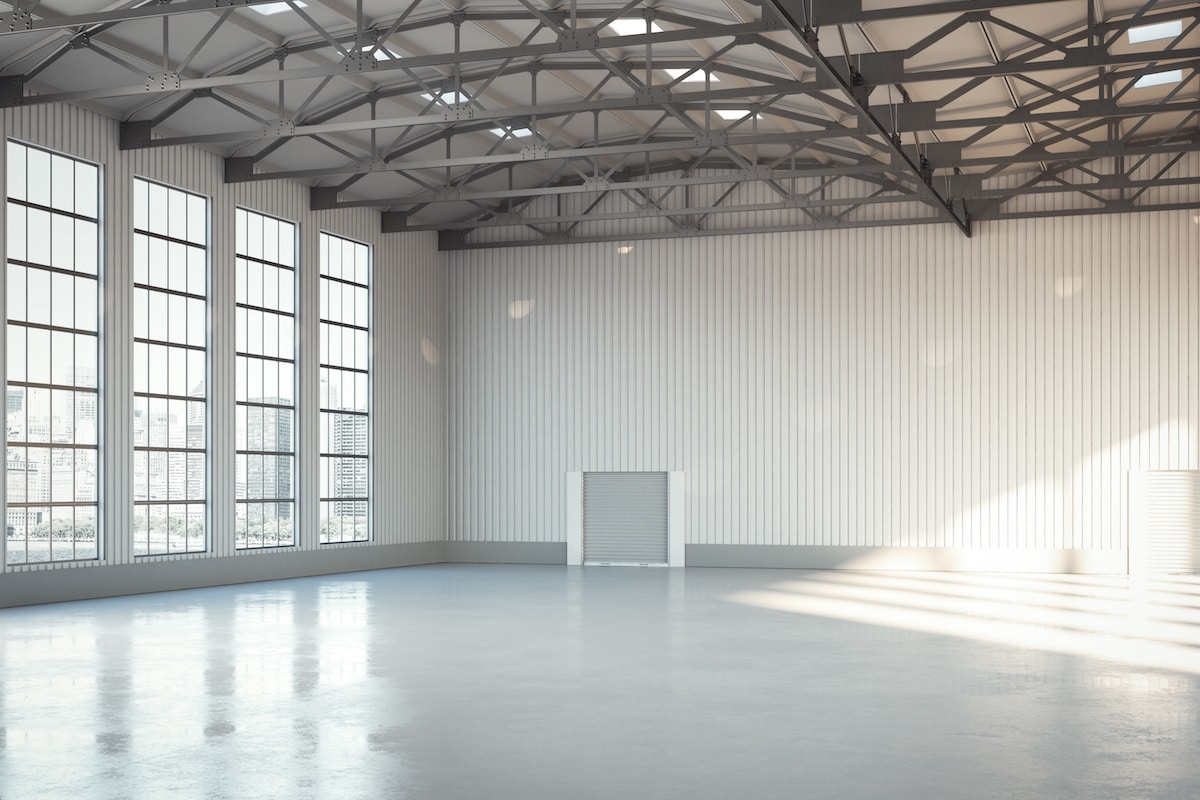
- Ideal for all types of floors such as industrial floors, garage floors, and designer floors
- Layer Thickness: 1/16″
- Working time: 60min, Curing time primer: 8-12h, Curing time main coat: 16-24h.
- Kit consists of suitable epoxy primer as well as resin and hardener (mixing ratio 2:1) for the main coat. Epoxy primer not included with the clear kit.
- Select a kit and receive the right amount of colorants to color your epoxy.
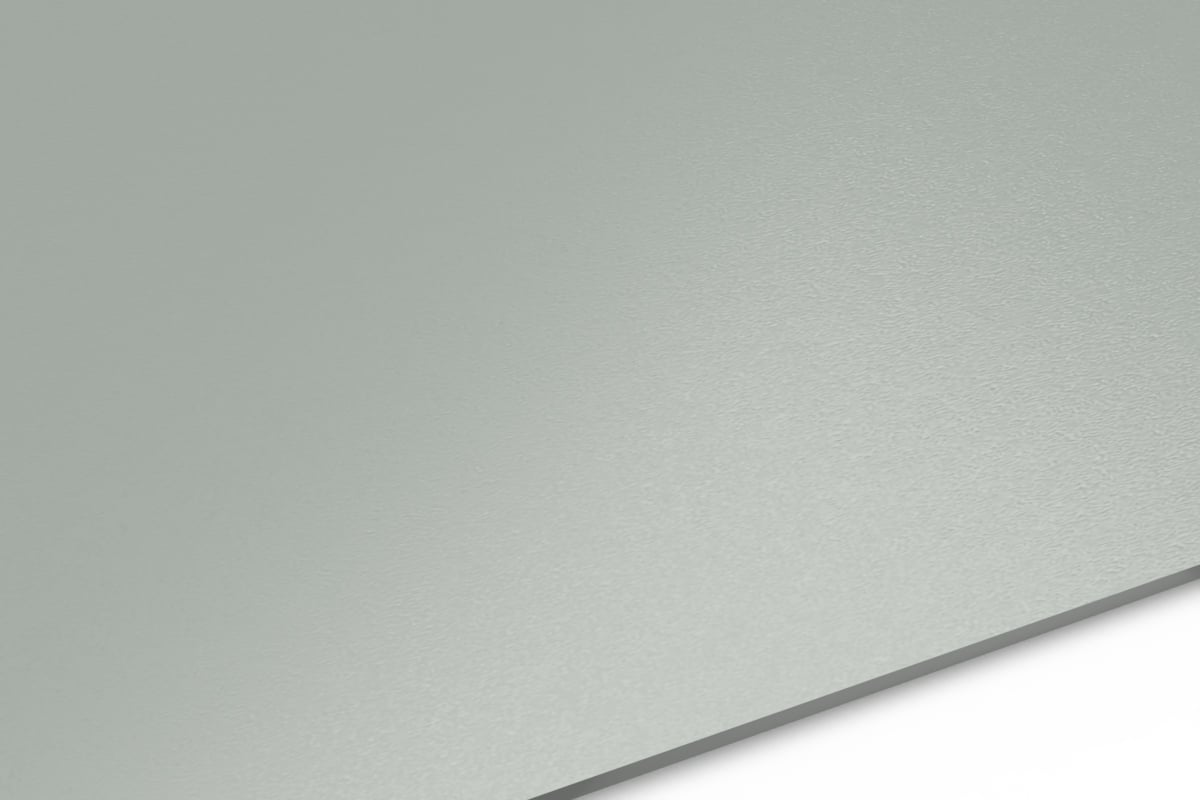
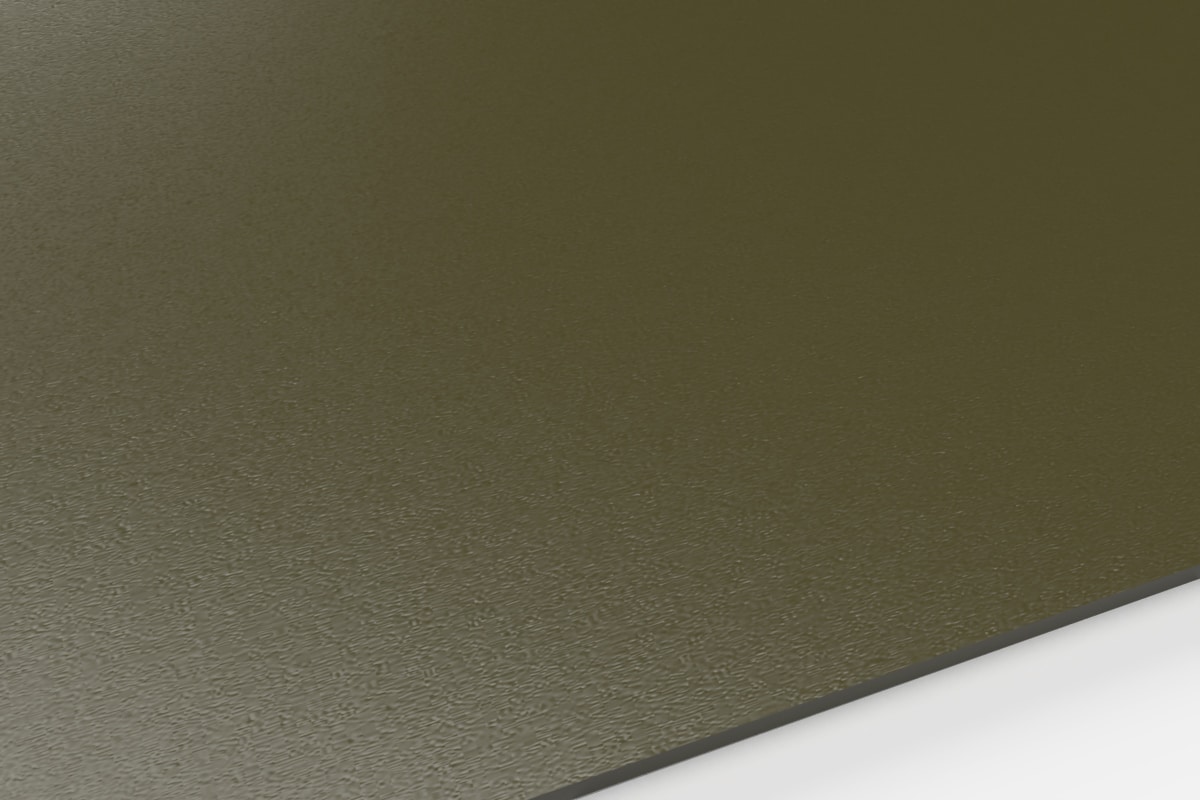
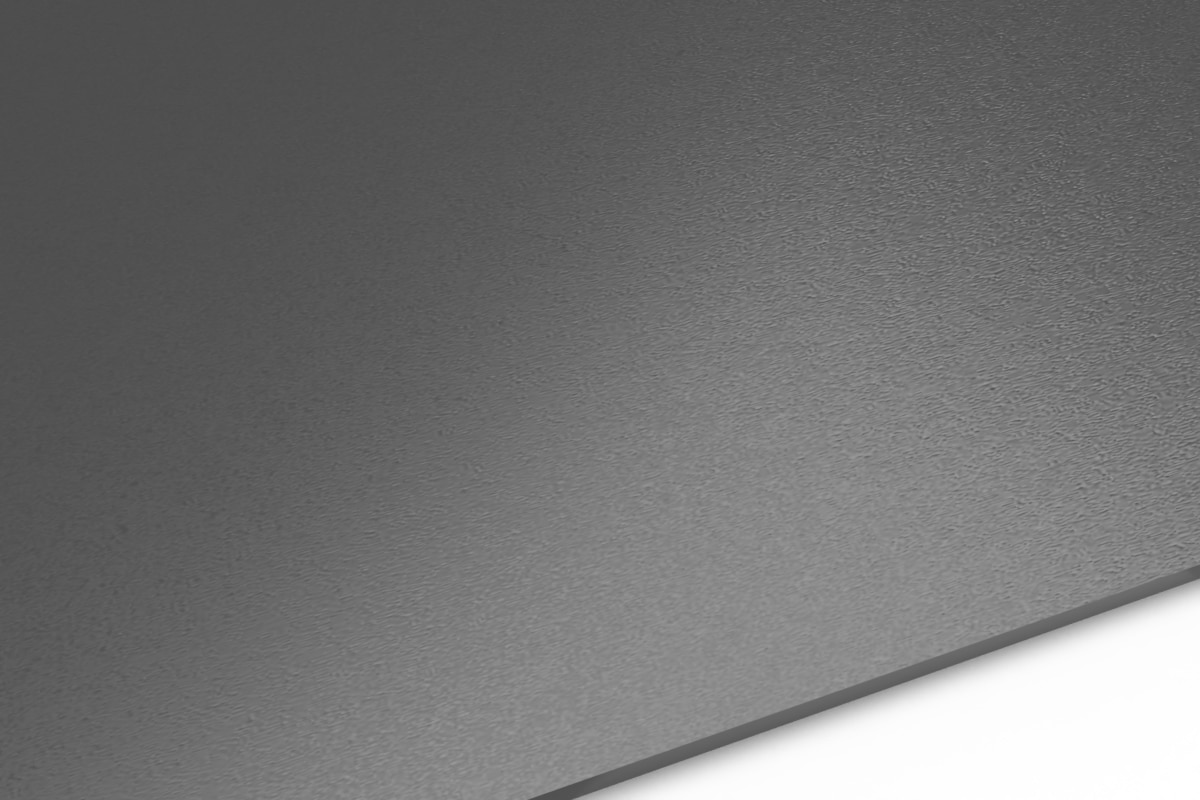
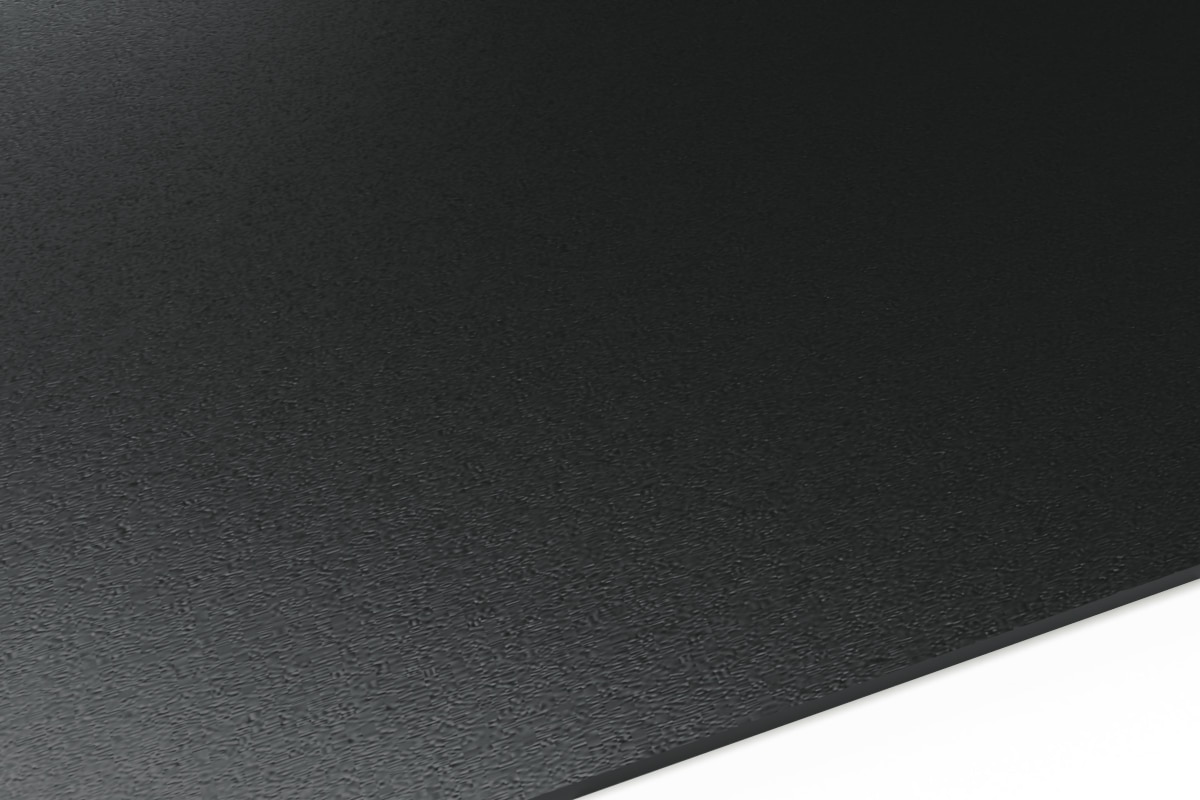
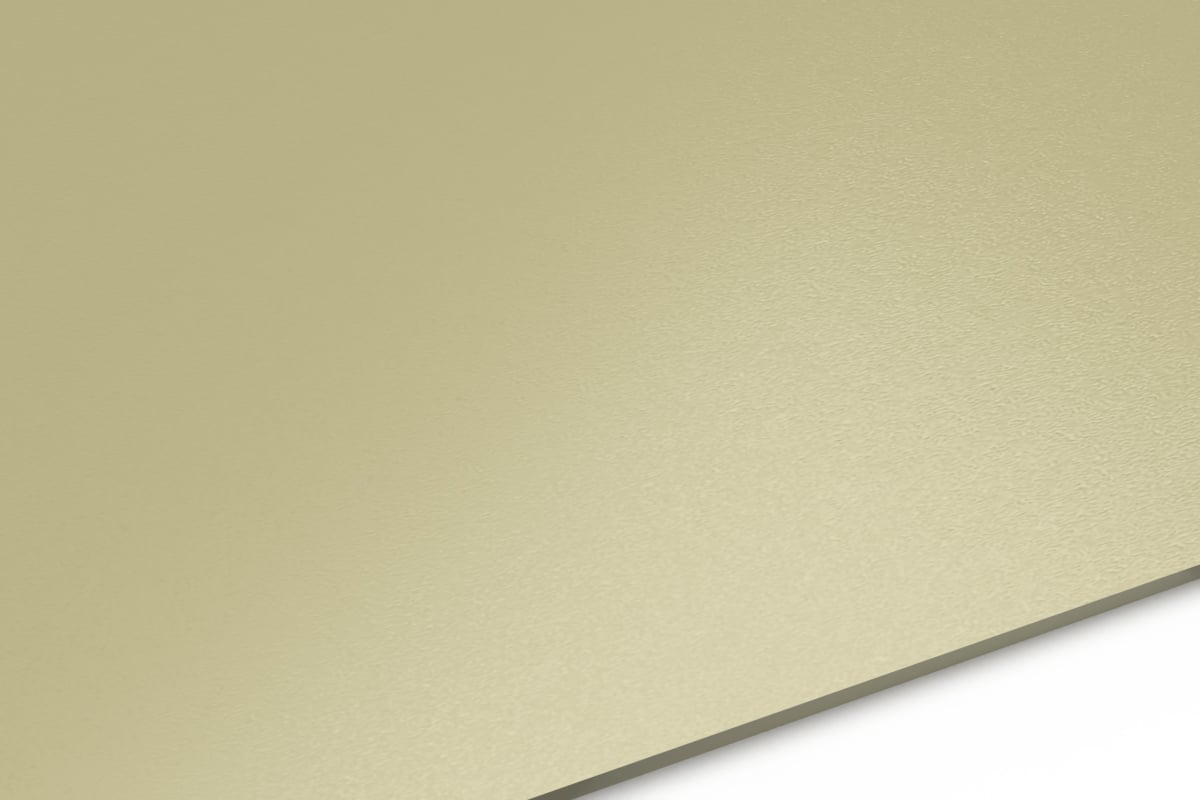
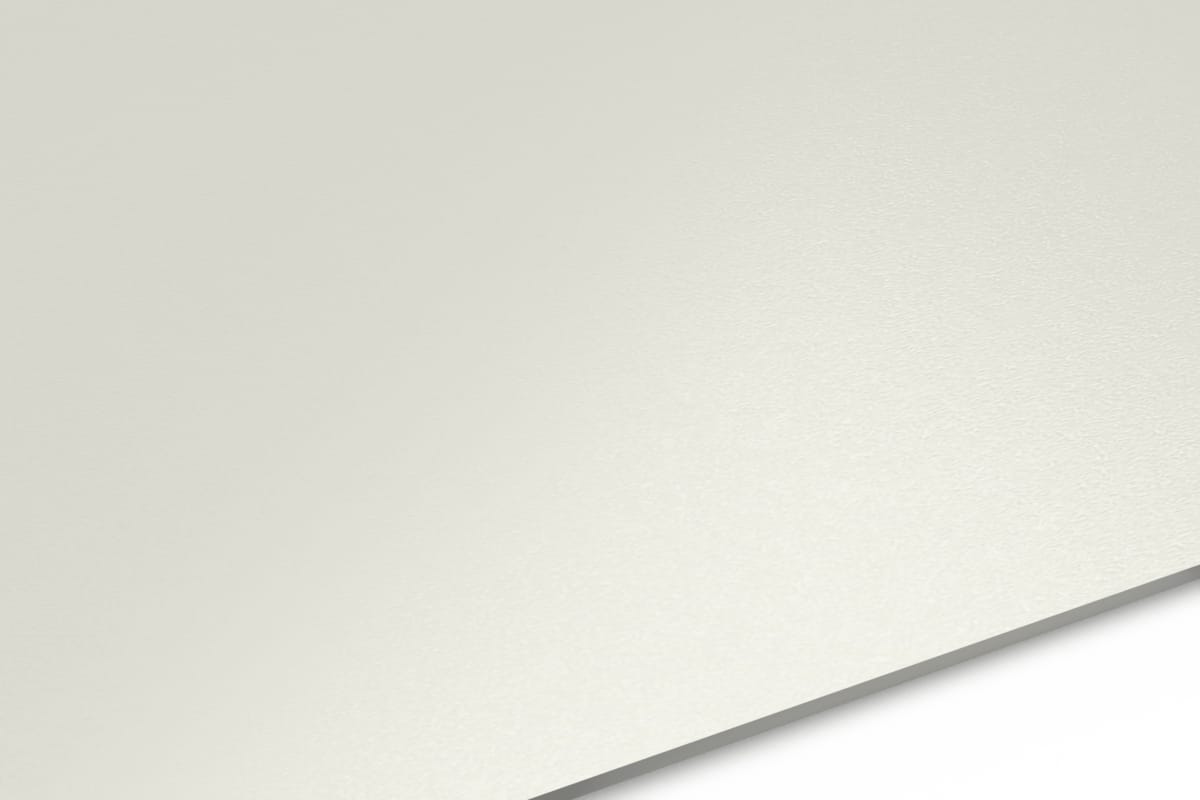
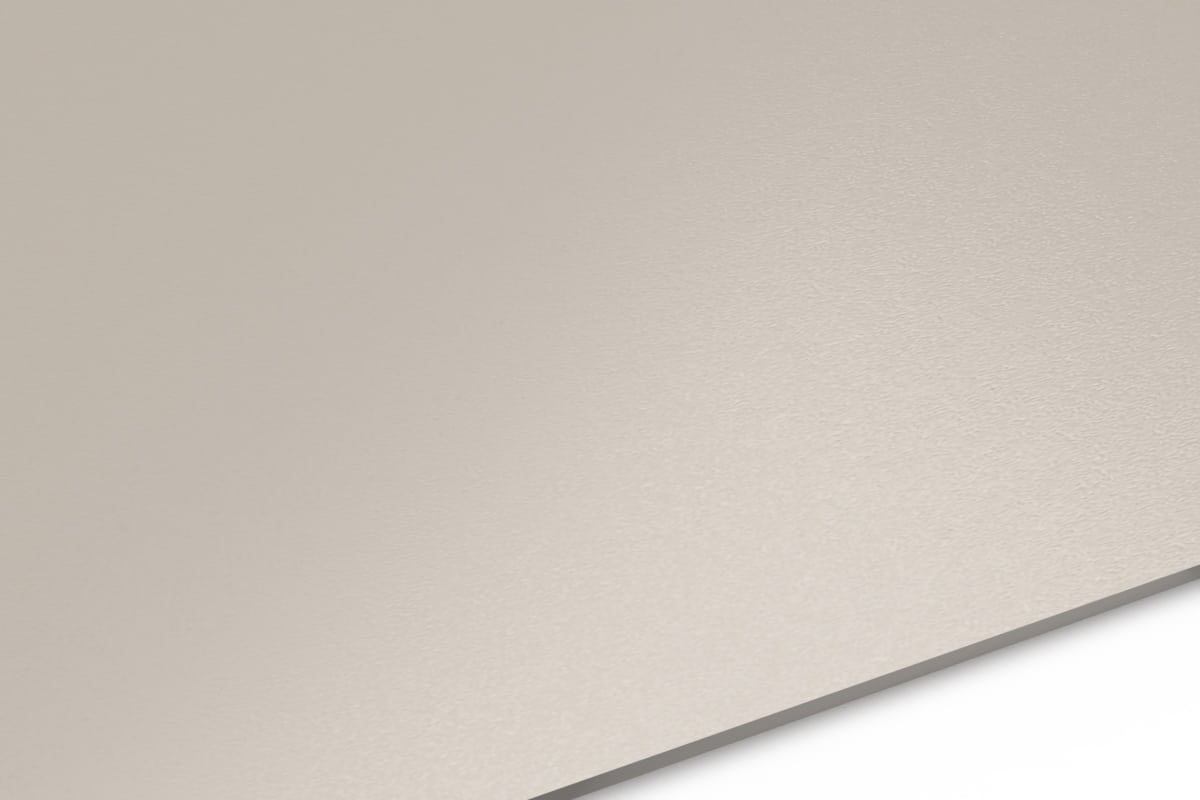
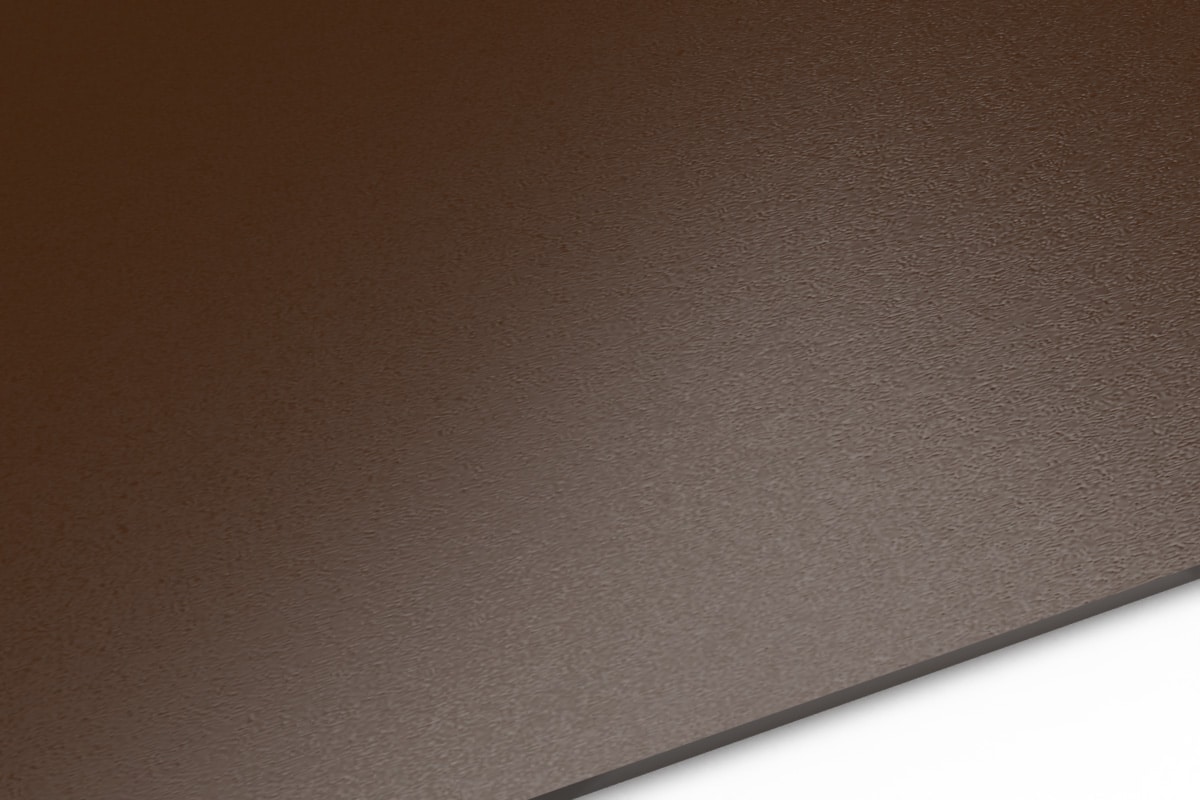
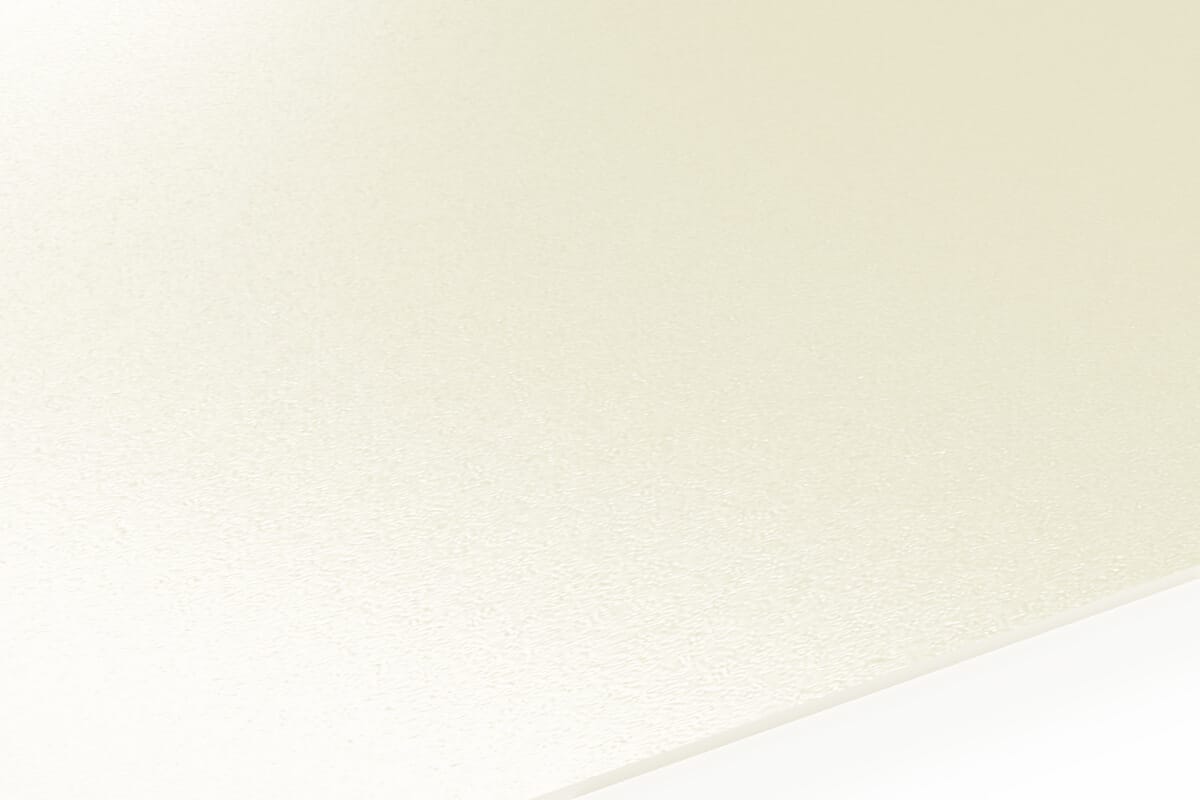
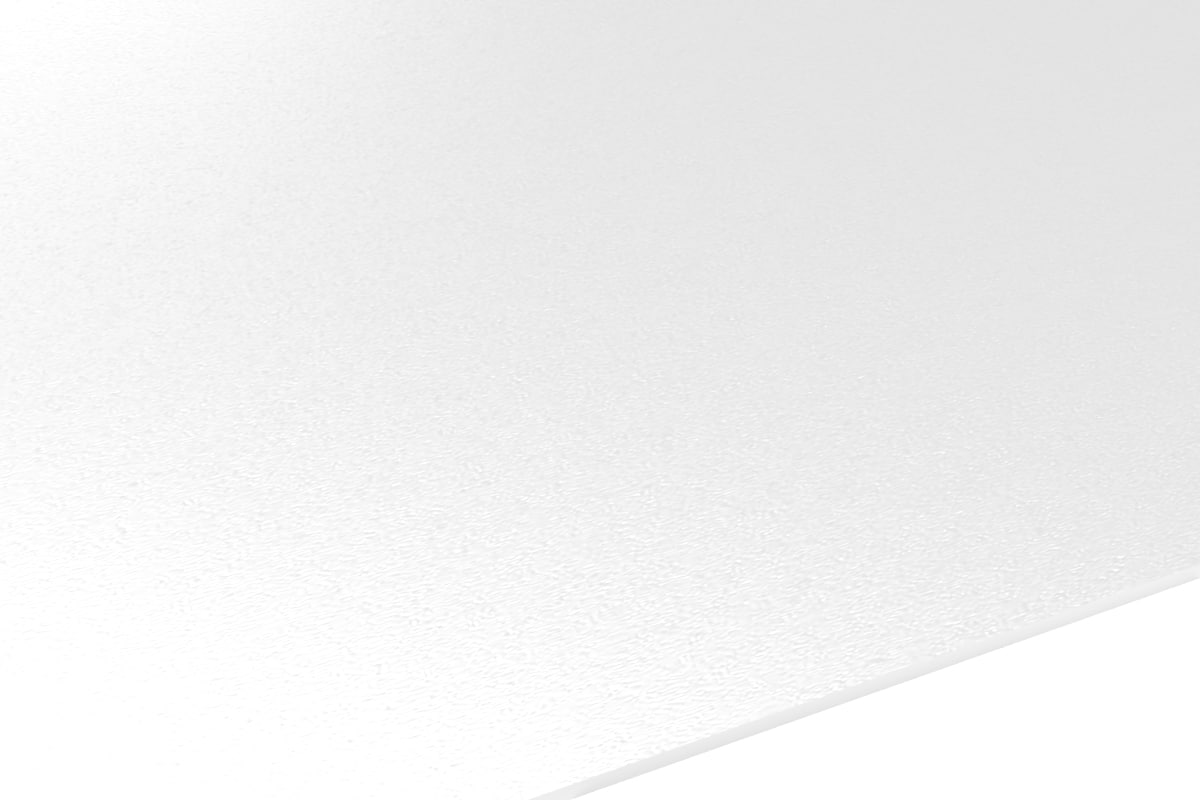
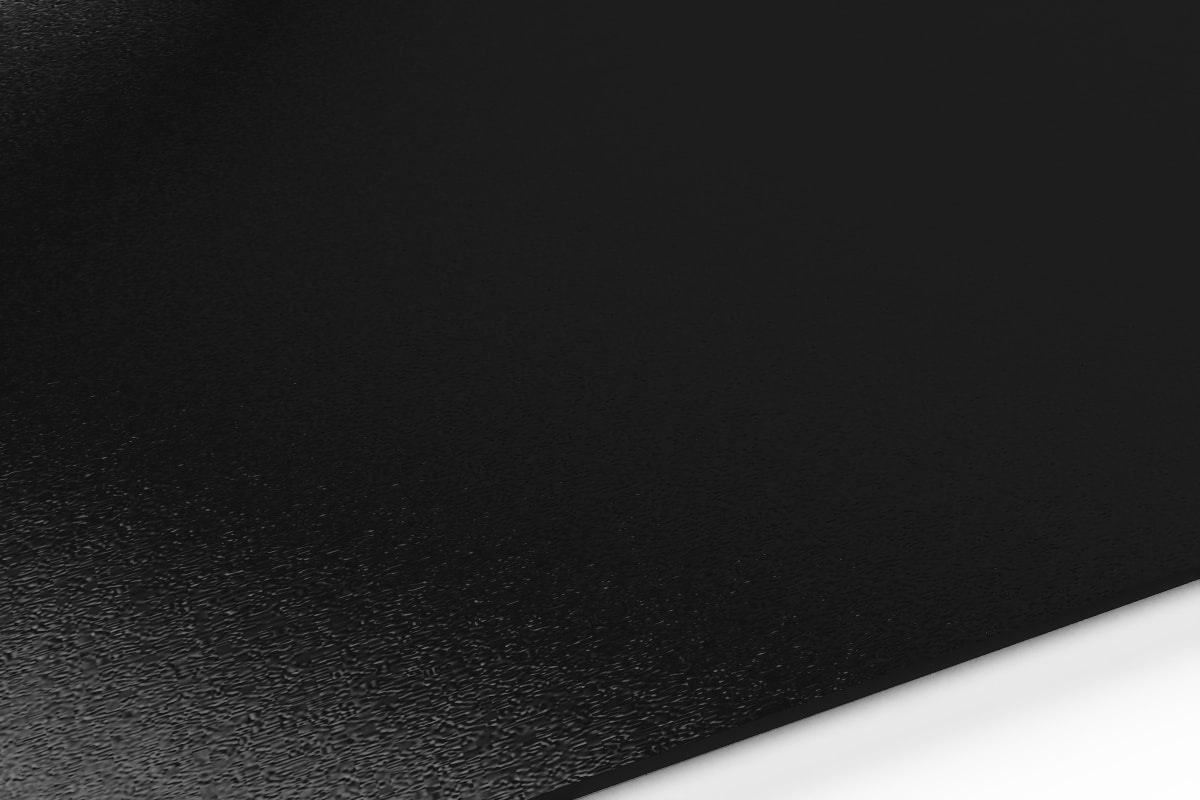
Select your color

-

-
-
-
-
-
-
-
-
-
-
-
-
-
-
-
-
-
-
-
-
-
-
-
-
-
-
-
-
-
-
-
-
-
-
-

-
-
-
-
-
-
-
-
-
-
-
-
-
-
-
-
-
-
-
-
-
-
-
-
-
-
-
-
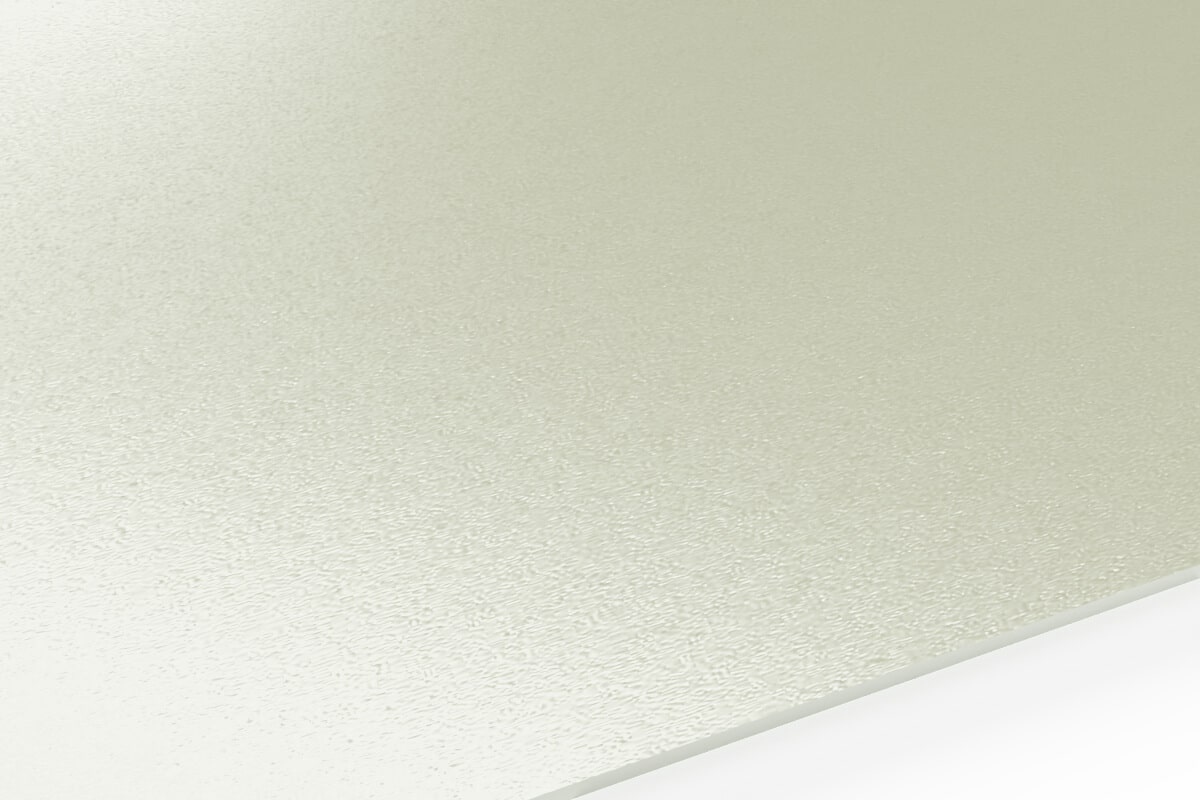

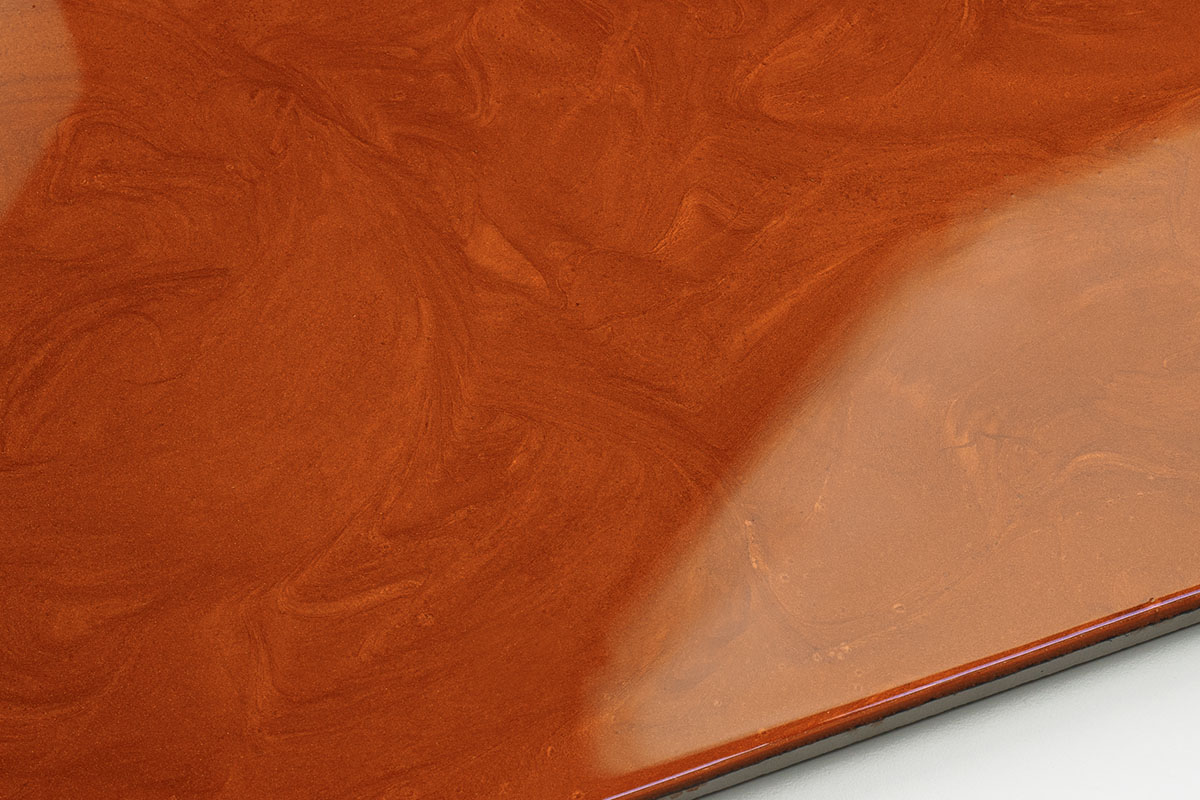
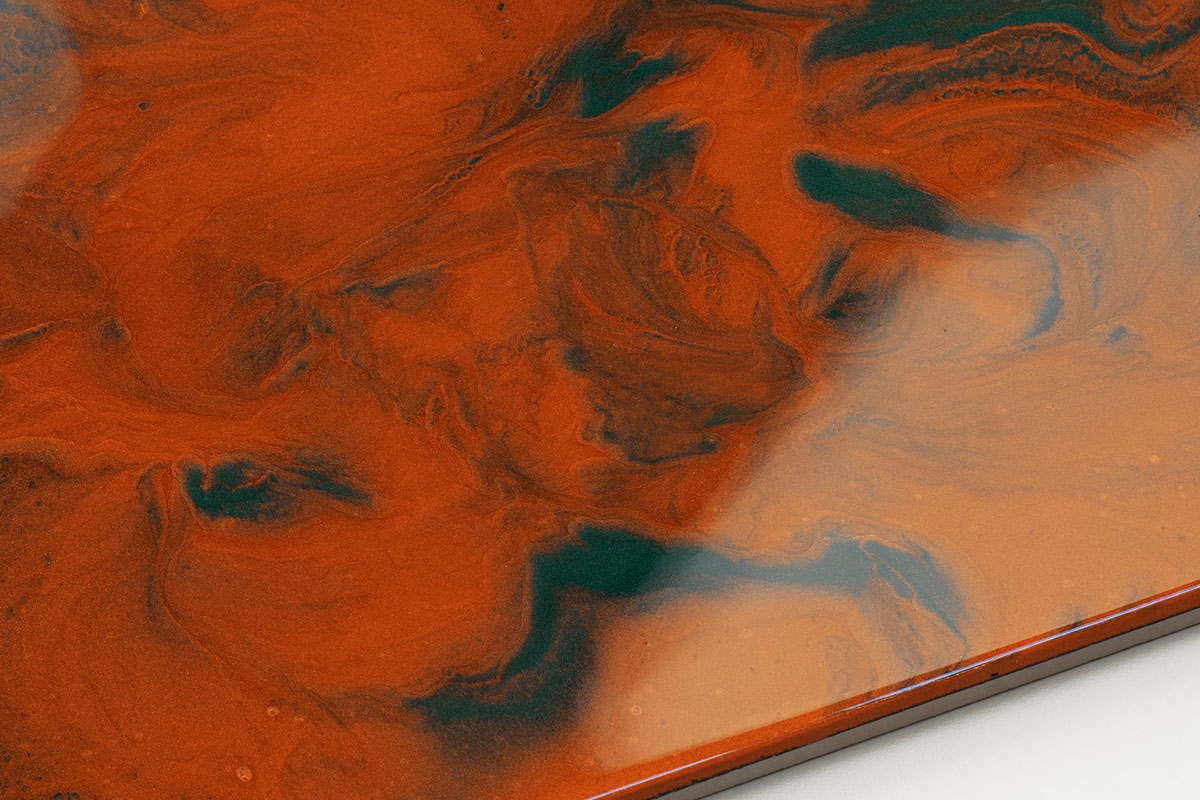

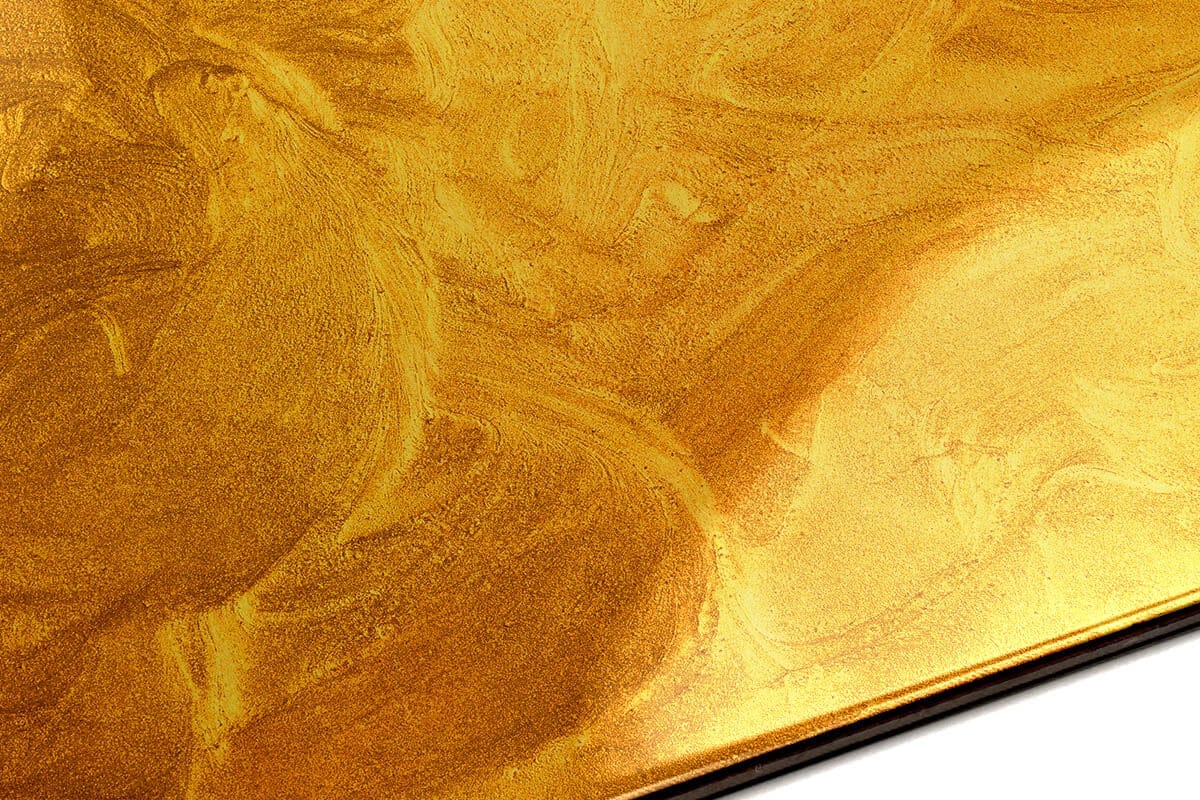
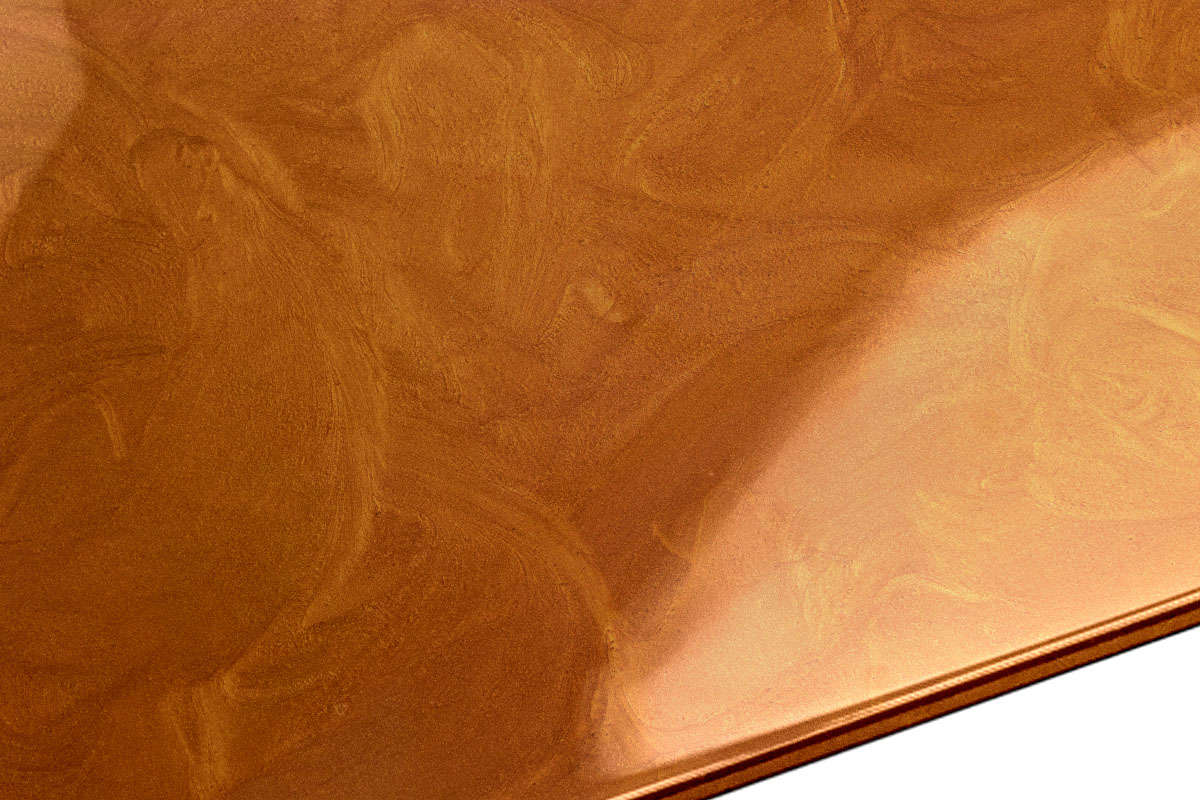

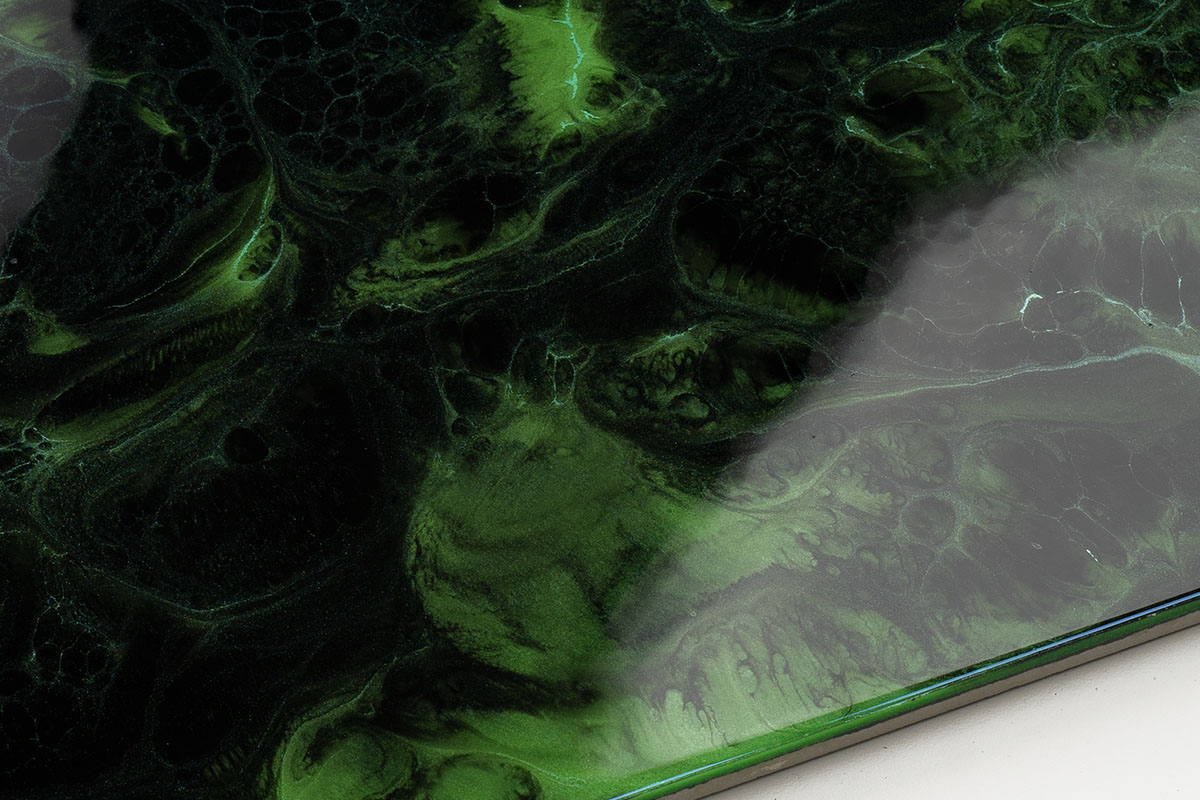
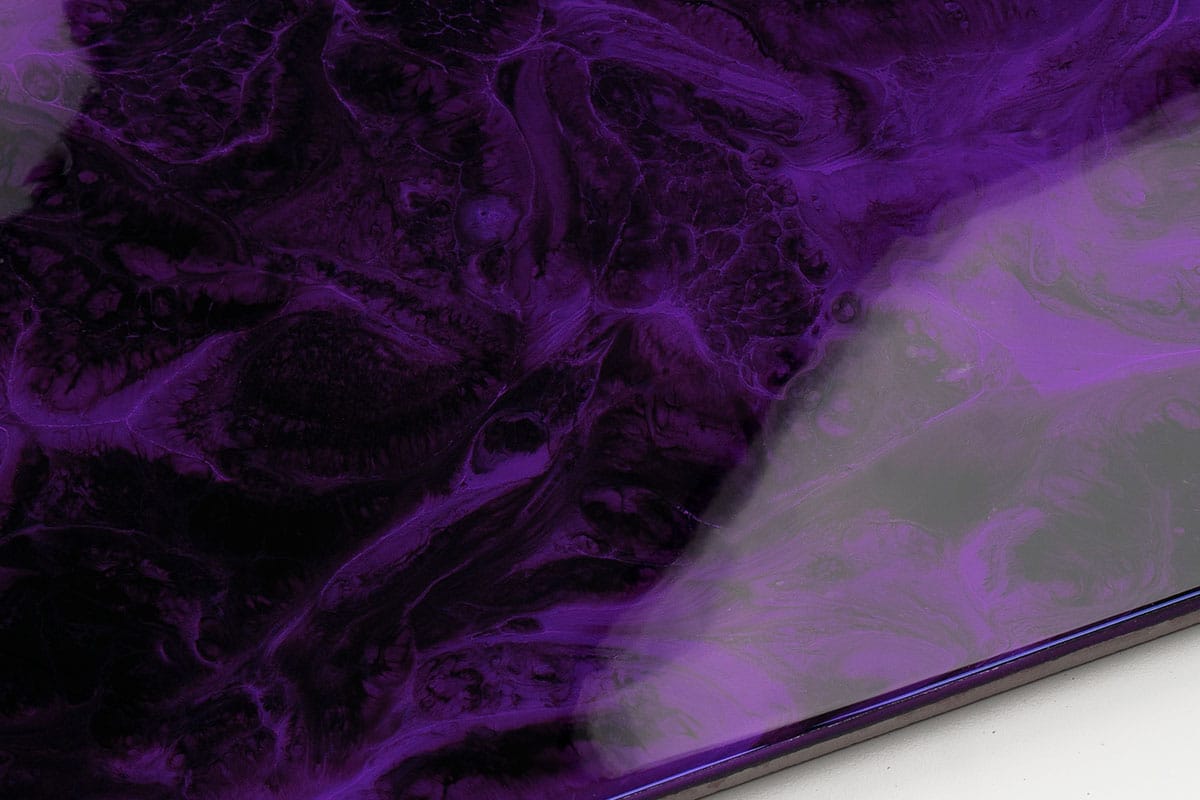
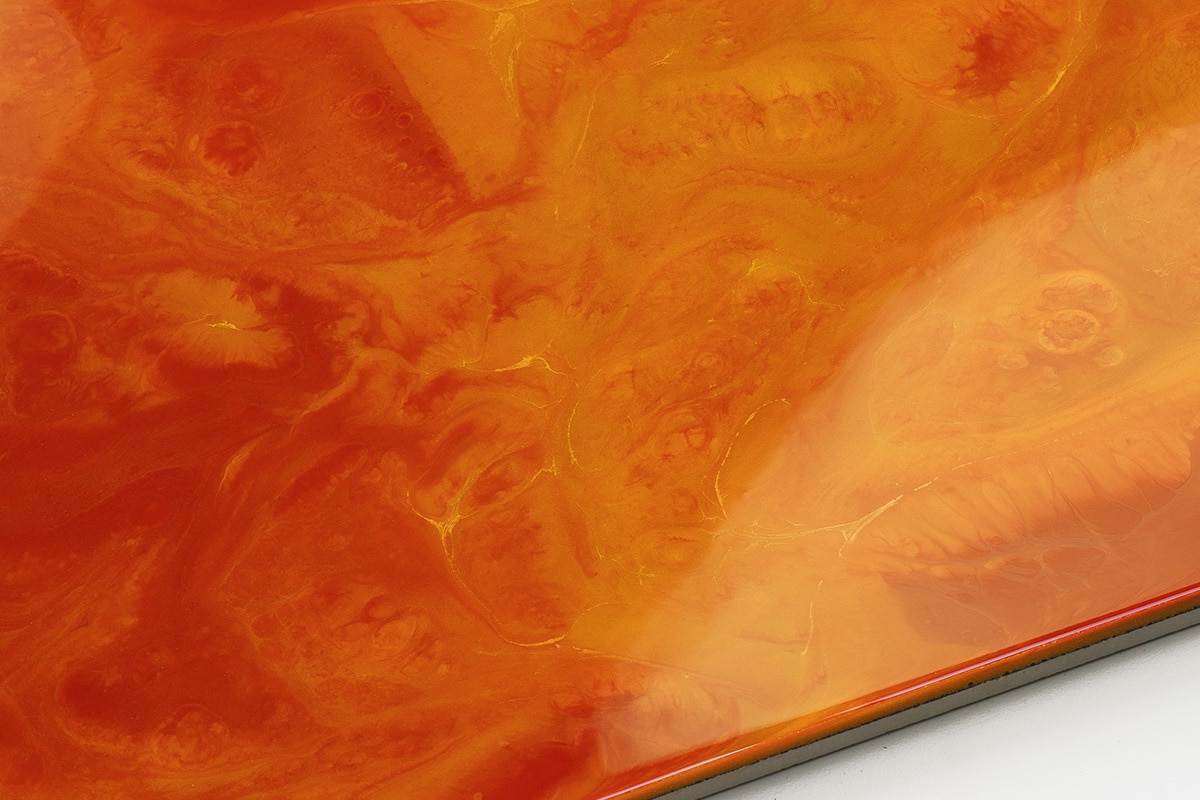
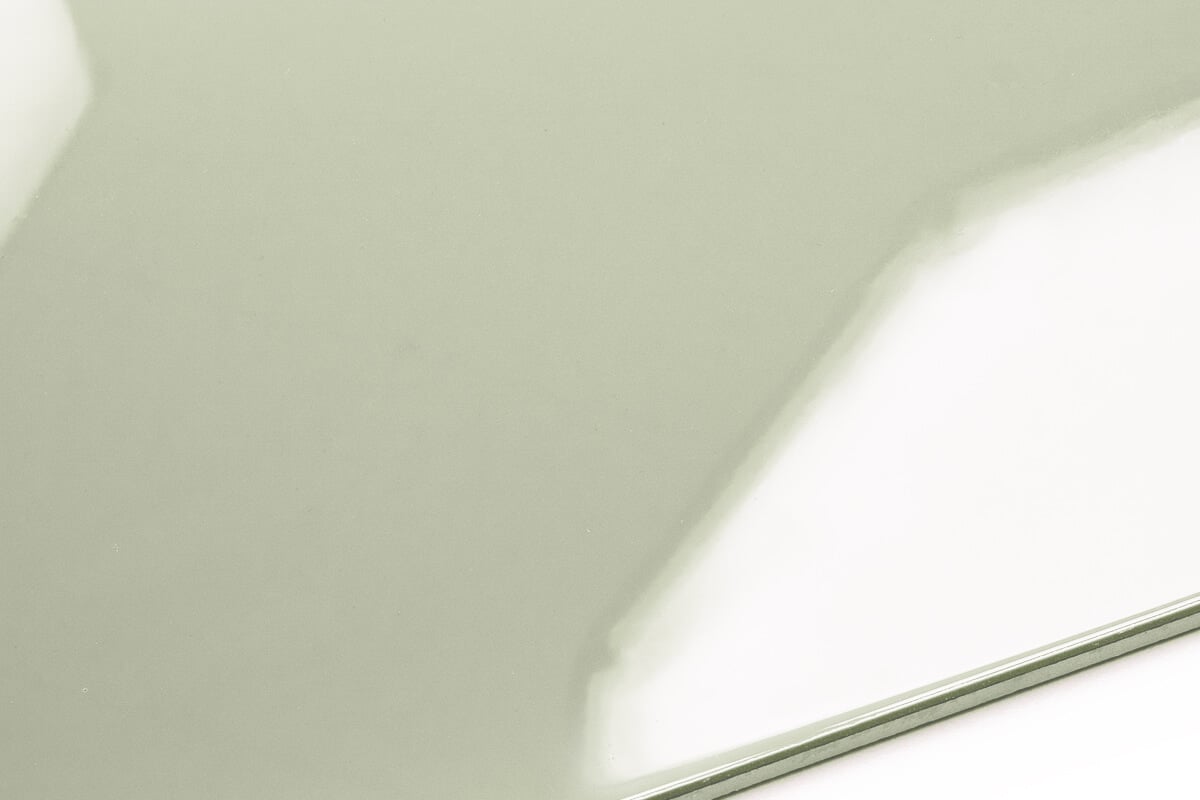
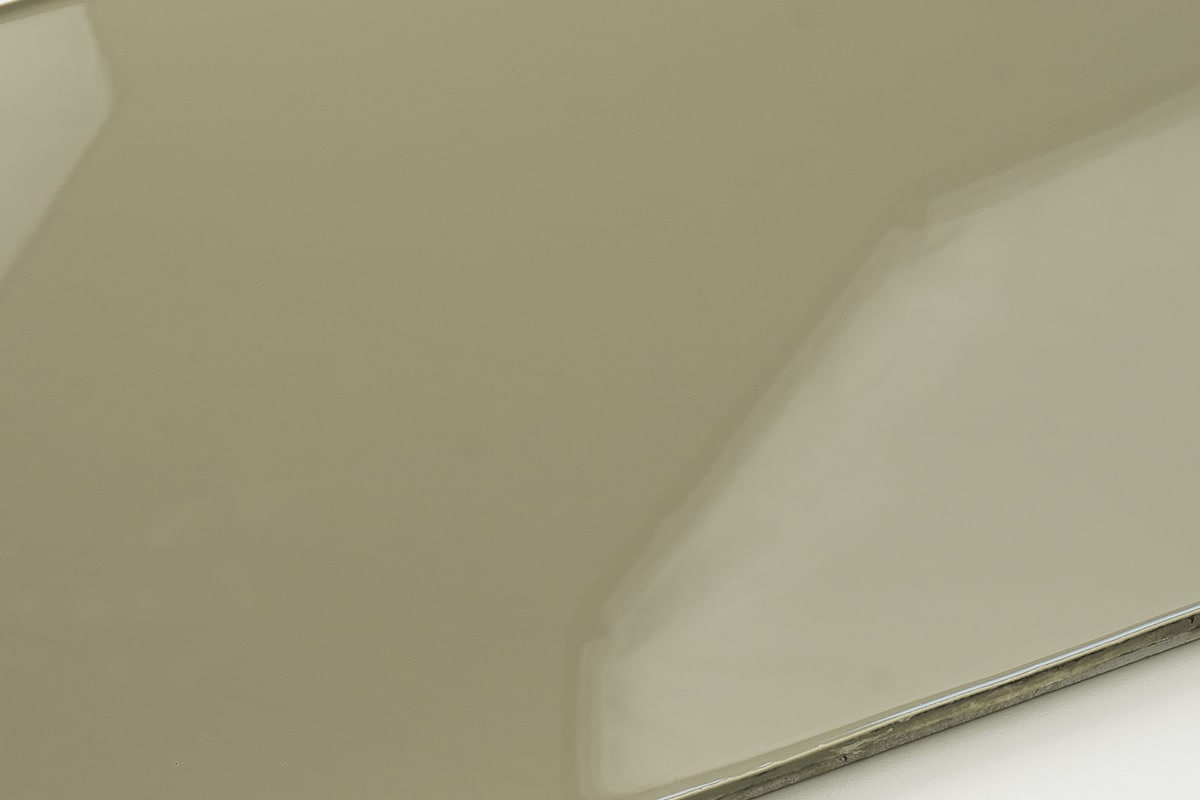


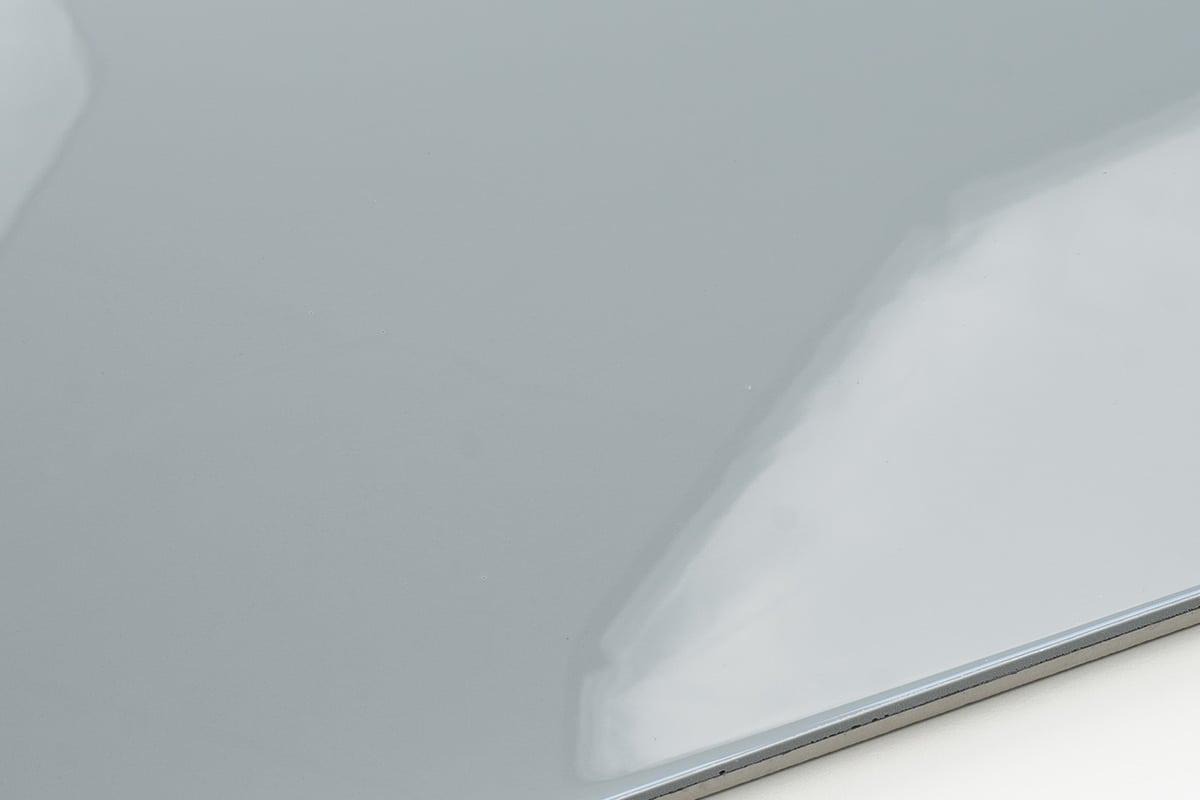
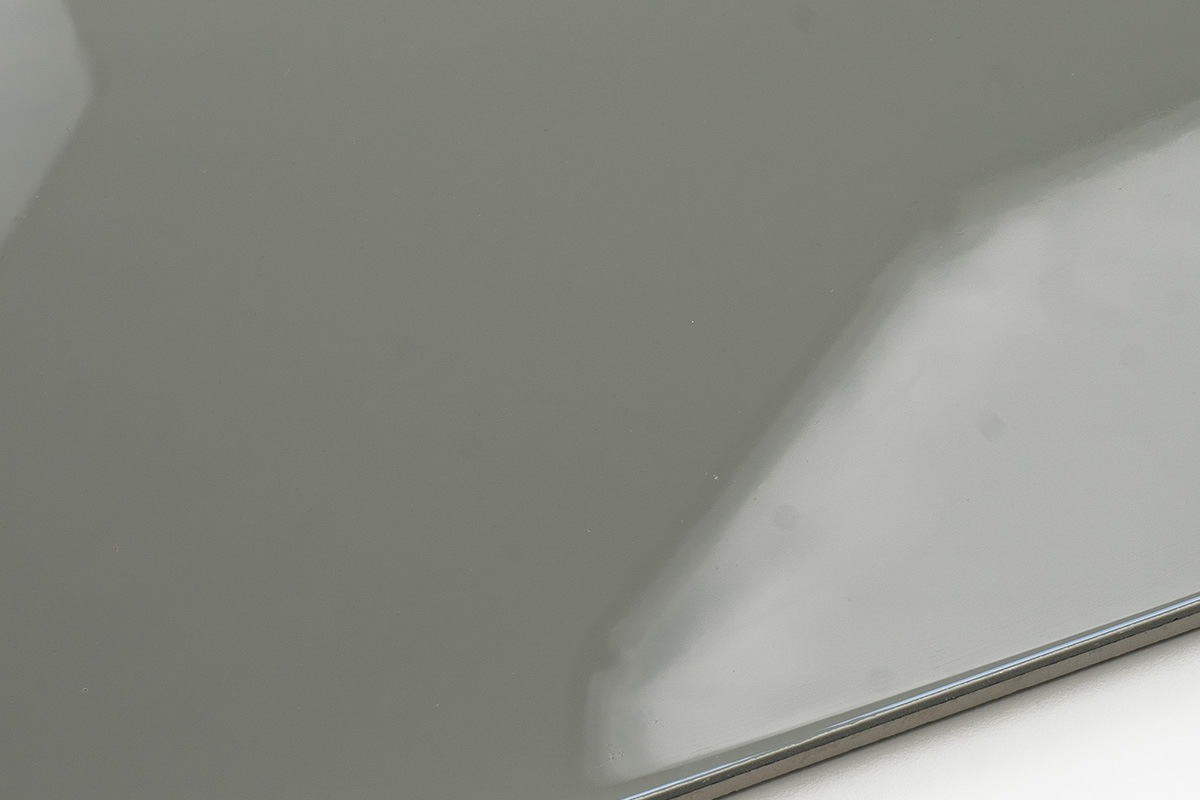
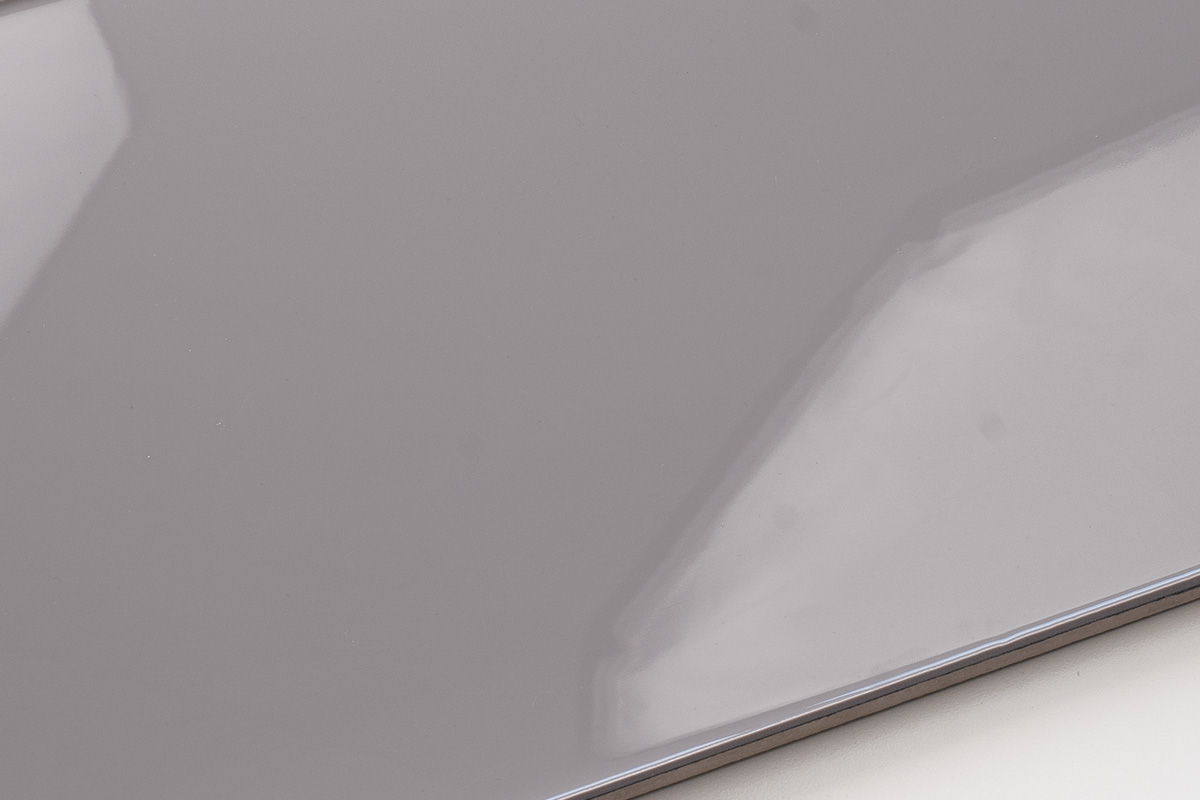
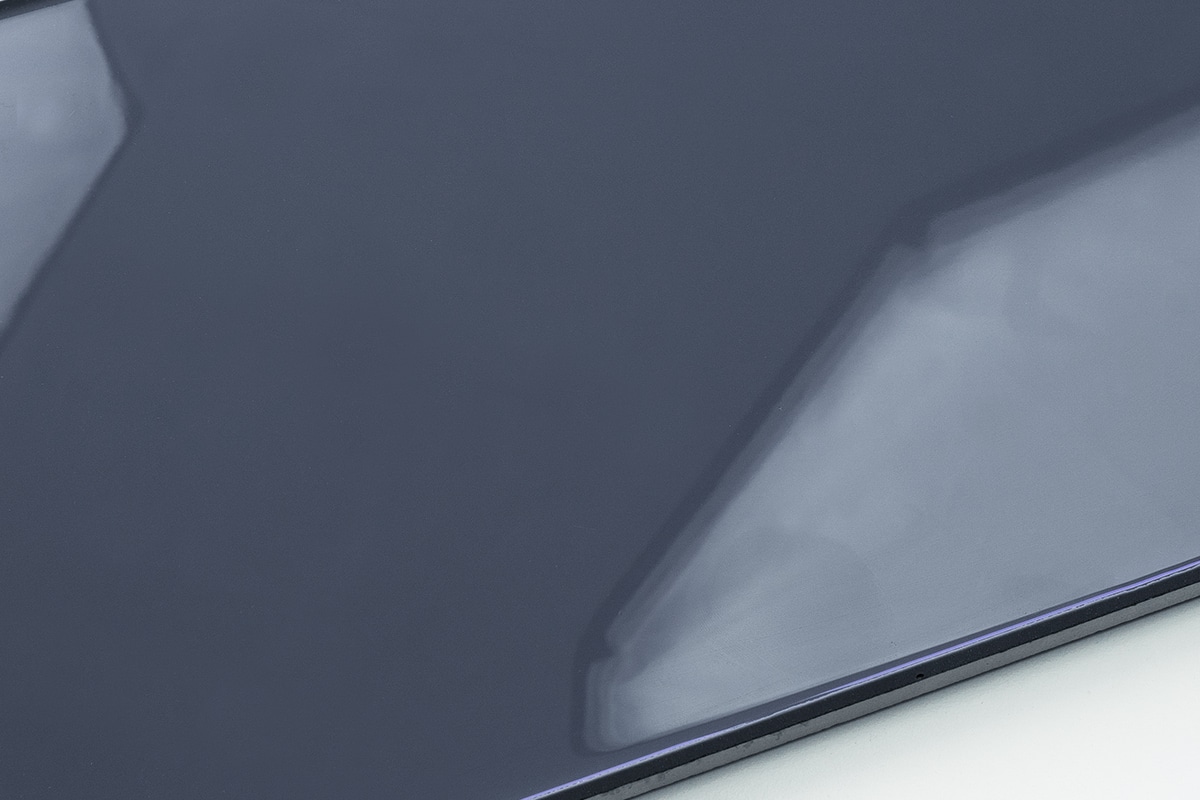
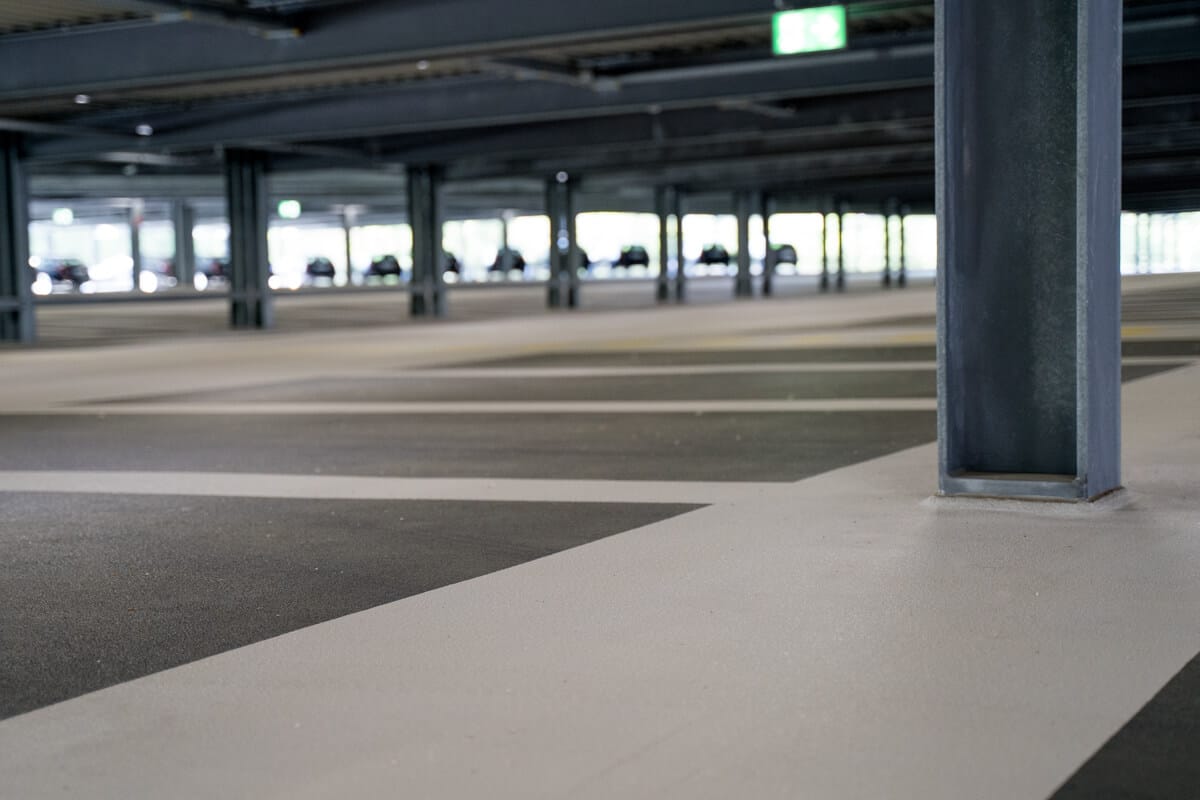
Flooring Kits in The Largest Color Selection
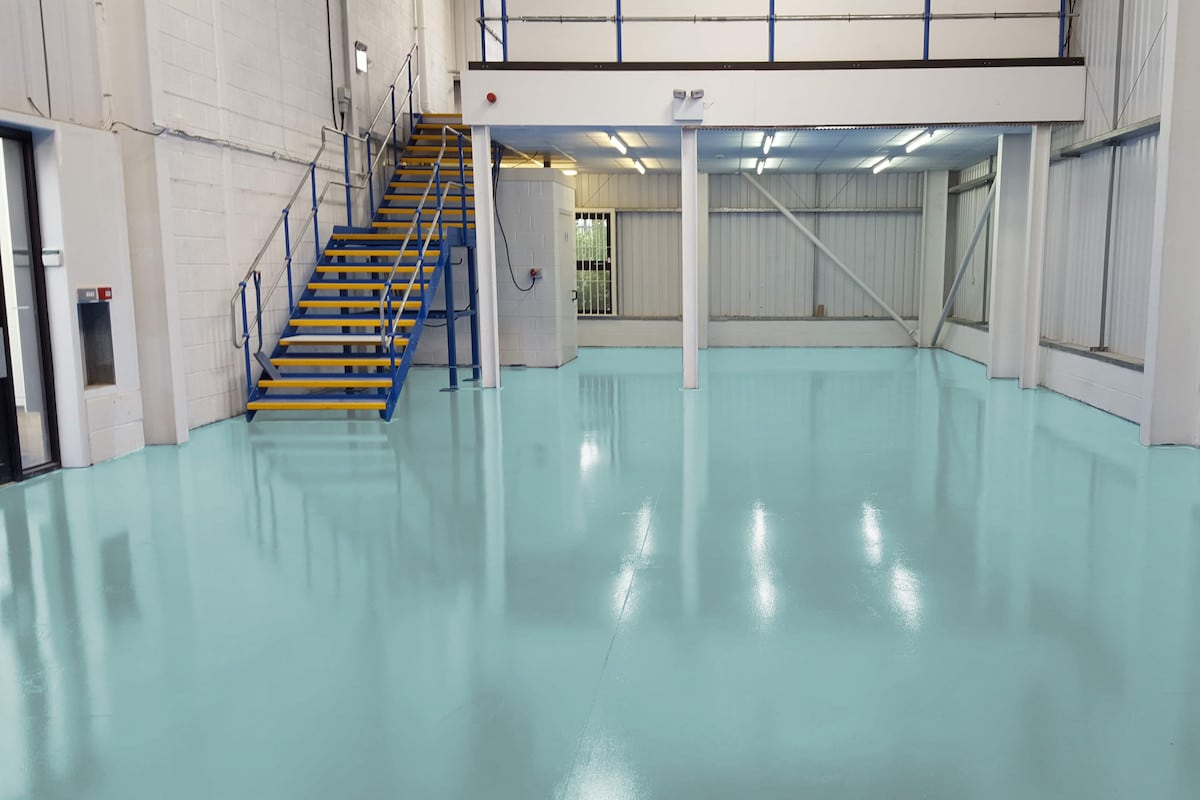
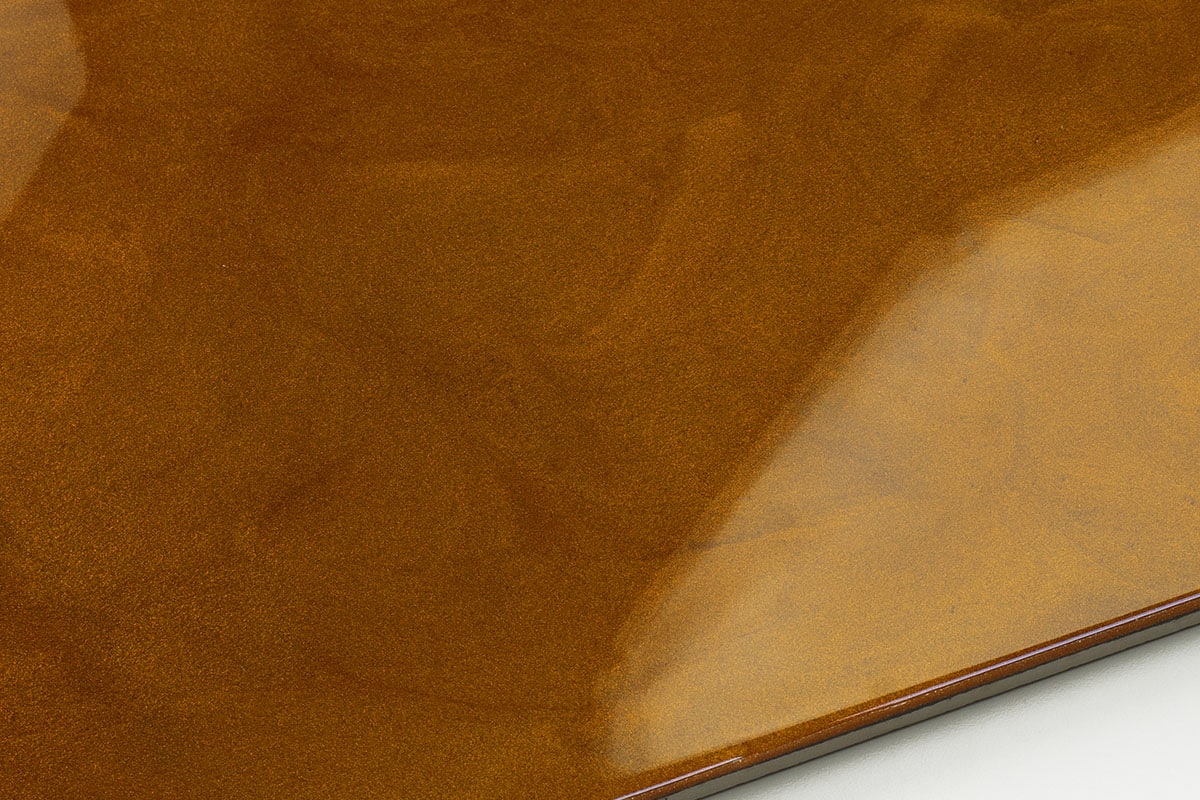
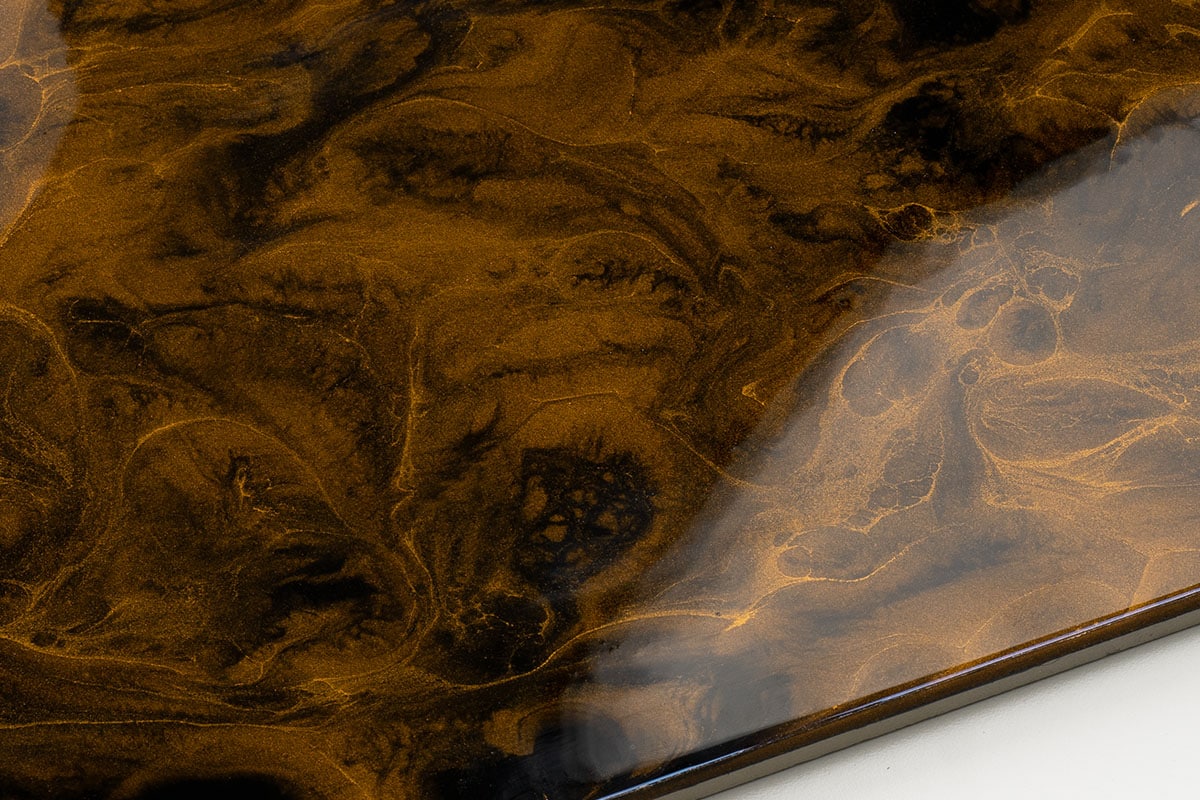
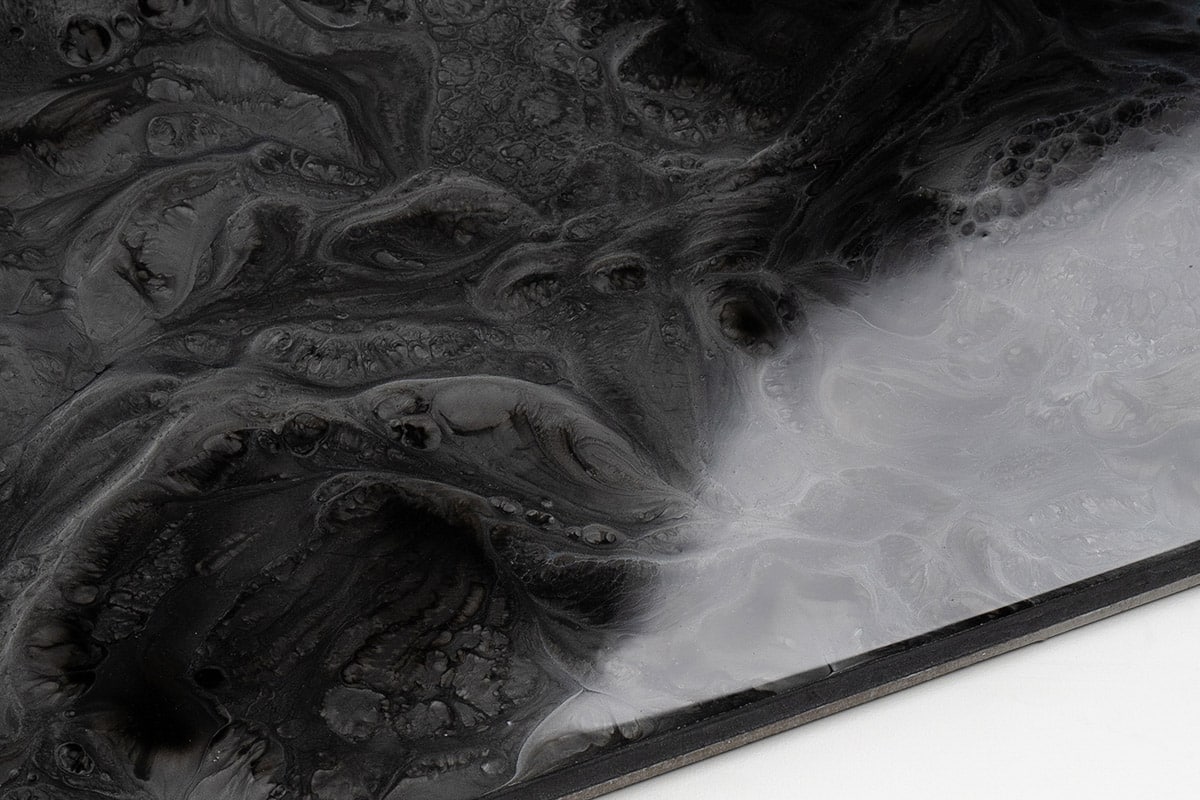
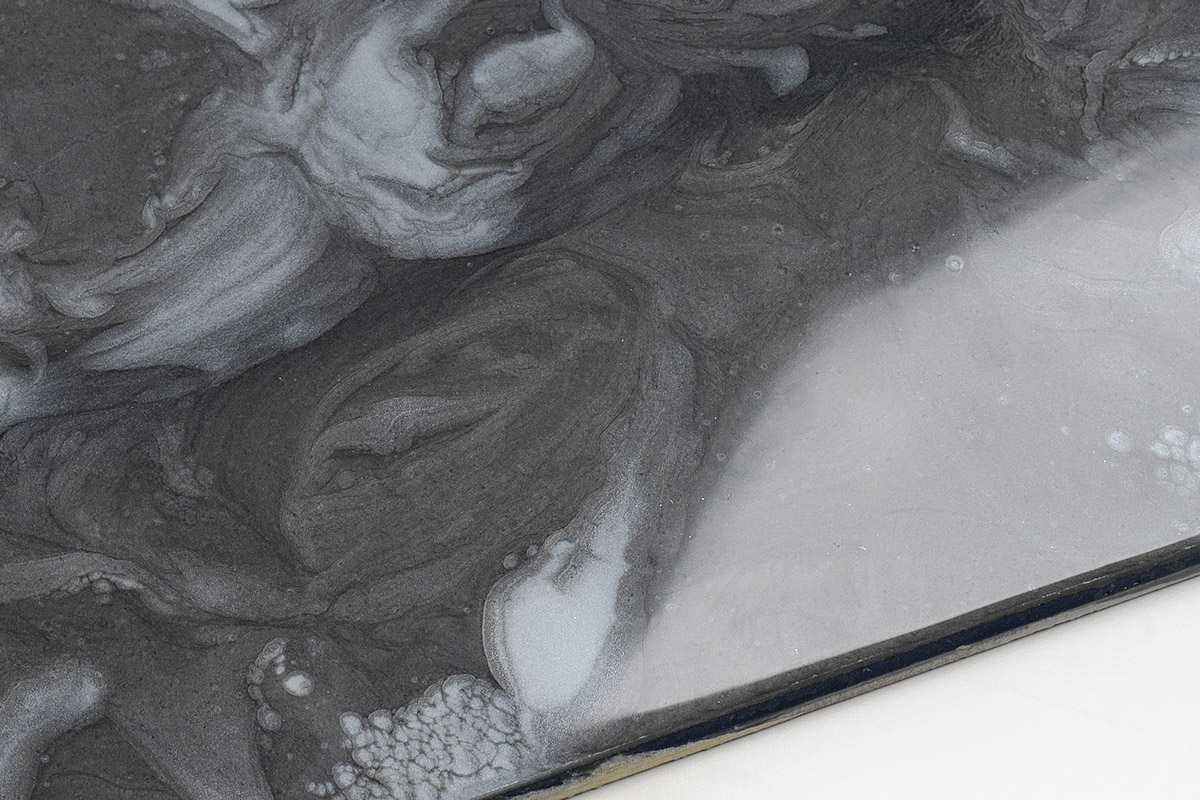
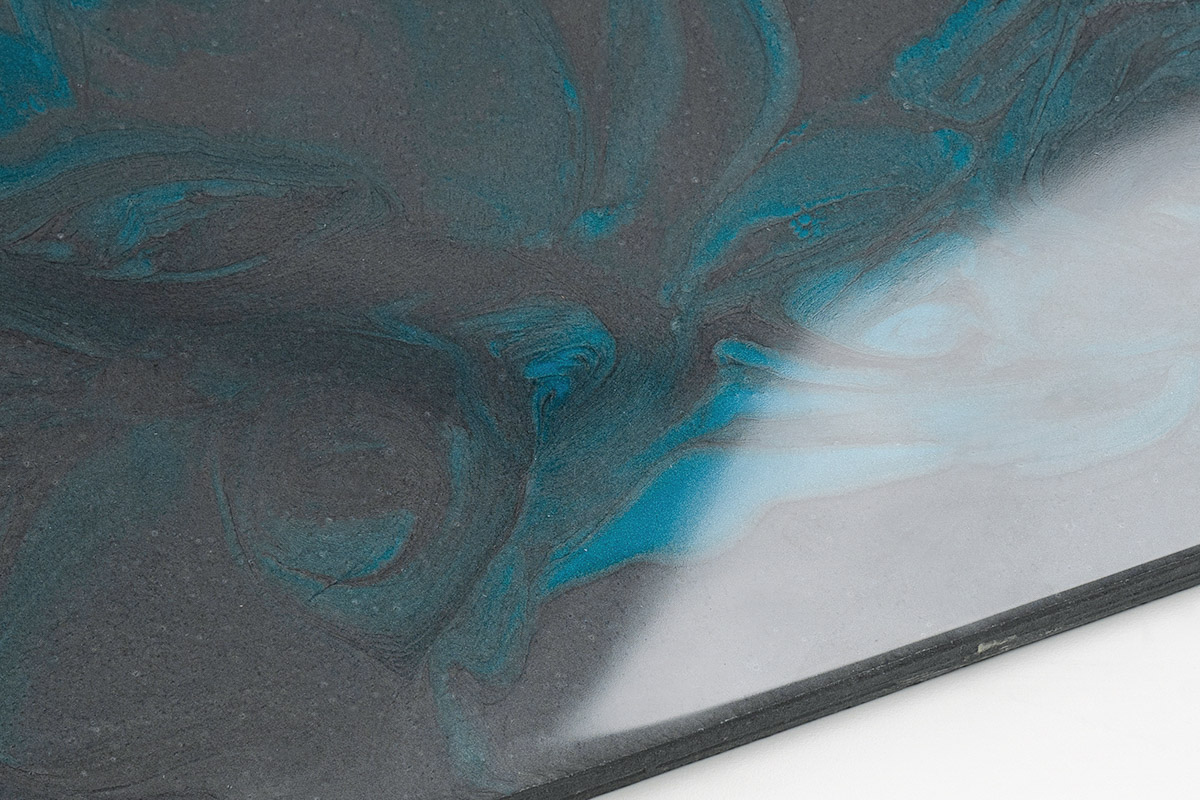
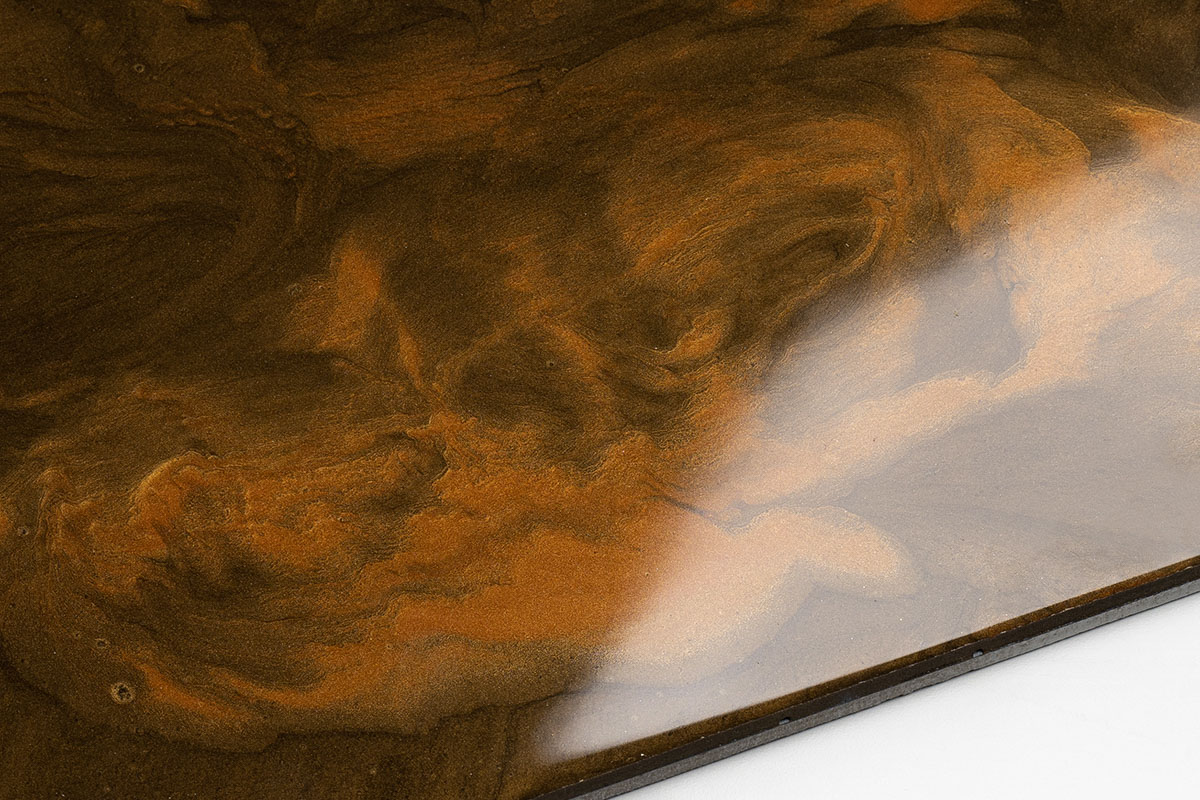
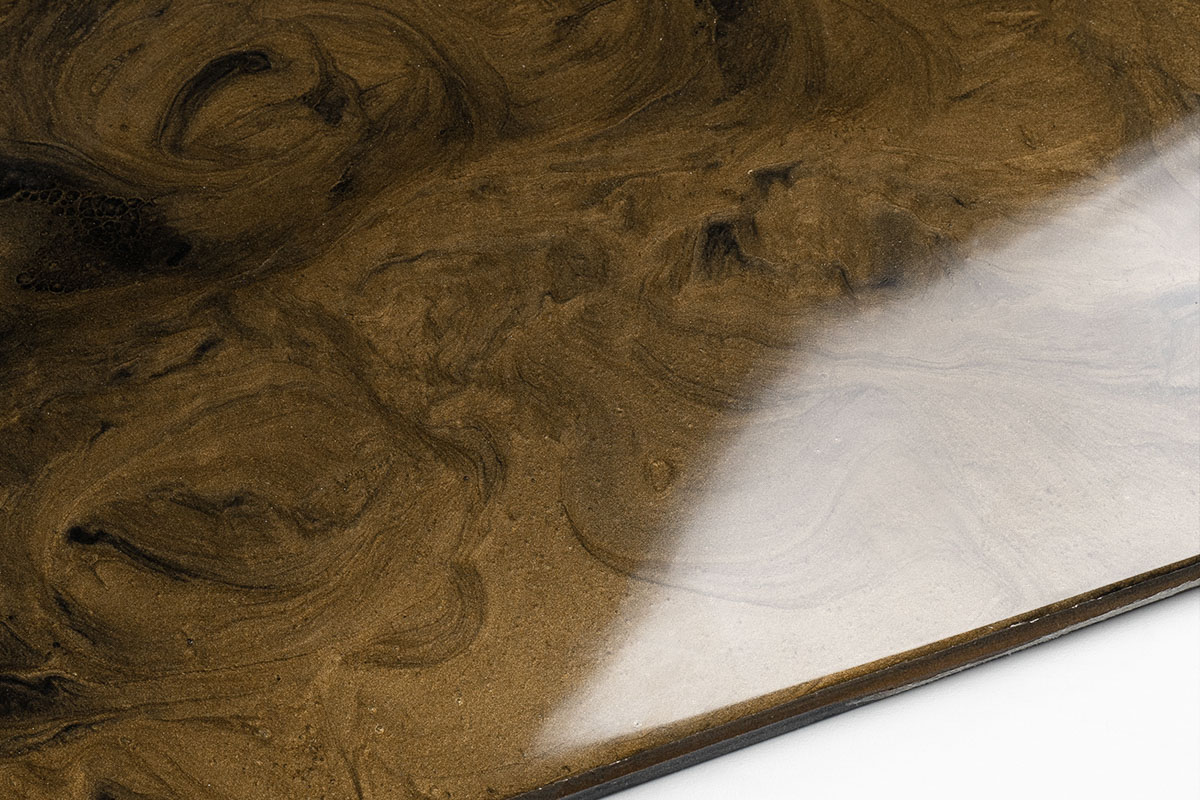
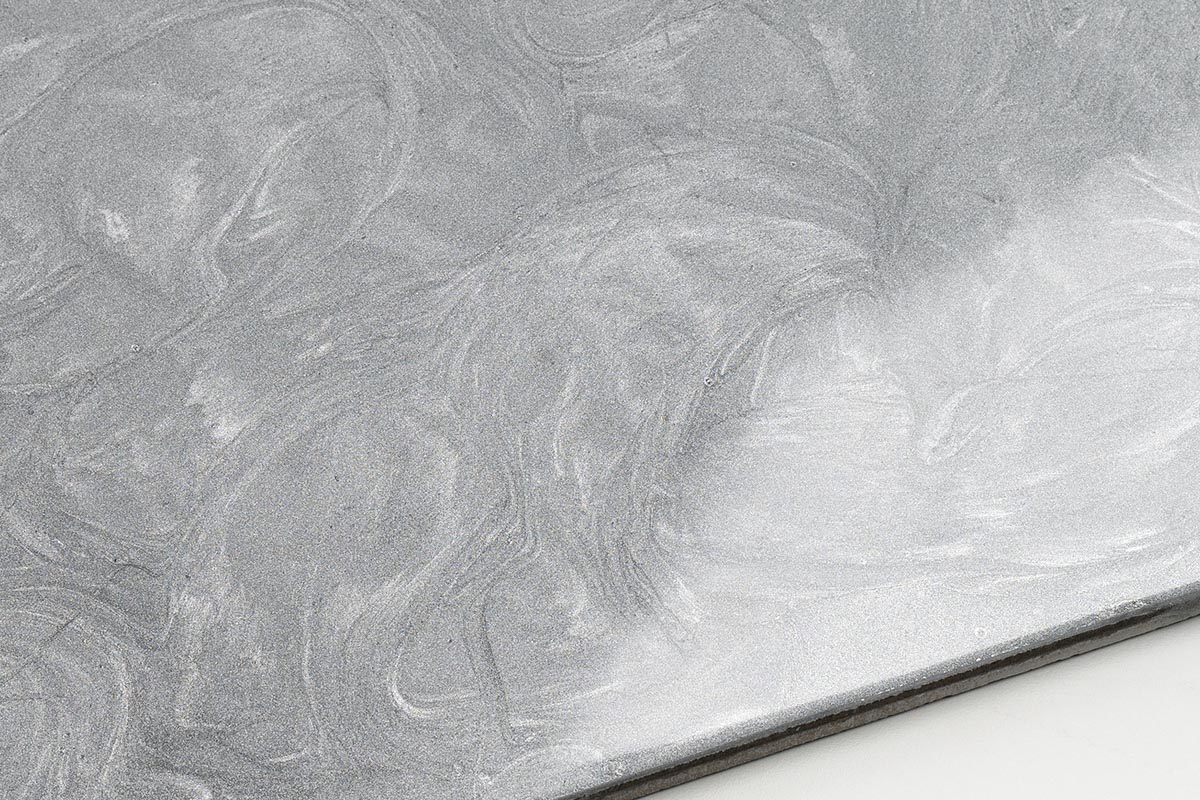
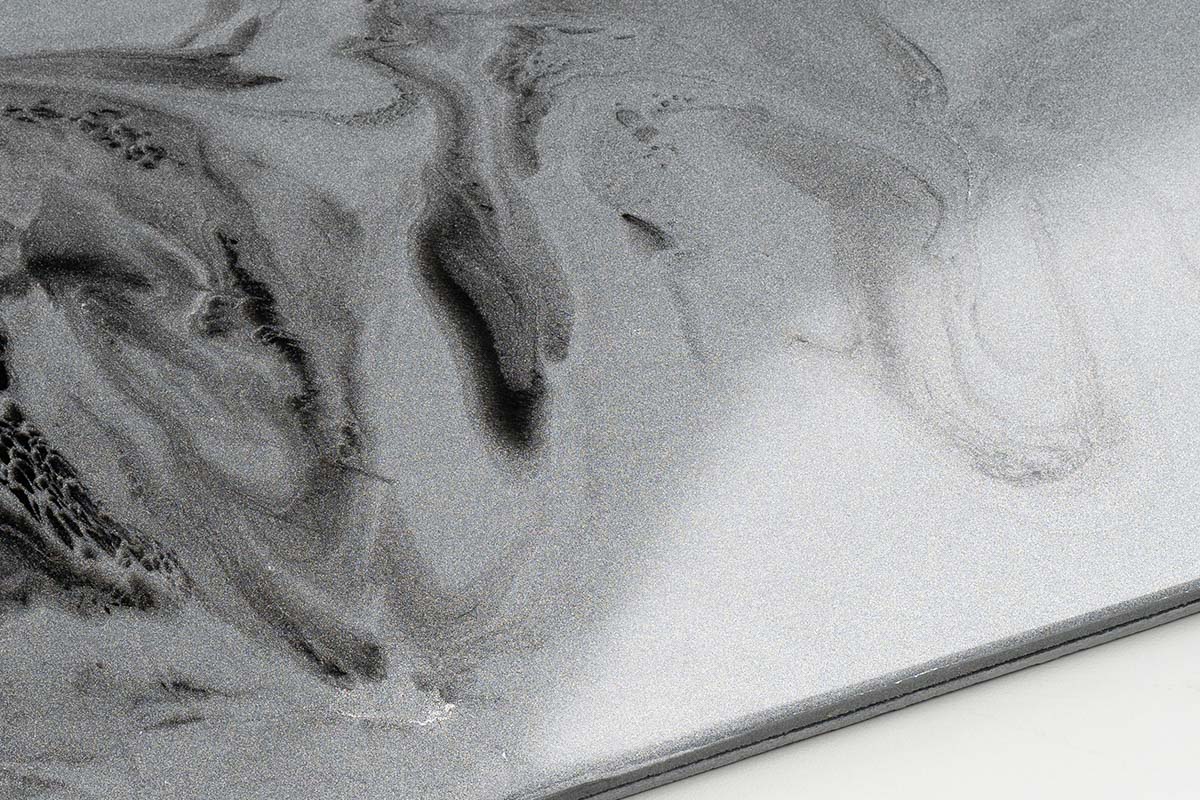
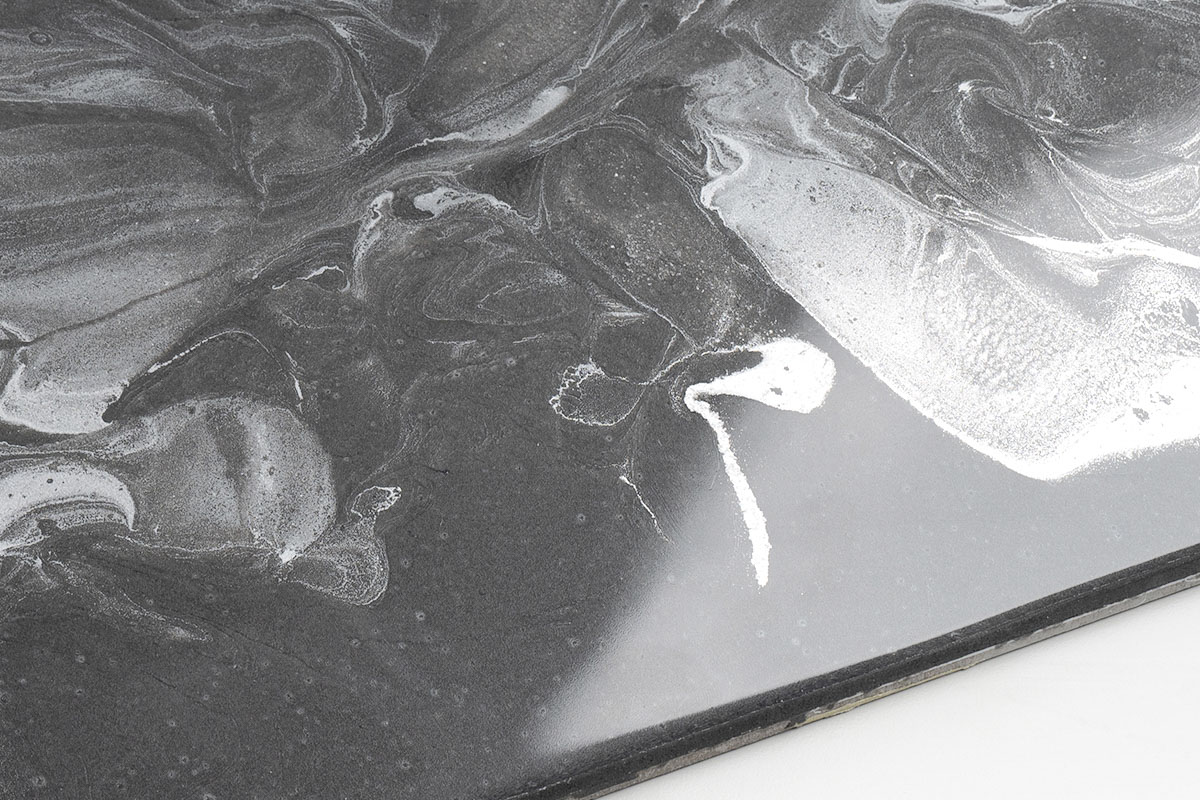
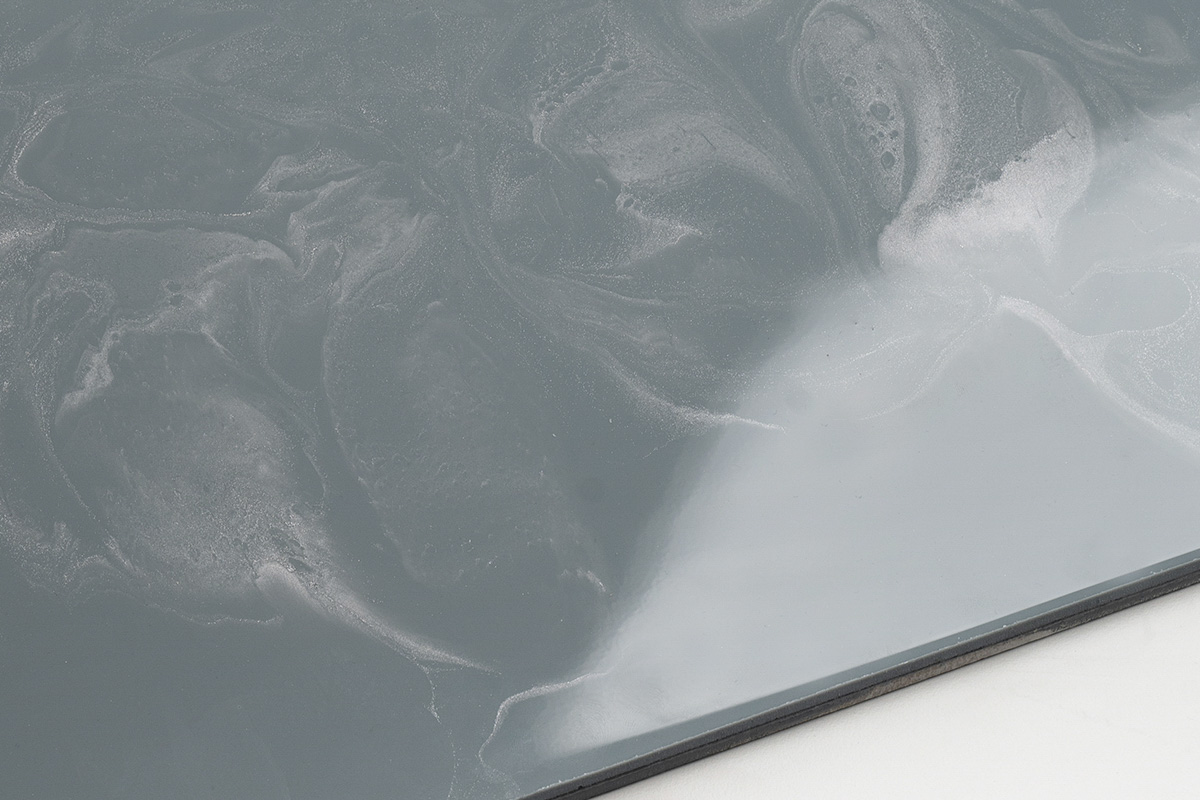
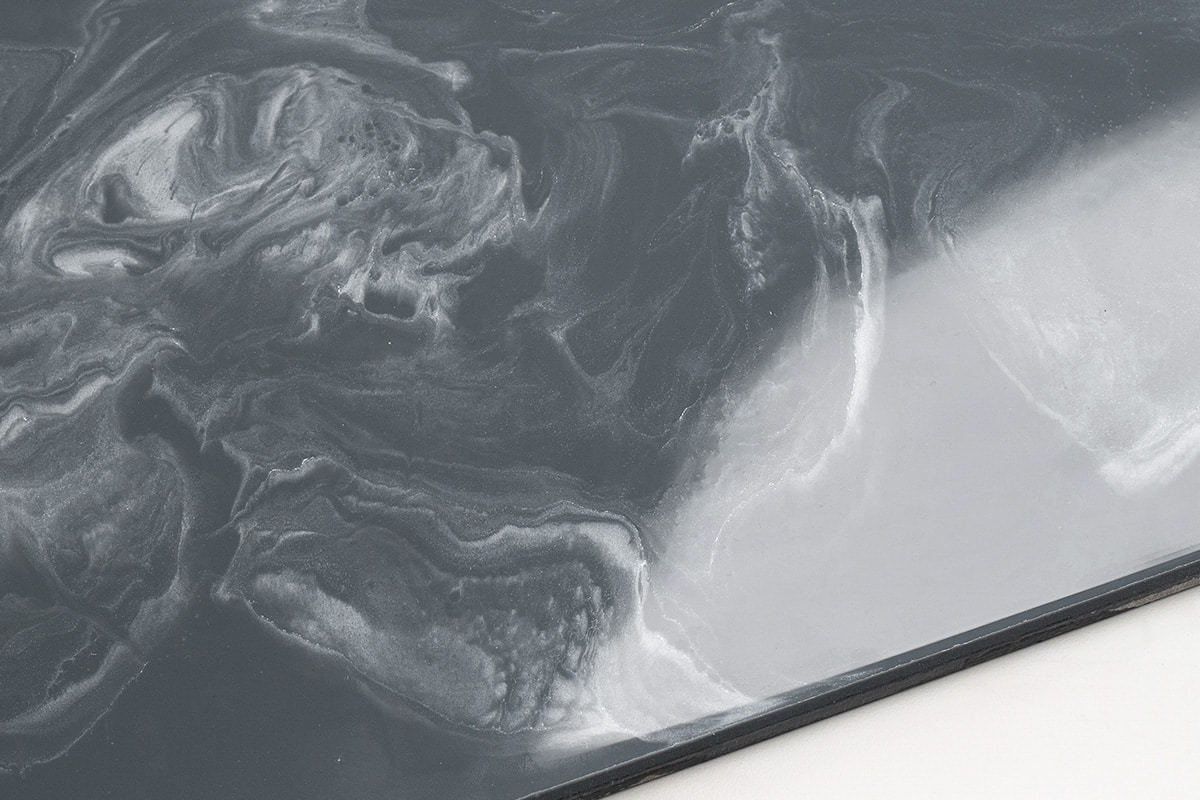
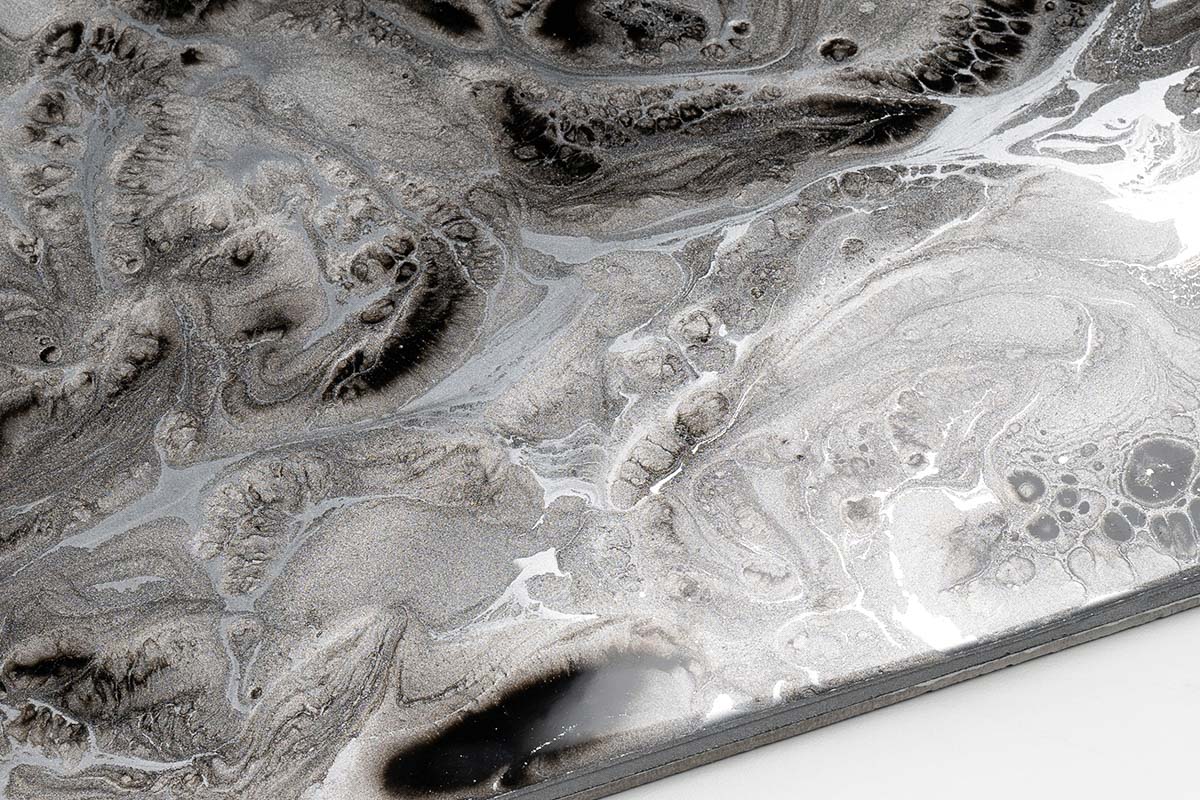
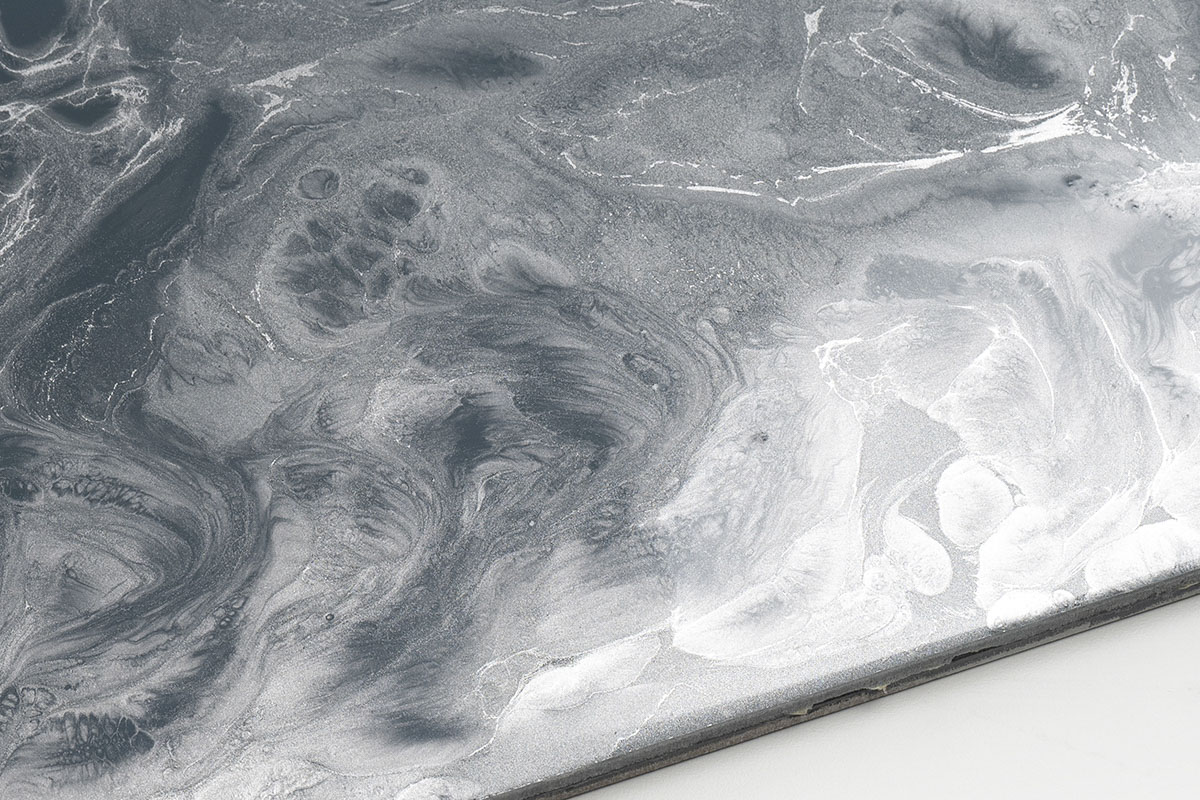
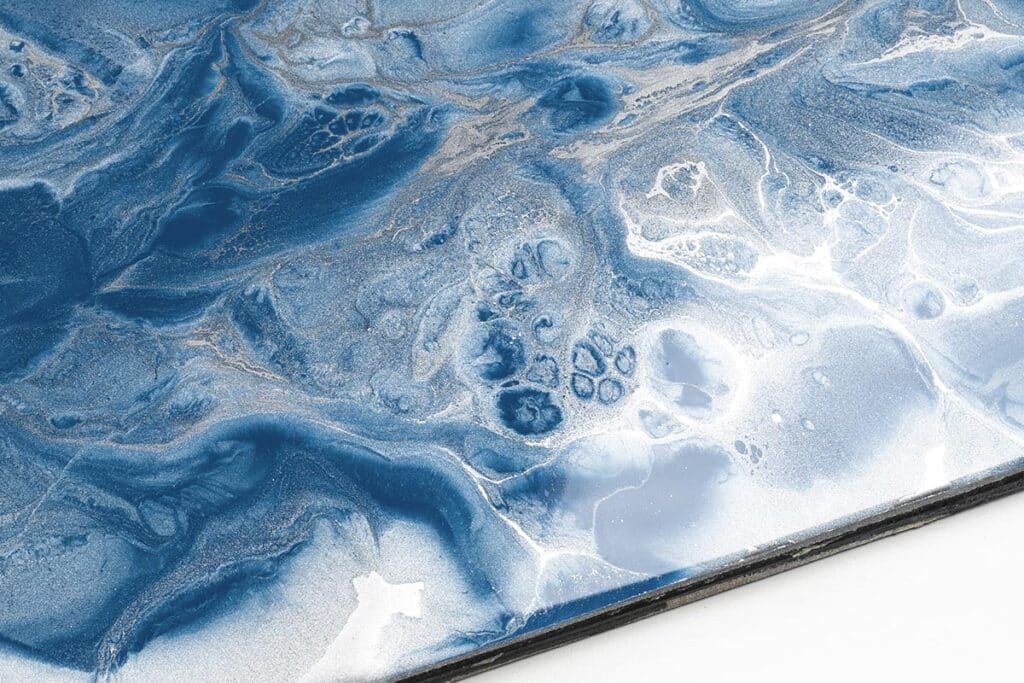
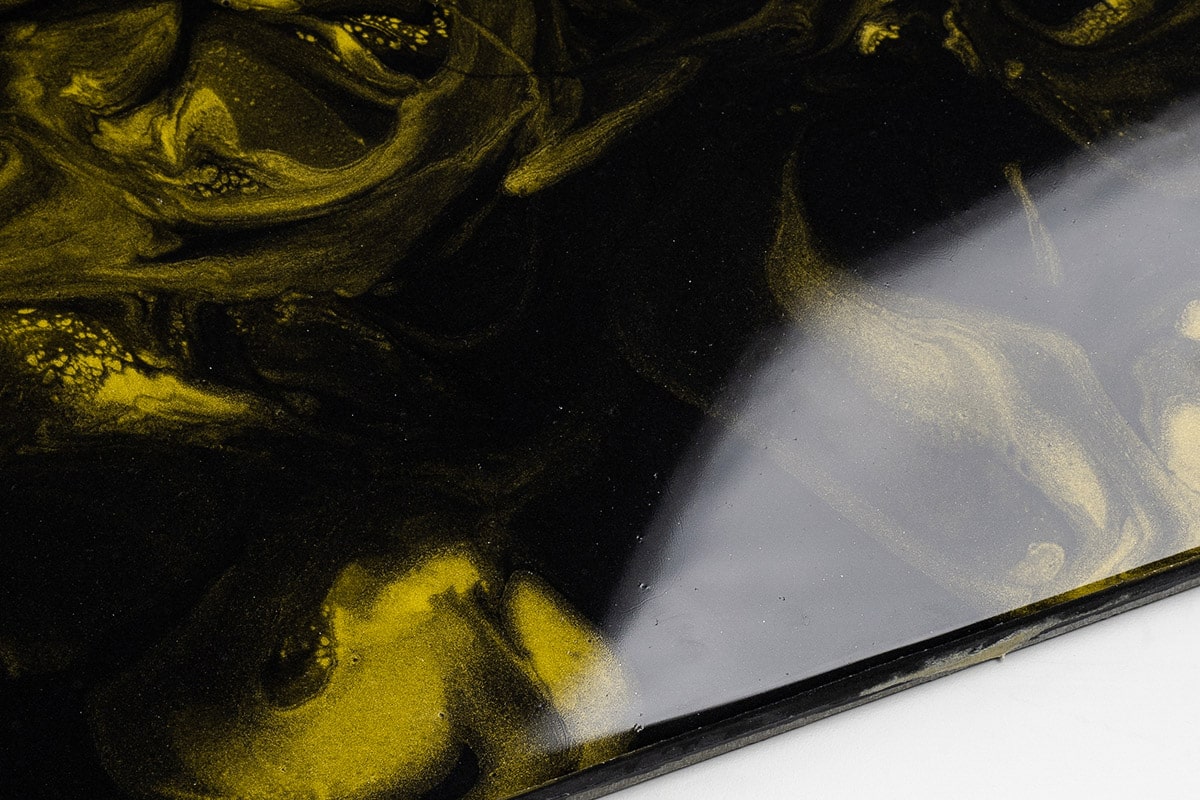
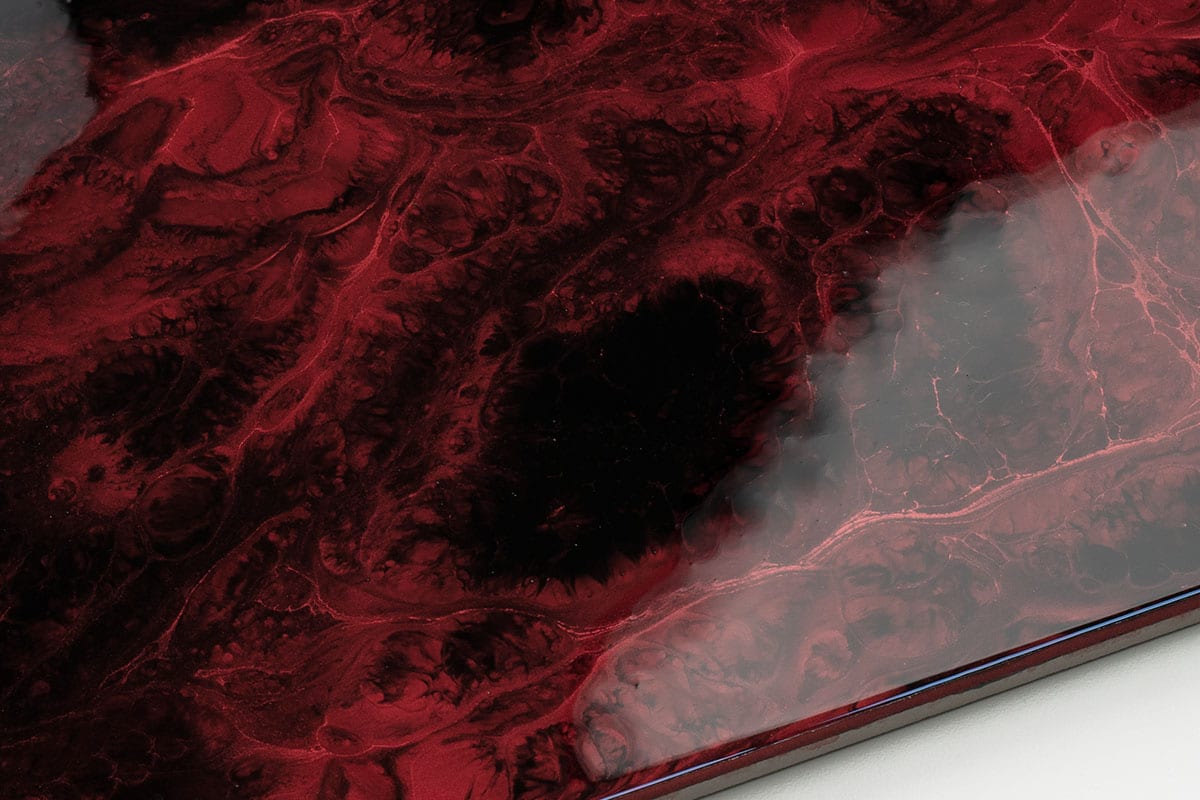
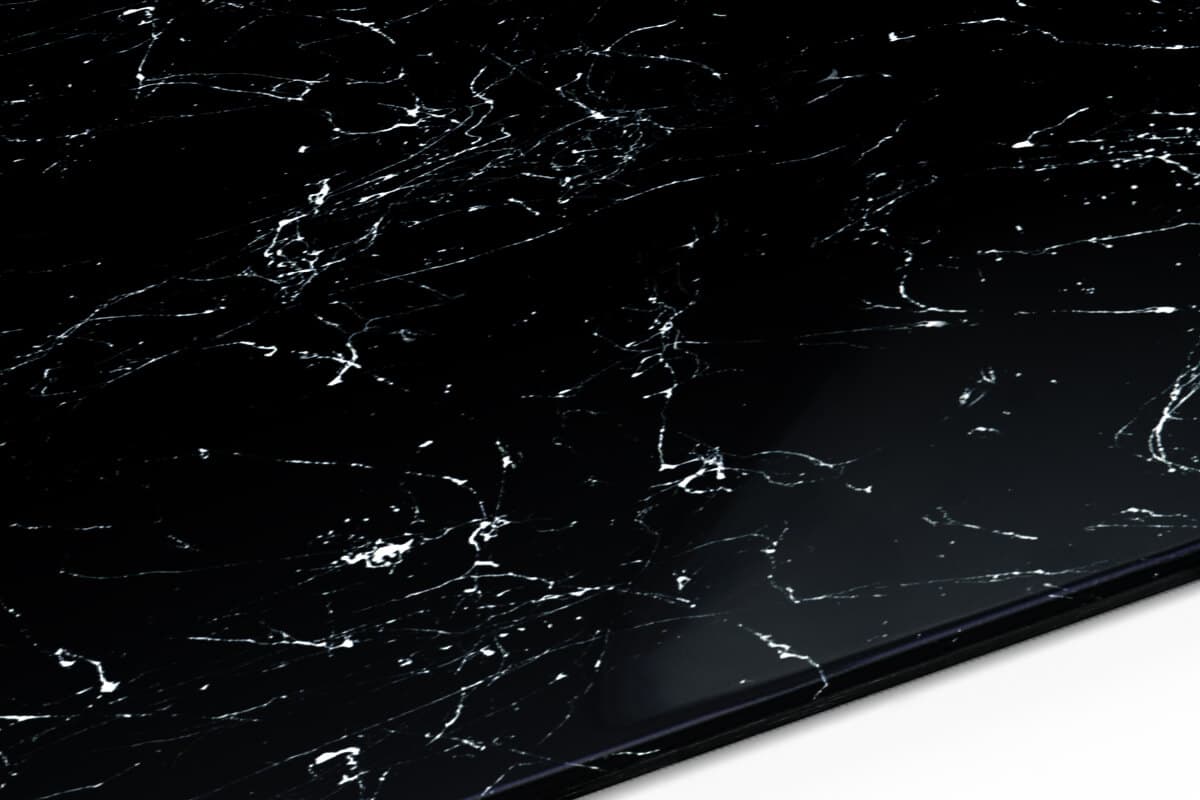
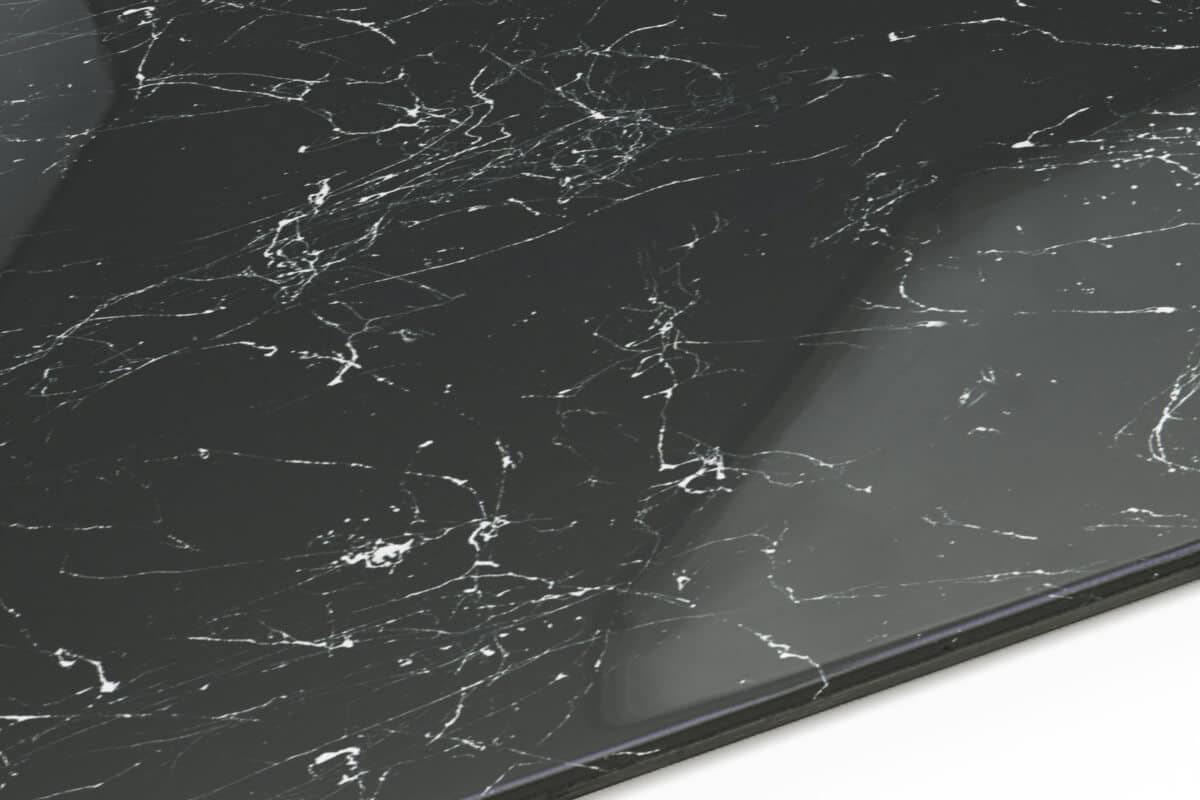
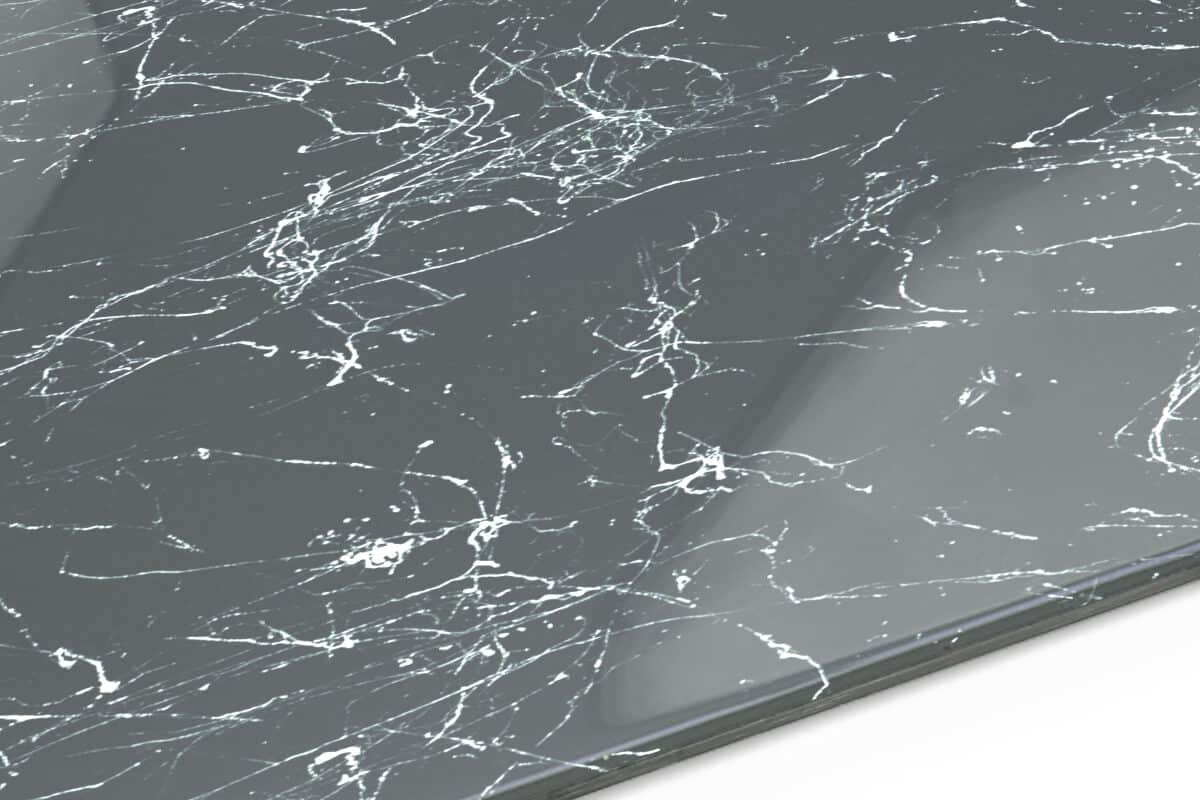
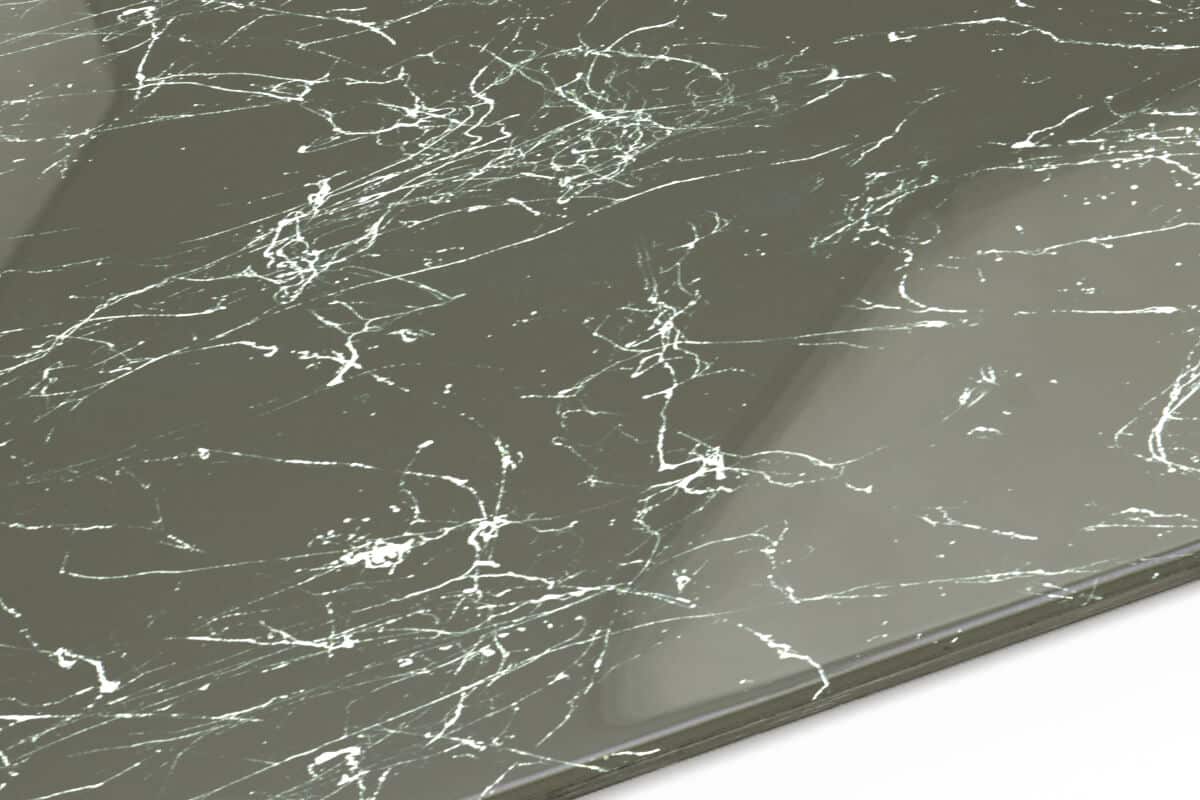
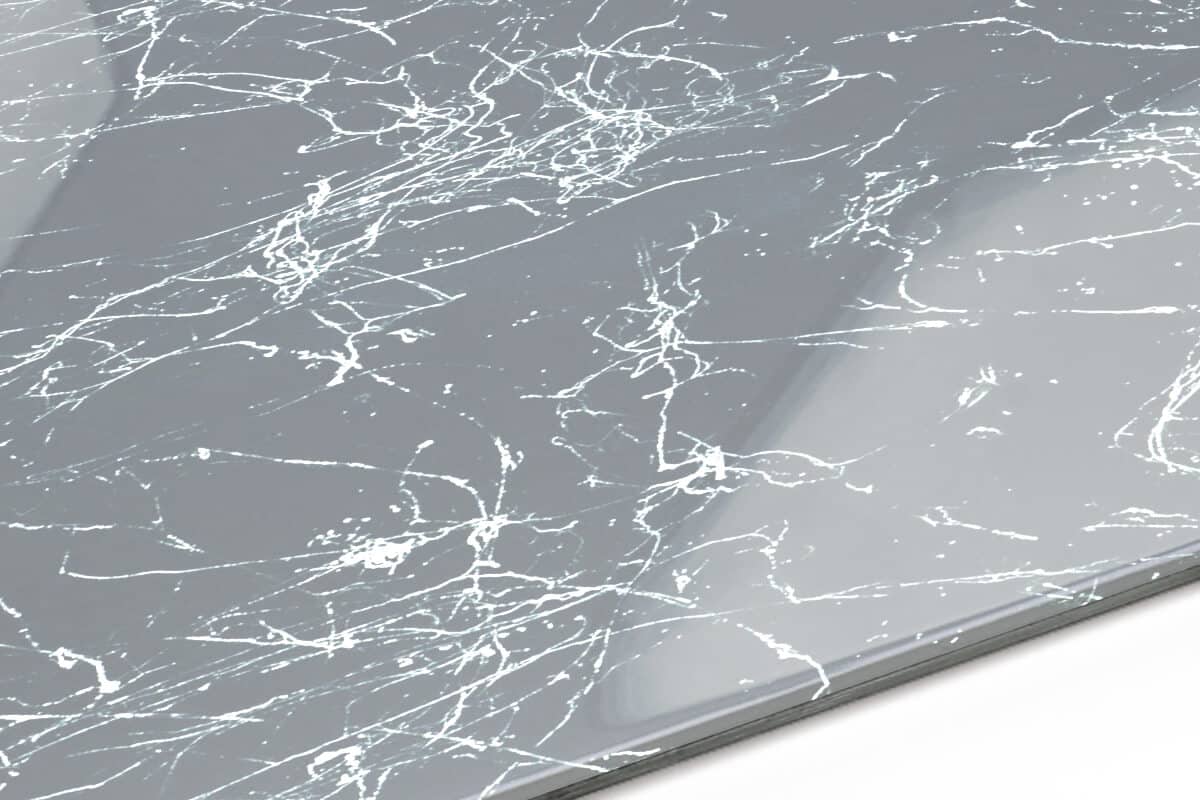
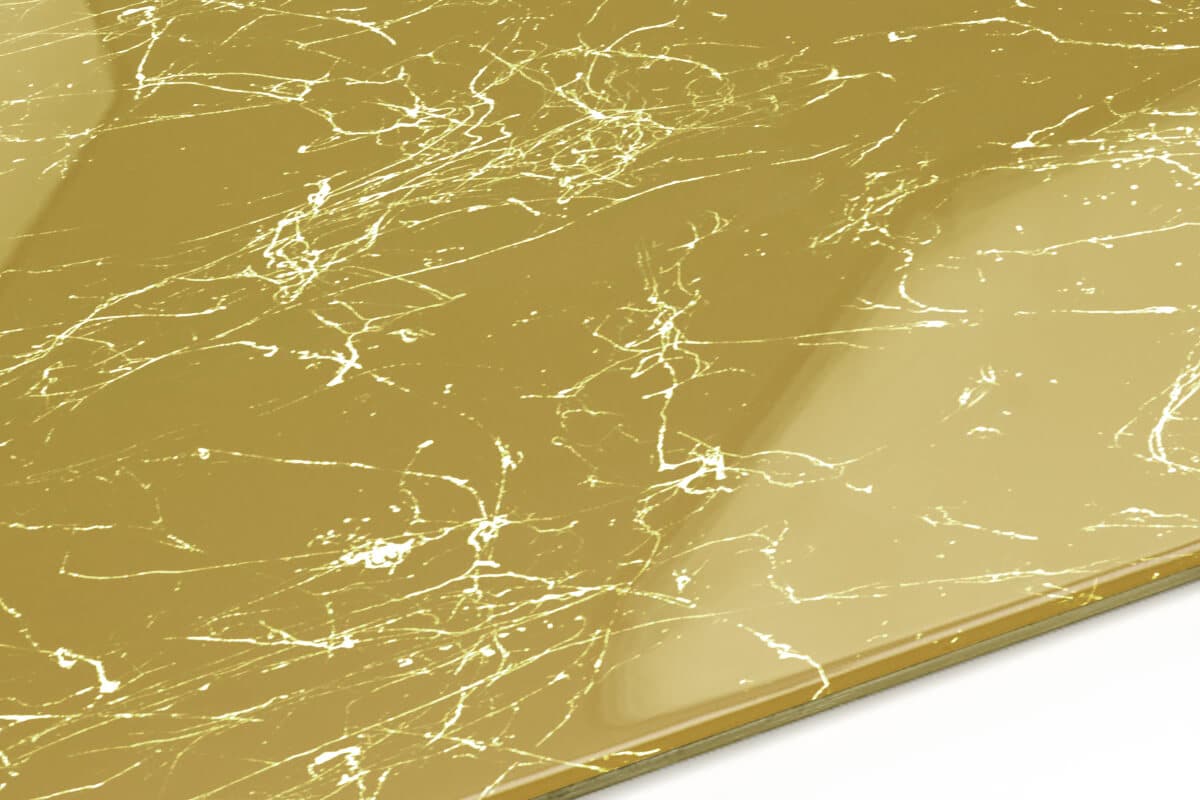
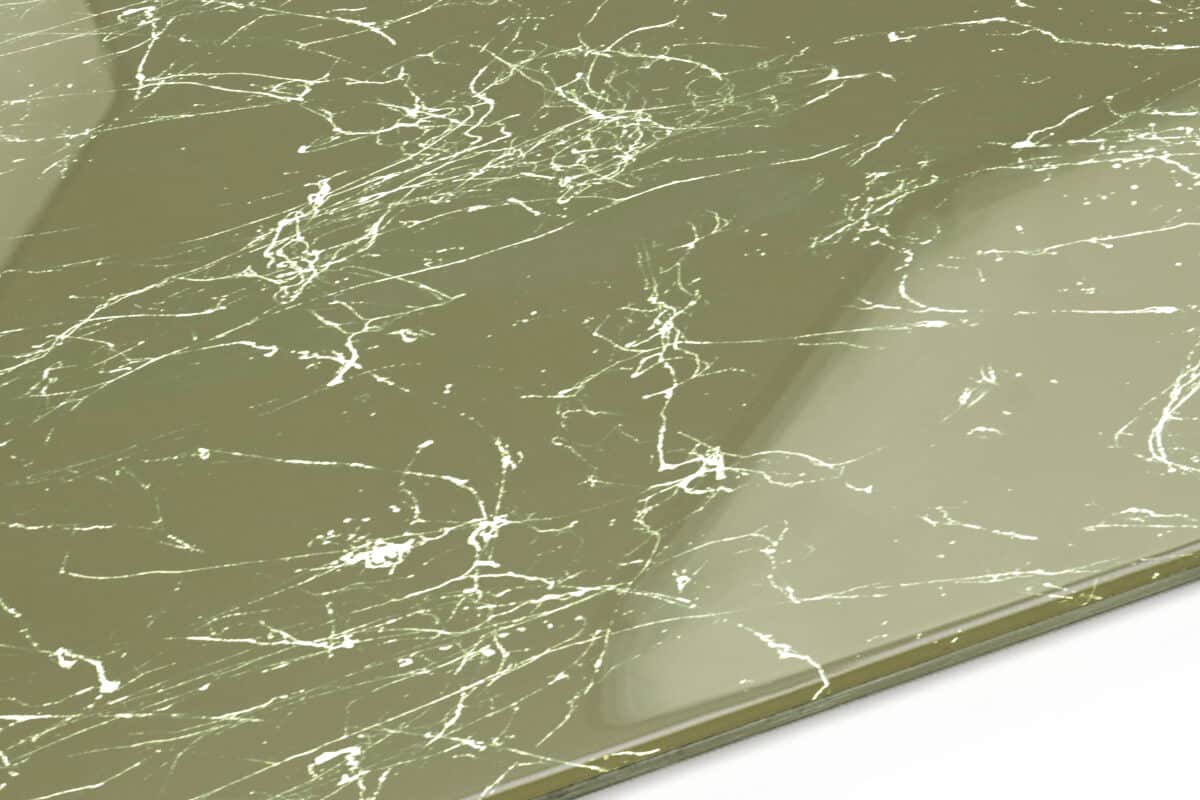
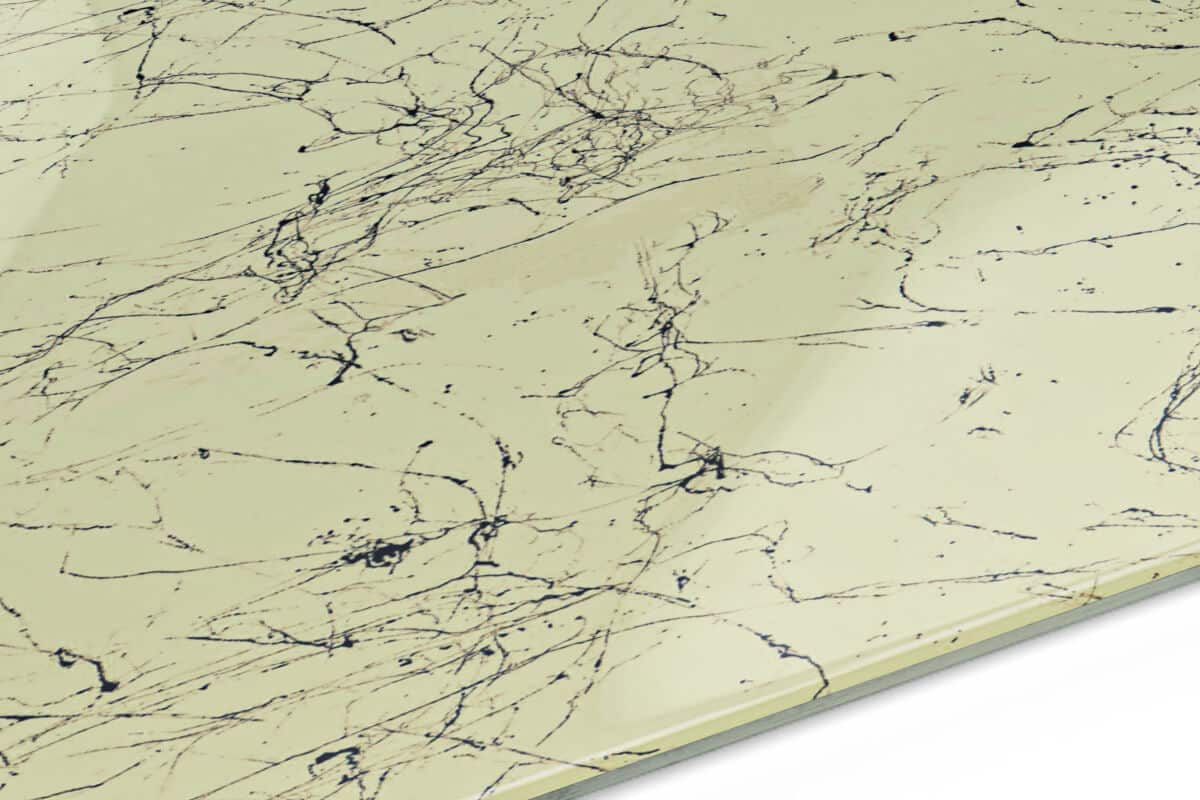
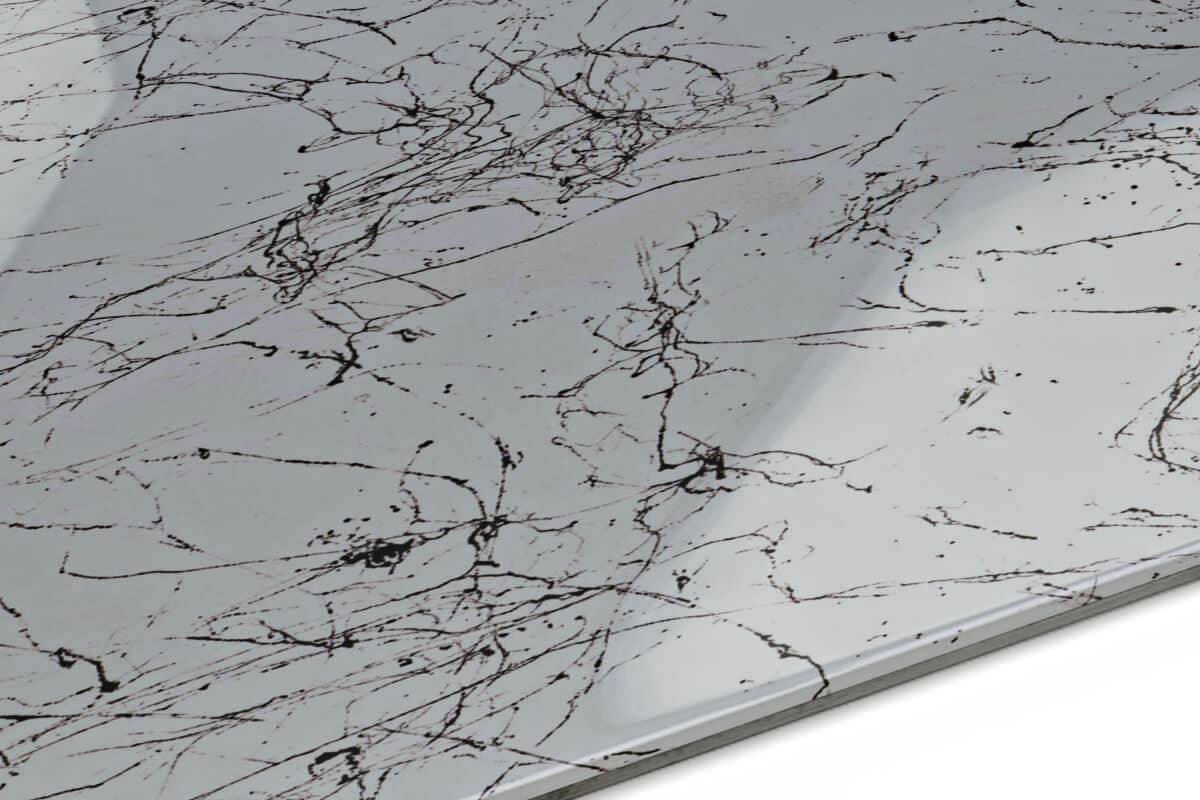
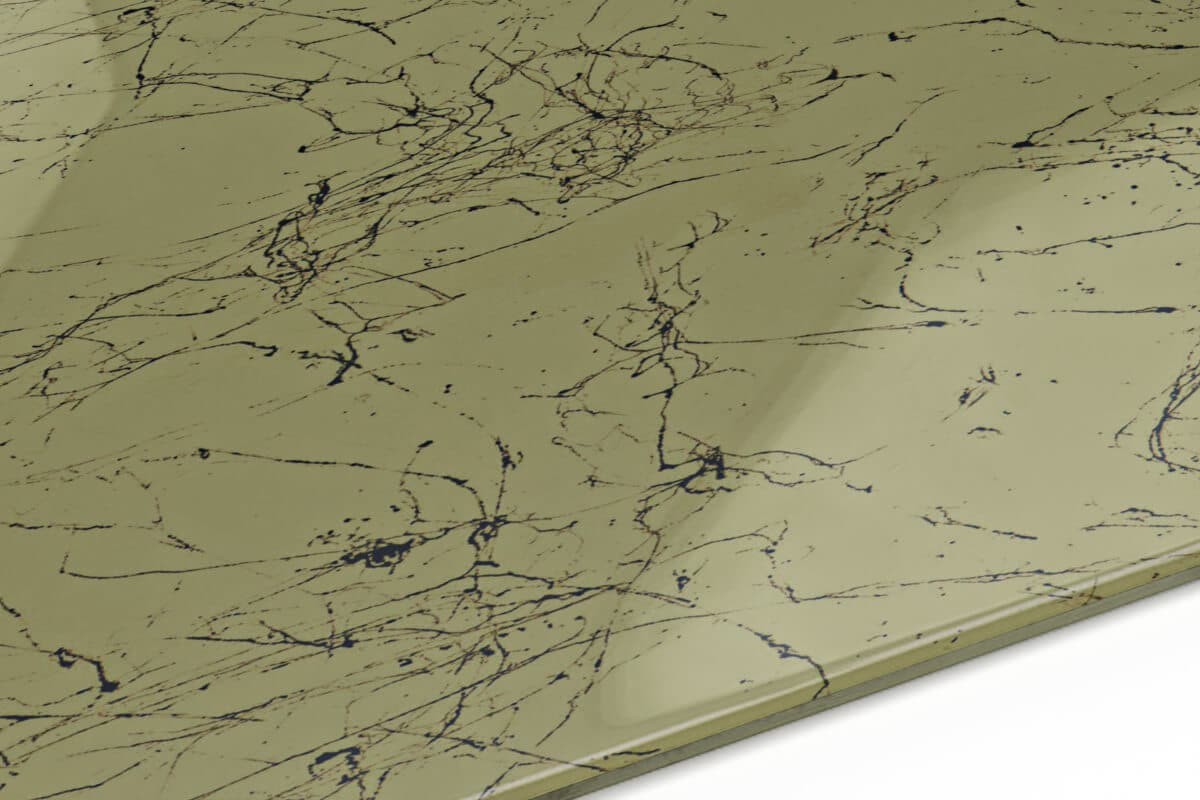
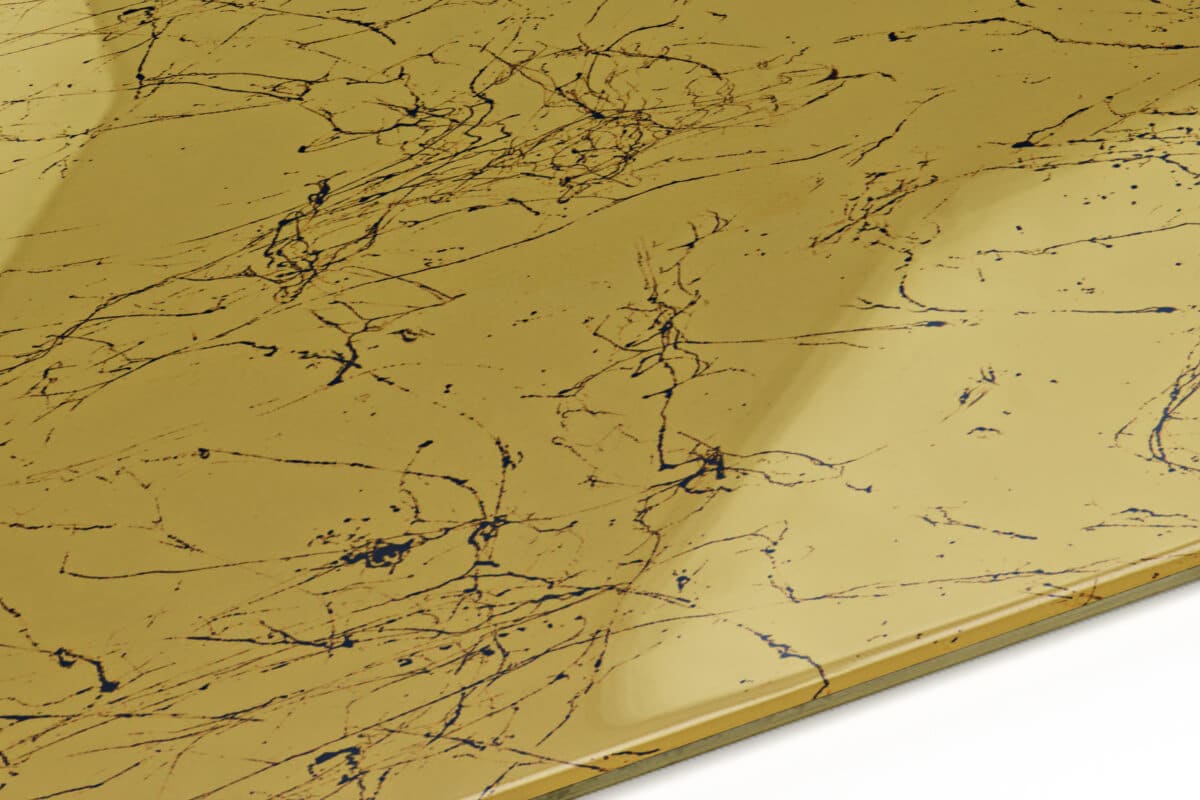
Let yourself inspire by our epoxy garage floor kits! No need to settle for the boring solid color. We also carry a large range of metallic flooring. They are perfect to transform your garage into the real eye-catcher!
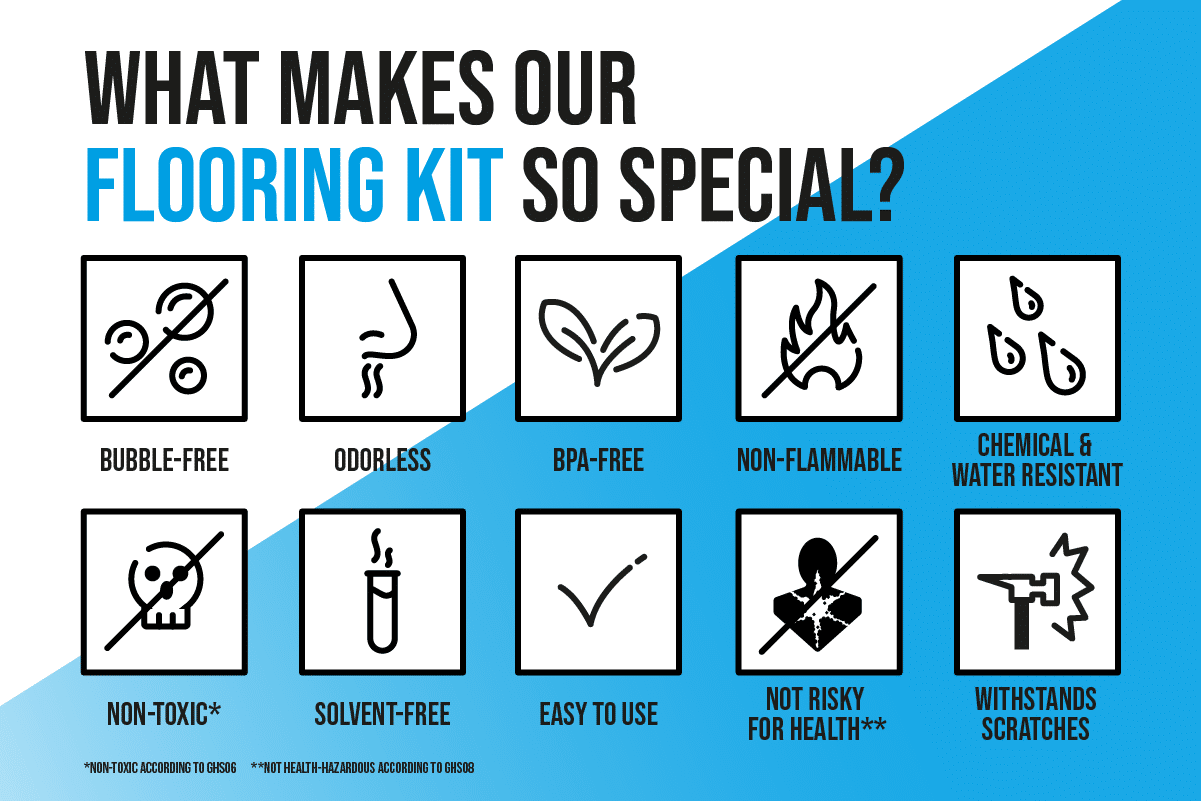
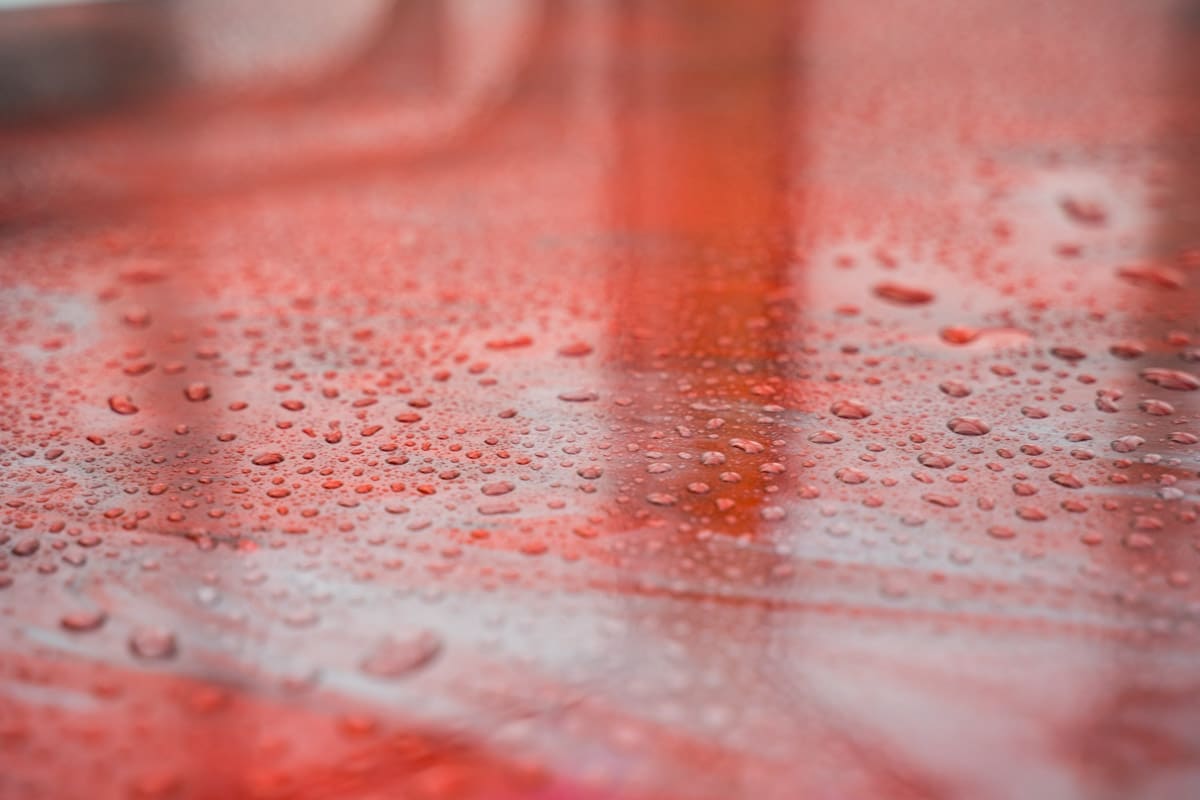
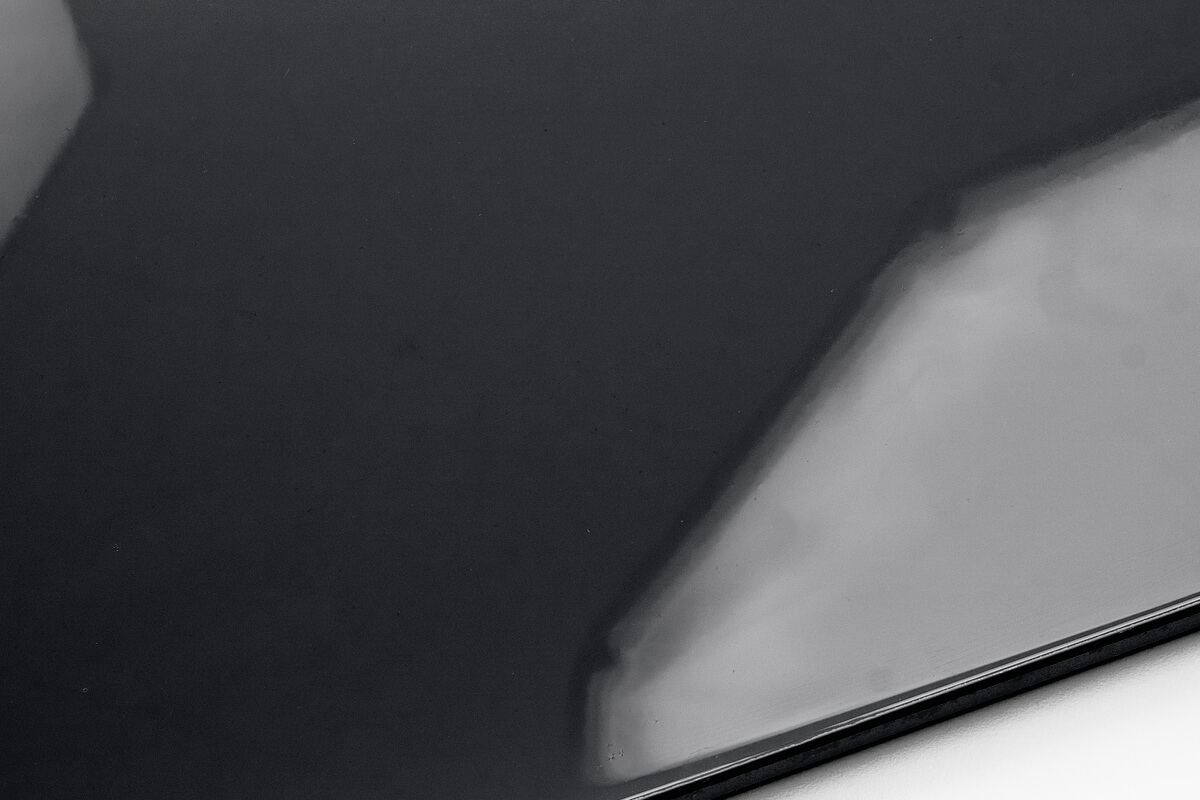
Your flooring will not only look spectacular but will also be easy to maintain. After complete curing, our epoxy kit is resistant to chemicals, oil, fuel, and much more. Say goodbye to your oiled stain garage. And say hello to your stress-free epoxy garage floor!
An Epoxy garage floor is also waterproof and withstands scratches. Take the leap now, you won’t regret it! EPODEX is indeed always the right choice.
What does this kit include?
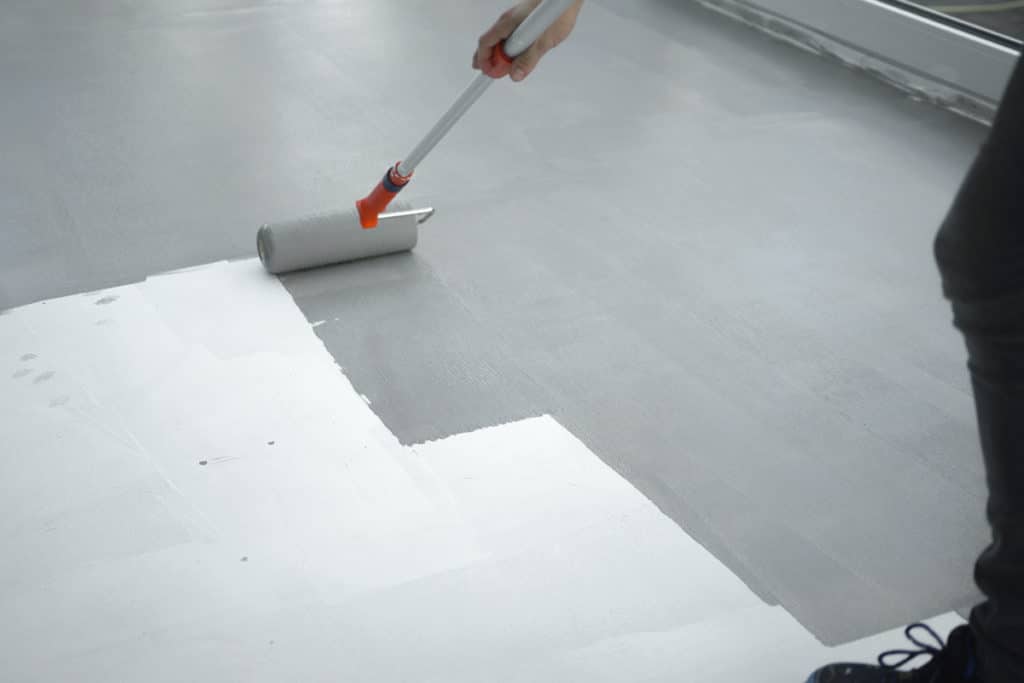
Each of our epoxy garage floor kits includes a primer, resin, hardener, and the desired colorant. Priming your floor is so important! By priming, you make sure that the surface you will be working on is uniform. The primer also ensures that the epoxy will bond seamlessly to your flooring.
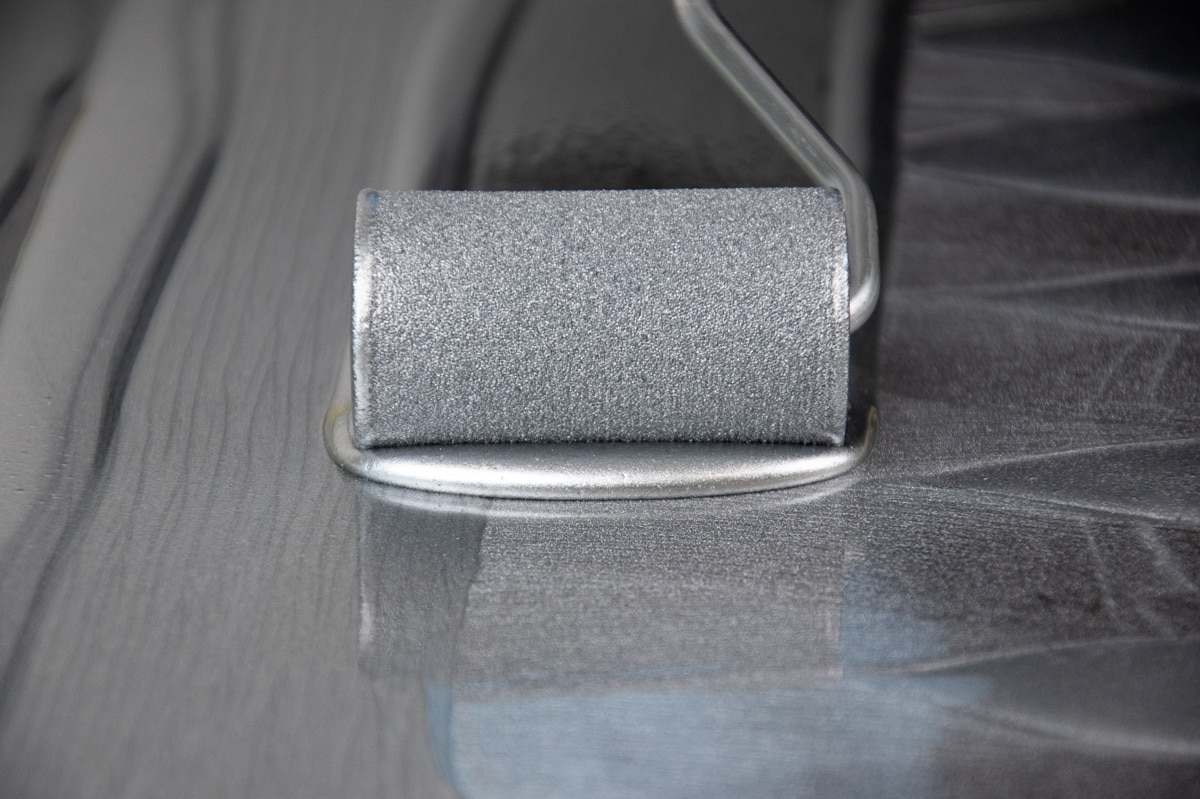
Start by mixing your primer thoroughly. Then, apply it over the entire area with a paint or foam roller. Let the primer dry for at least 1 day before applying the epoxy.
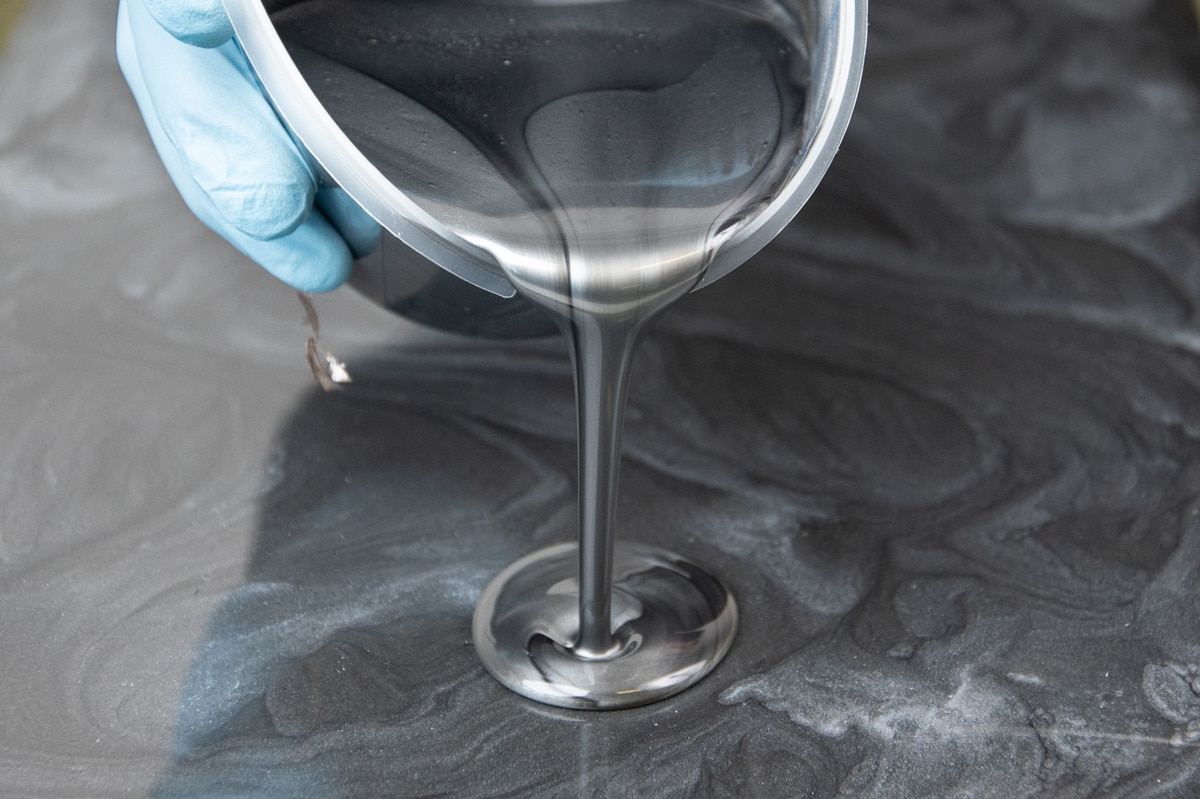
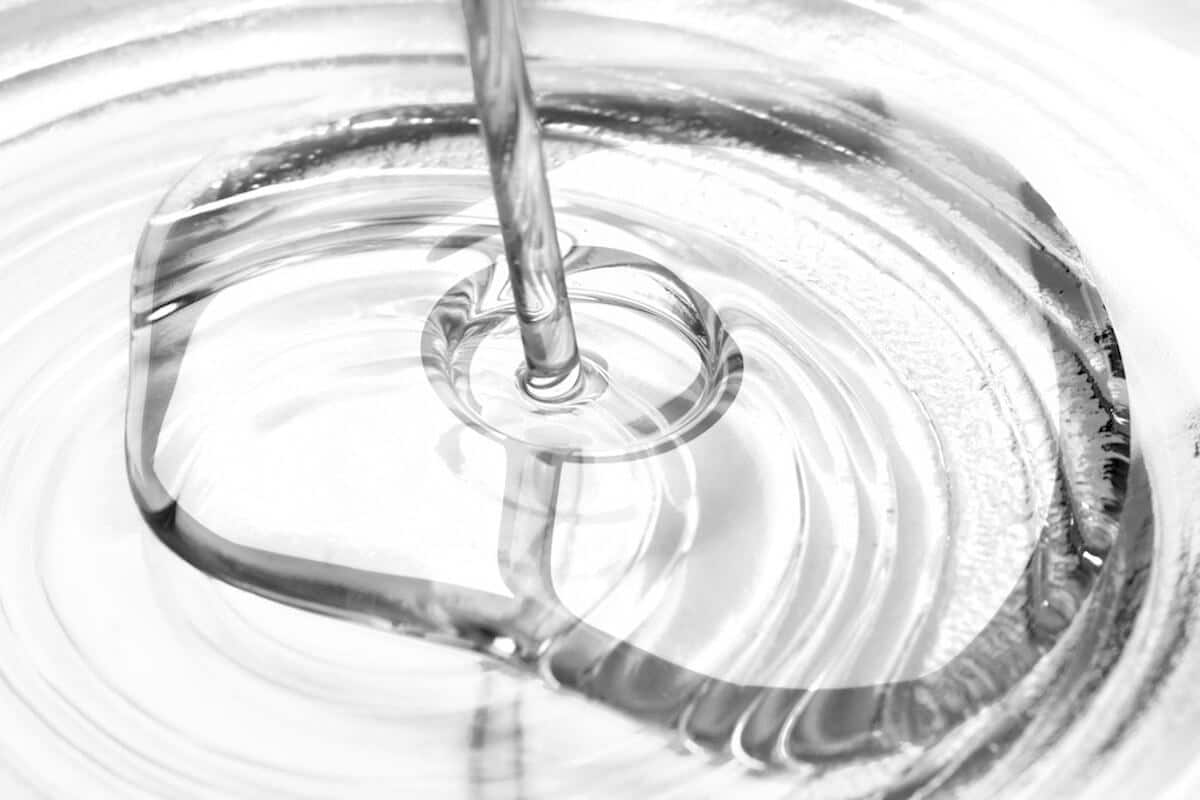
How to apply the resin depends on the selected kits. If you chose a kit with one colorant, here is how to proceed. First, mix the resin and hardener in a 2:1 mixing ratio. For example, 2gal of resin with 1gal of hardener. Mix until the resin-hardener mixture of free of streaks. Add the colorants to your mixture and mix again. Transverse your mixture into a new mixing jug and mix again. This step is important to make sure that the edge and bottom of your mixing jug are well mixed.
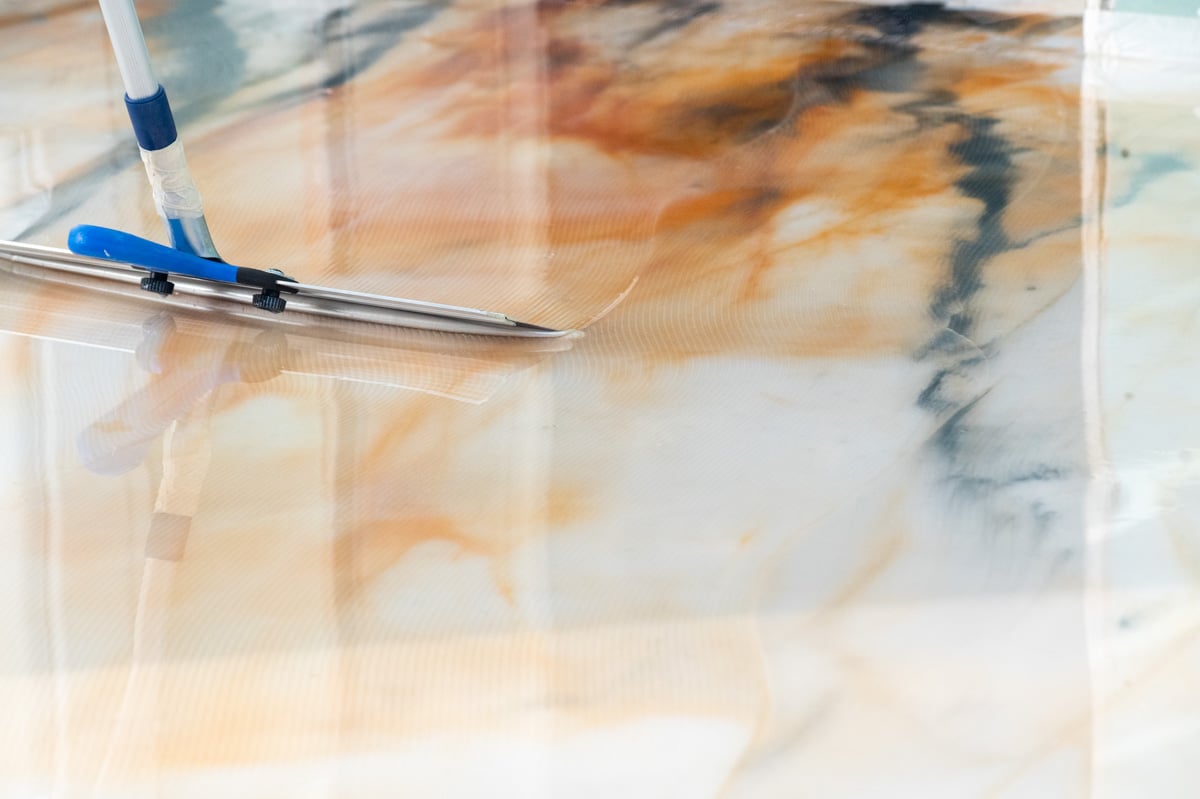
Pour the colored epoxy onto the surface to be coated immediately after mixing. Then, use a squeegee to distribute the resin evenly.
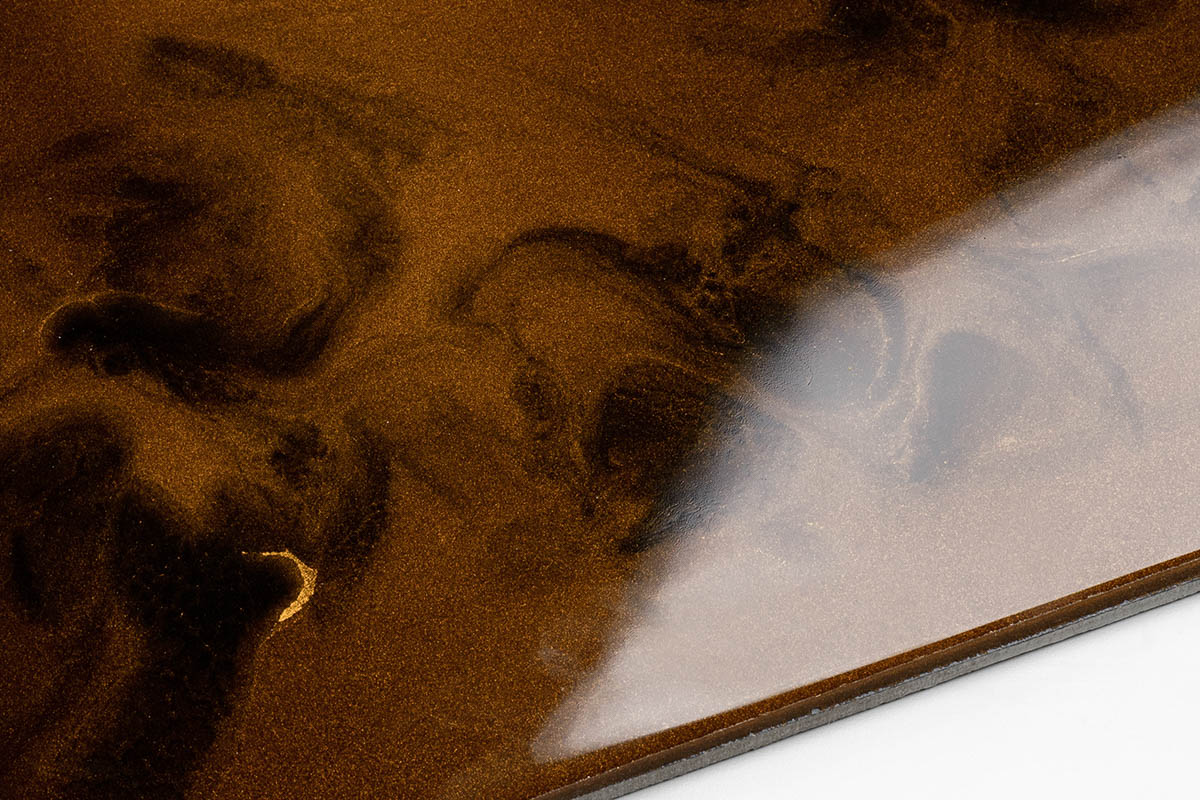
If you have selected a kit with many colorants, you will need to dye the resin in different colors. Most of your epoxy will be dyed in the main color. A small portion of the epoxy will be dyed in the highlights color(s). Click Here to find out what quantity to mix and how to apply the highlights. To learn how to coat other types of floors click here.

More than
314,000+
Satisfied costumers
")

