Painting Tiles
A Complete Guide to Transforming Your Space
Painting tiles is one of the quickest and most budget-friendly ways to refresh a room. With the right approach, you can give dated walls or floors a modern look without replacing anything. This guide explores inspiration, benefits, and practical steps for painting tiles in your home.
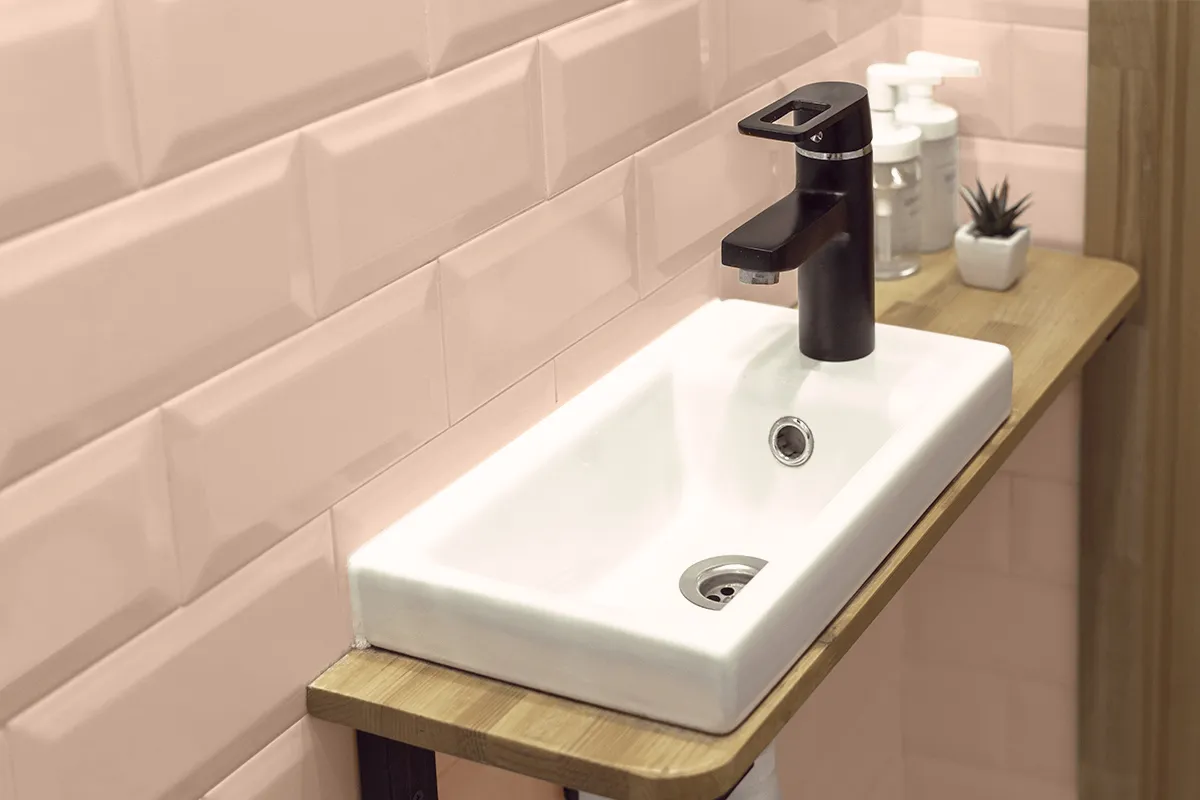
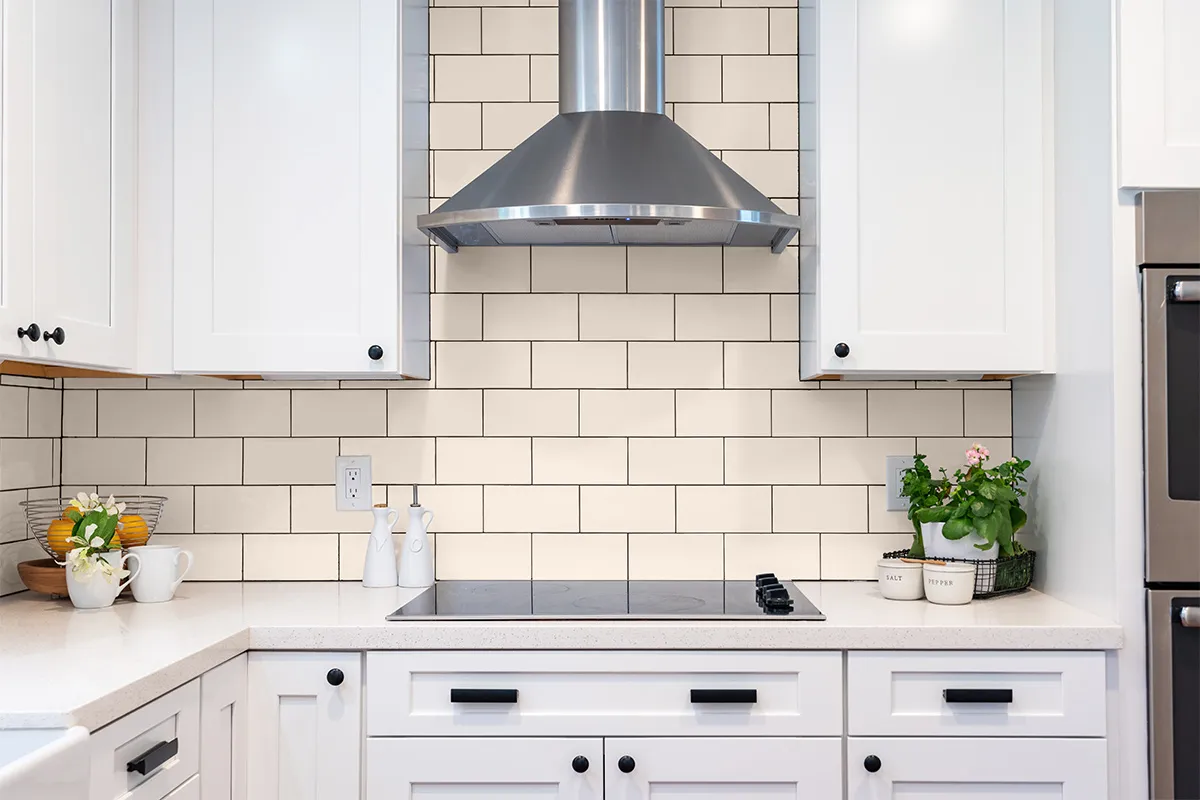
Before & After Inspiration
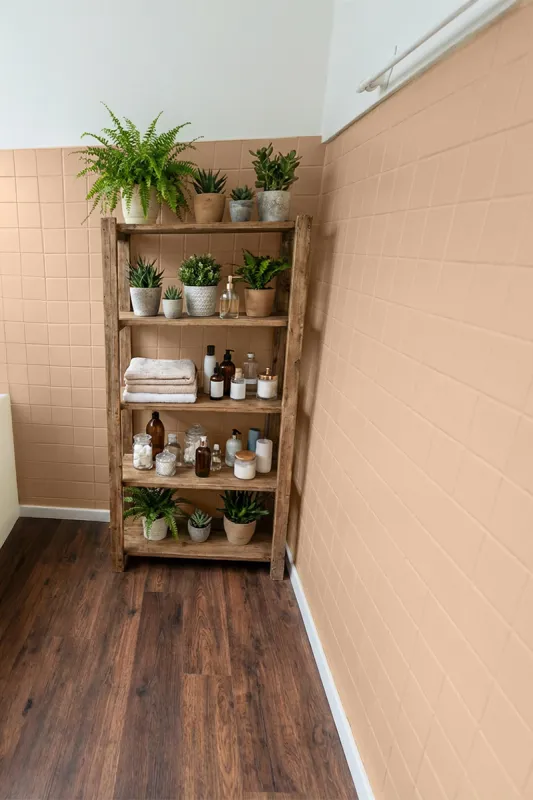
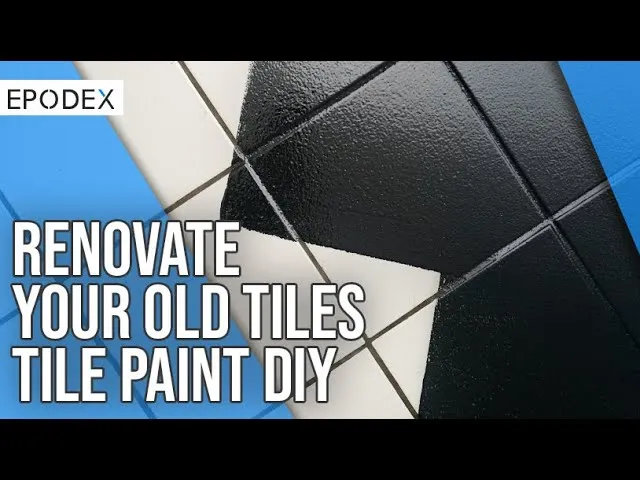
Painting tiles can dramatically lift bathrooms, kitchens, and living areas. From crisp whites to bold colours, the results are often striking. DIYers frequently share painting tiles before and after photos that show how outdated tiles can be transformed into clean, modern surfaces.
How It’s Done
Watch the videos down below to learn more about the most frequently asked topics. Inspiration, tips, how to achieve a flawless result – everything you need to know is here!


Painting Tiles – Step-by-Step Guide
What do I need to paint the tiles?
You will need:
- Pre-Cleaner
- Brushes
- Paint rollers
- Sandpaper and sanding block
- Tile paint
Step 1: Clean and Roughen the Surface
Before you start working on the tiles, you need to clean the surface thoroughly. It is very important that no dirt particles, grease, or adhesive residues remain on the tiles. Use EPODEX Pre-Cleaner for cleaning.
Next, sand the tiles with sandpaper to mattify them, then wipe away the dust.
Step 2: Identify Damages
After cleaning, you should inspect the tiles and joints for damage. Take a close look at the surface and mark any cracks, gaps, or holes so you don’t overlook anything when repairing them. The best way is to place something on the damaged spots that can be removed without leaving residue (e.g., a coin or masking tape).
Step 3: Repair If Needed
If you find damaged joints, you can repair them with grout whitening products or, for larger damage, with grout compound. Follow the instructions on the packaging carefully and wipe away any excess material immediately after application. Remove the silicone with a utility knife.
You can fill small cracks in the tiles with liquid plastic. For larger cracks, use self-leveling compound. If a tile is severely damaged, you can replace it and fix the new tile with tile adhesive. Wait until everything has fully cured or dried. After the repair work, make sure to clean everything thoroughly again.
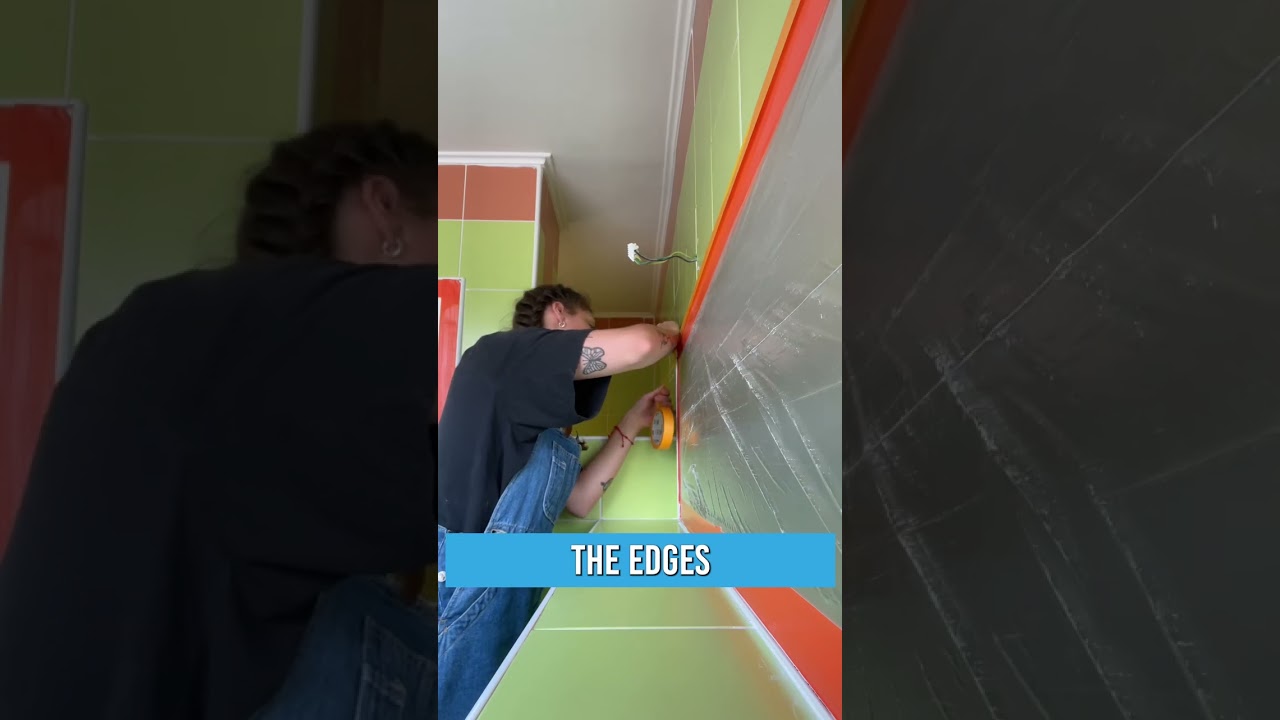
Step 4: Apply the Base Coat
Observe the necessary safety precautions and wear clothing that covers your body, a dust mask, gloves, and ensure good ventilation in the room. Then, paint the surfaces with a paint roller and use a brush for the corners. The first coat does not need to be fully opaque; it should be even and not too thick. Let the paint layer dry.
Step 5: Apply the Second Coat
Once the first coat is fully dry, you can apply the second coat. Apply it in the same manner as the base coat. Depending on the desired colour tone and opacity, you may need to paint an additional coat. Very dark tiles often require three coats before they achieve a lighter tone and nothing shows through anymore.
Step 6: Let Cure
Allow the tiles to cure and avoid walking on or placing any load on the surface during this time. Once cured, your newly painted tiles are finished and durable.
Shop Our Best Sellers
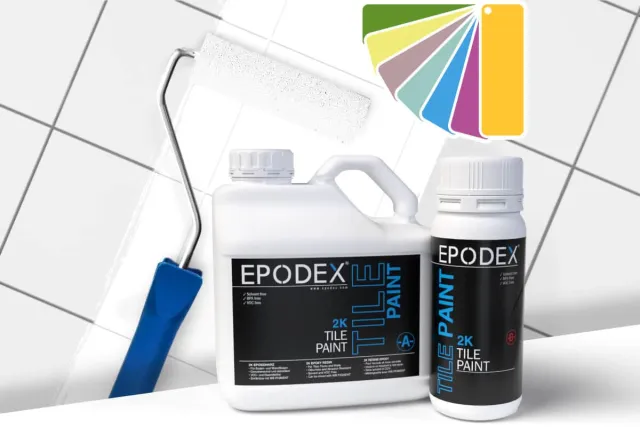
For heavily used wall and floor tiles as well as tiles with permanent water contact.
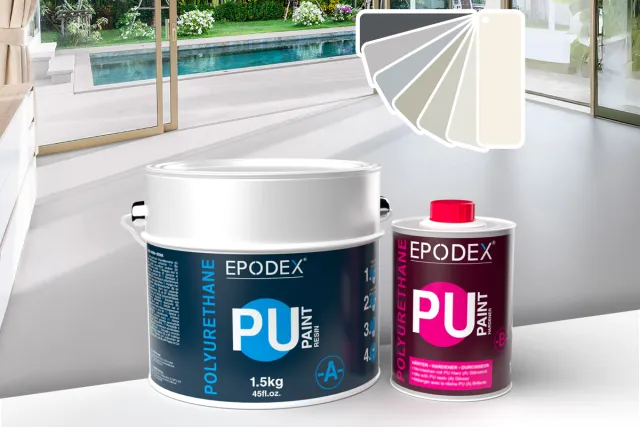
Suitable on concrete, wood, tiles, metal, ceramic, glass, and more.
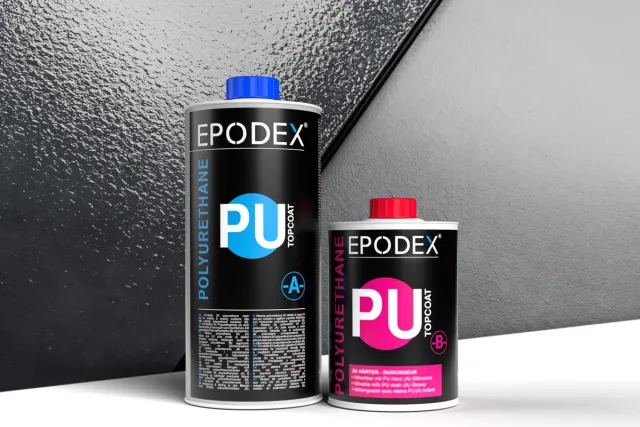
Suitable on microcement, epoxy resin, concrete effect, metallic brush effect, concrete, wood, parquet, wooden floorboards, metal, ceramic, glass, and more.
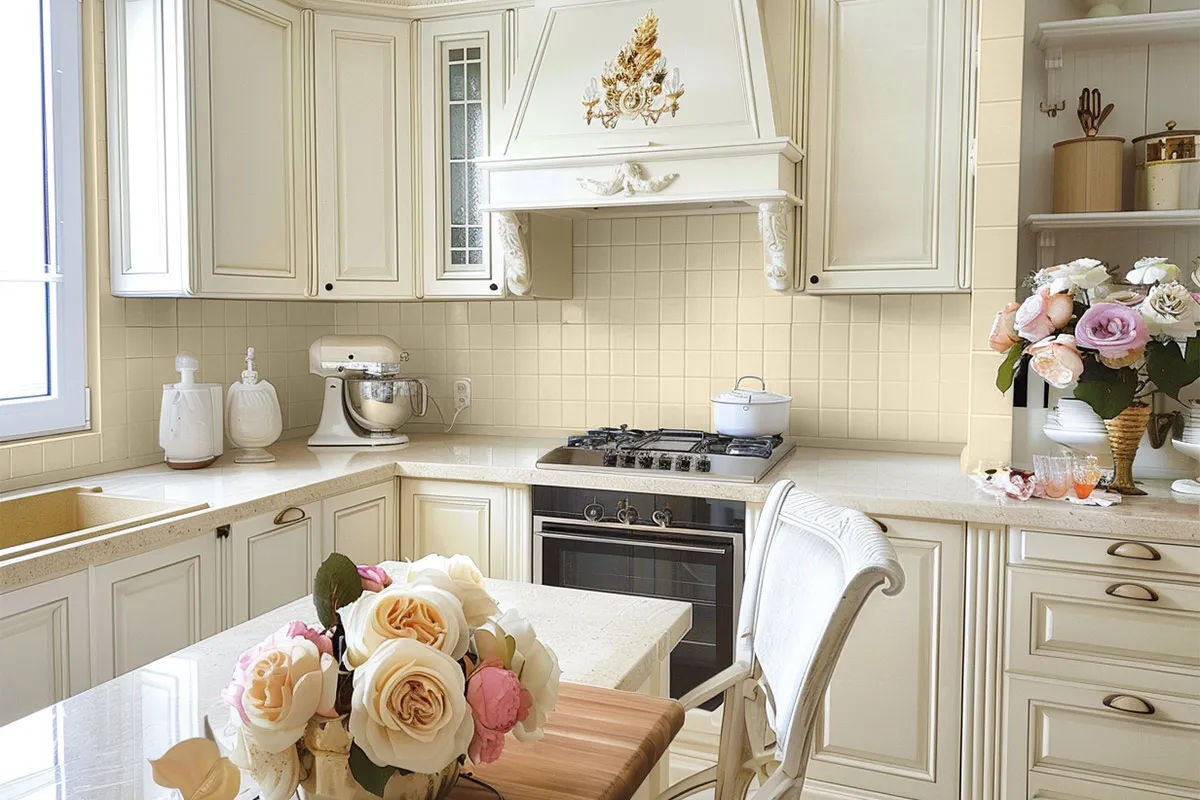
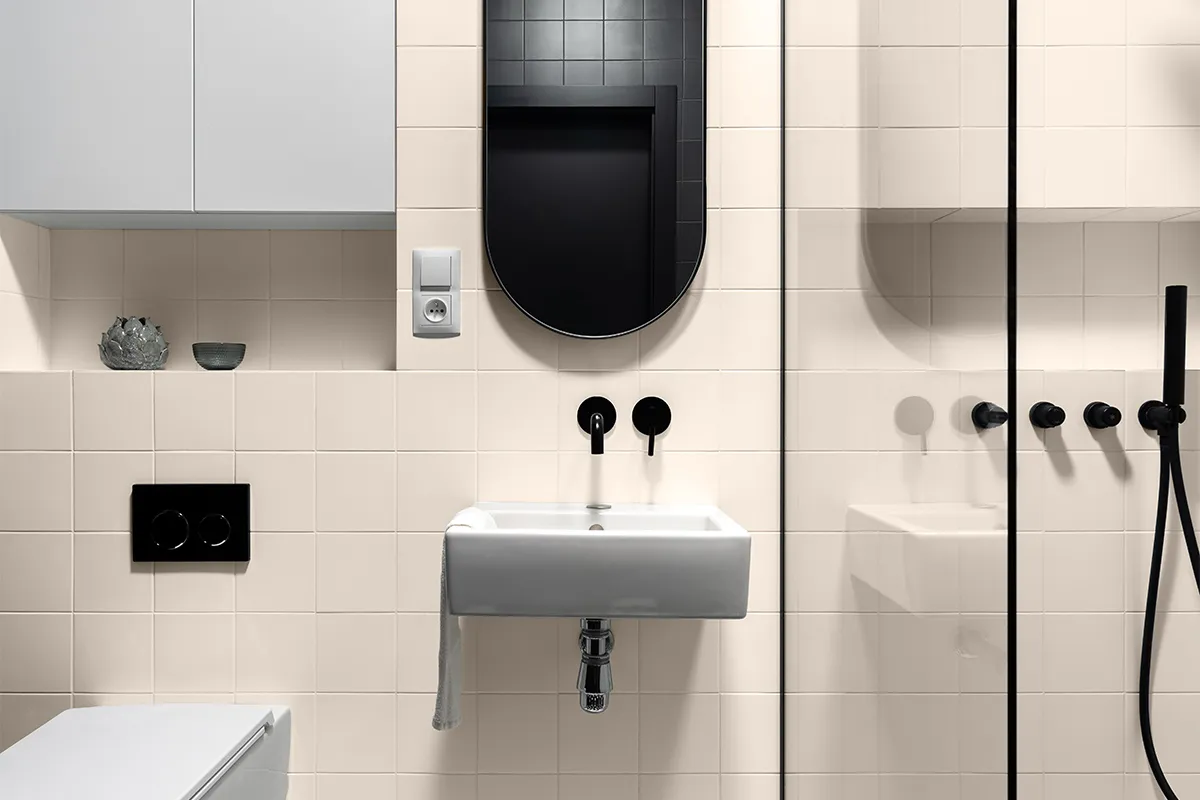
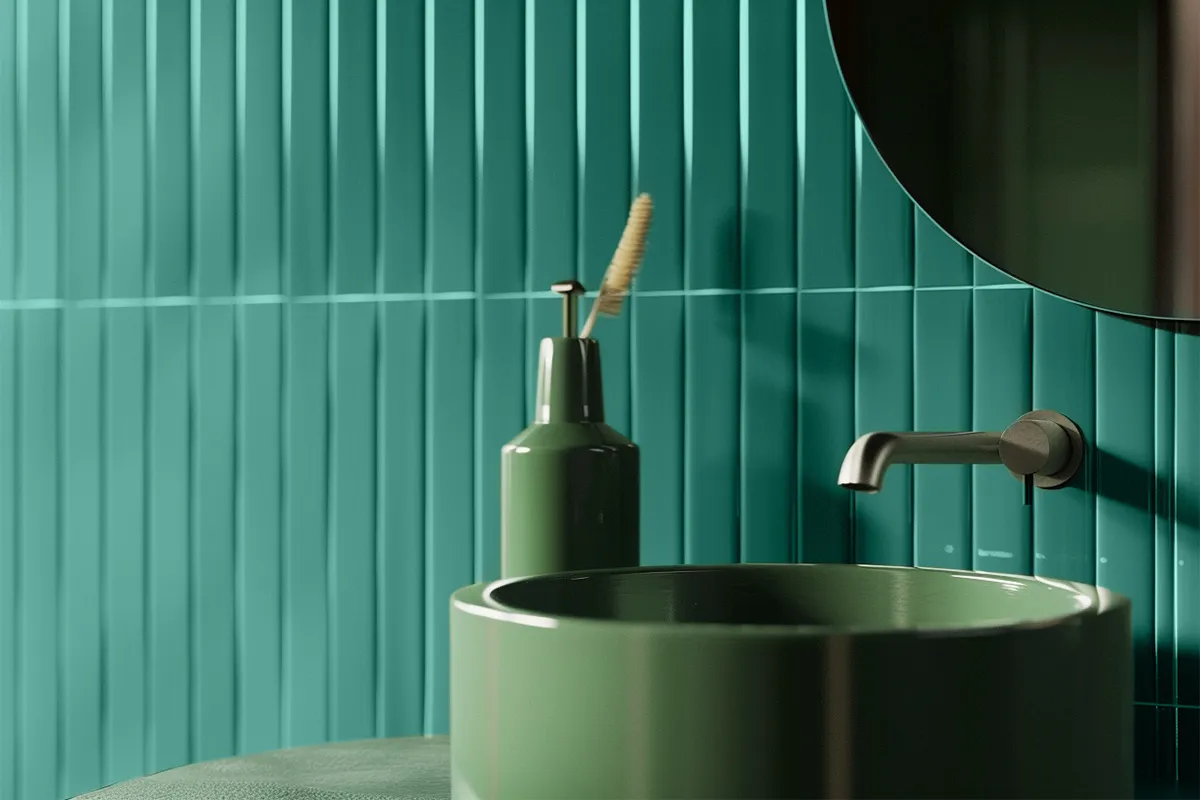
More Design Inspiration
Whether you prefer minimalist neutrals or vibrant colours, painting tiles opens the door to endless creativity. Many homeowners explore patterns, stencilling, or contrasting borders to tailor their décor. Social media is full of ideas showcasing how easy and effective colouring tiles can be.

FAQ - Questions & Answers about Painting Tiles
Why Choose Painting Tiles?
It’s a fast, affordable way to modernise spaces, perfect for painting bathroom tiles without a full renovation. This paints also work for painting floor tiles in low-to-heavy traffic areas and it’s great for colouring tiles to match new design themes.
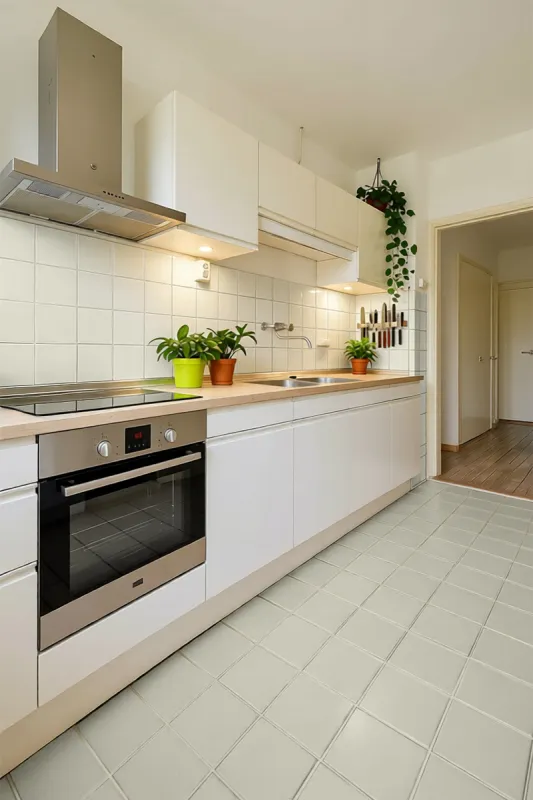
Can you paint over tiles in any room?
Yes. Painting over tiles works well in most rooms as long as the tiles are clean, dry, and prepared properly. Bathrooms, kitchens, and hallways are common choices.
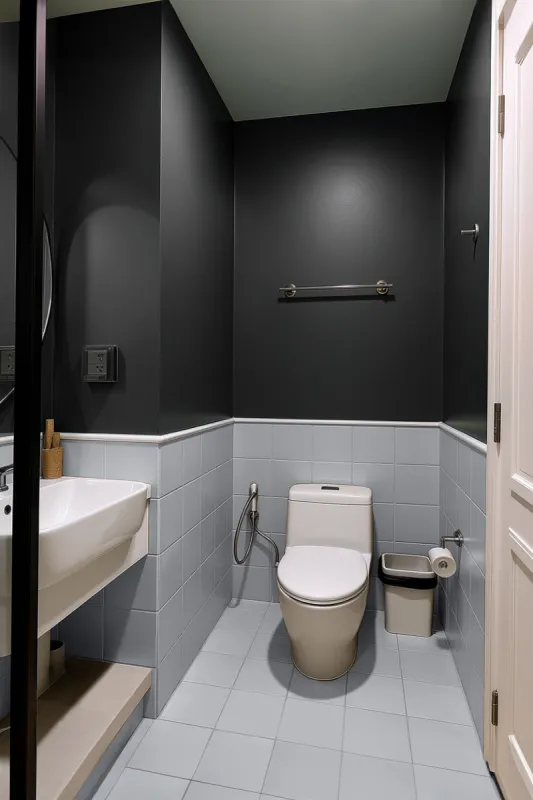
Does painting bathroom tiles last long?
With proper cleaning, and durable paint, painting bathroom tiles can last several years. Adequate ventilation and curing help retain the finish.
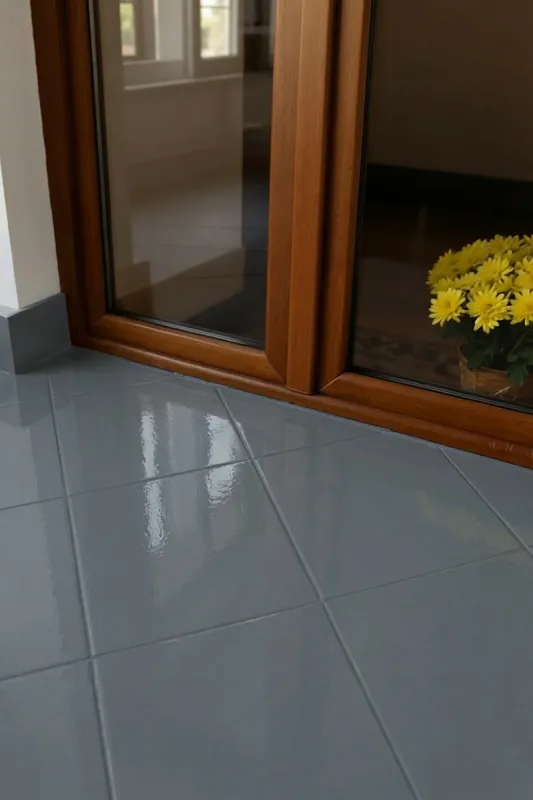
Is painting floor tiles a good idea?
Painting floor tiles is effective indoors and outdoors. Using hardwearing paint and sealing the surface increases durability and longevity.
How long does painting tiles take?
From preparation to final coat, painting tiles usually takes one to two days. Drying and curing times vary, so avoid heavy use until the paint has fully set.
Can I also paint exterior tiles?
Yes. PU paint is suitable for exterior tiles because it forms a highly durable, weather-resistant coating. It adheres well to outdoor surfaces and withstands rain, UV exposure, and temperature changes.
Conclusion
Painting tiles is a cost-effective and creative way to refresh any space. With careful preparation and the right products, you can achieve long-lasting, beautiful results.

STEVE SMITH
Any questions? I am glad to help!