Painting a Kitchen
Guide and Products for Your Kitchen Renovation
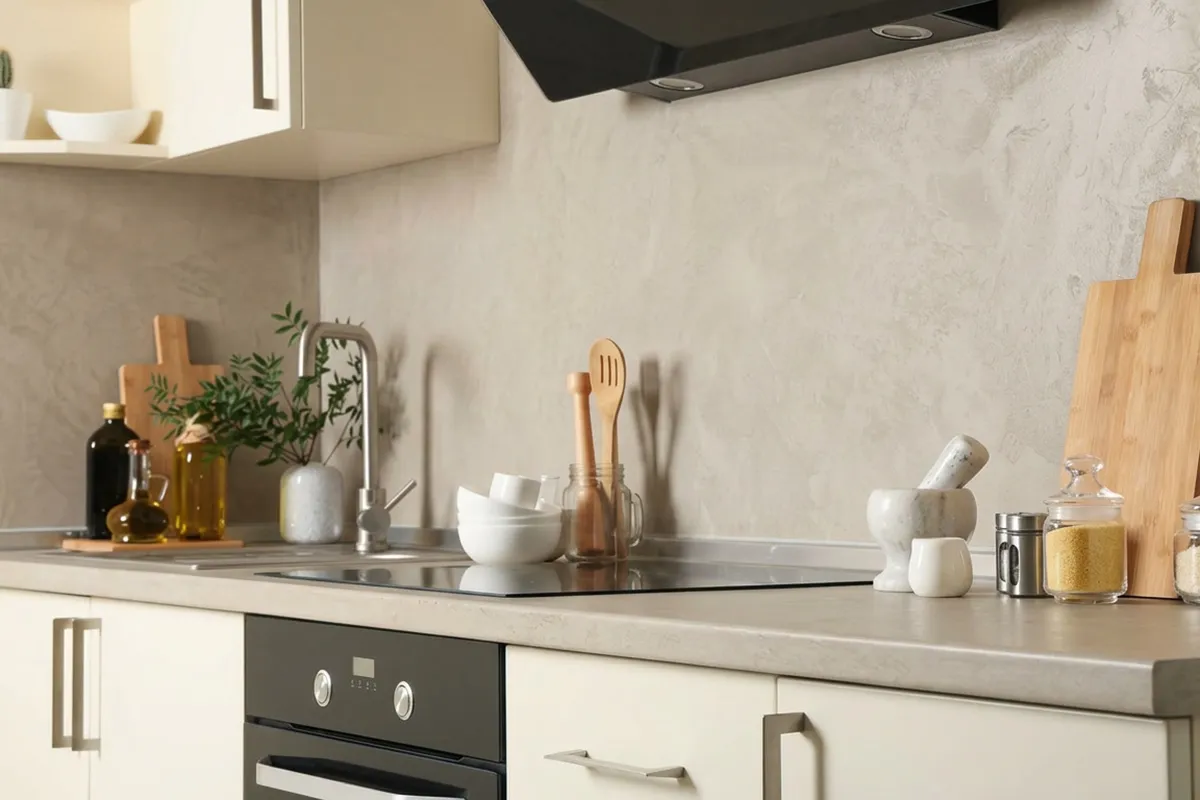
Painting a kitchen is one of the most effective ways to give your kitchen a fresh new look – whether it's walls, furniture or tiles. In this guide, you'll discover everything about the right paint and technique for every surface when painting a kitchen.
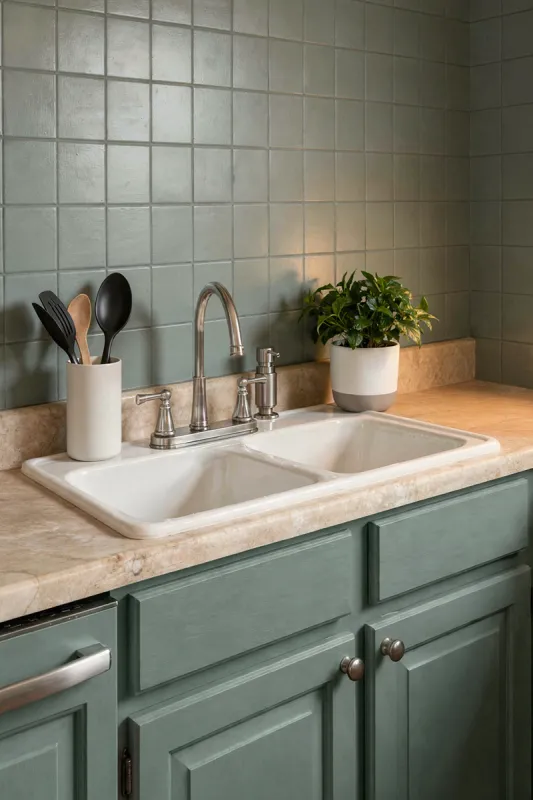
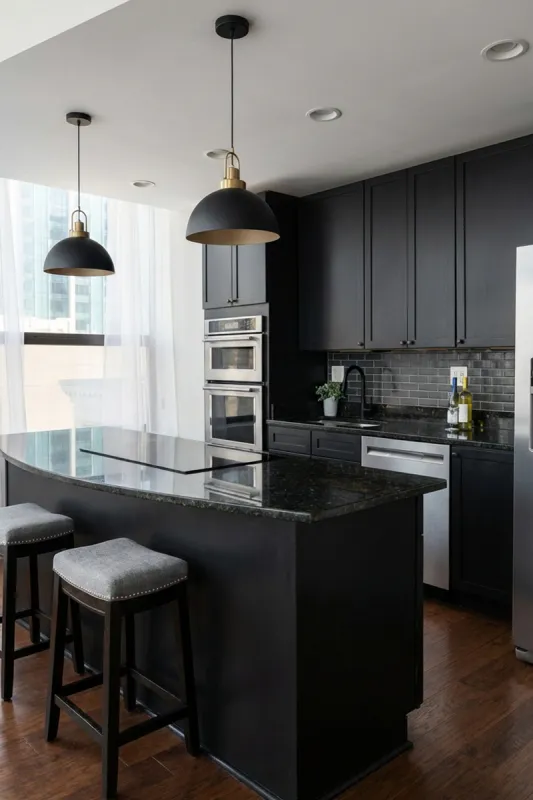
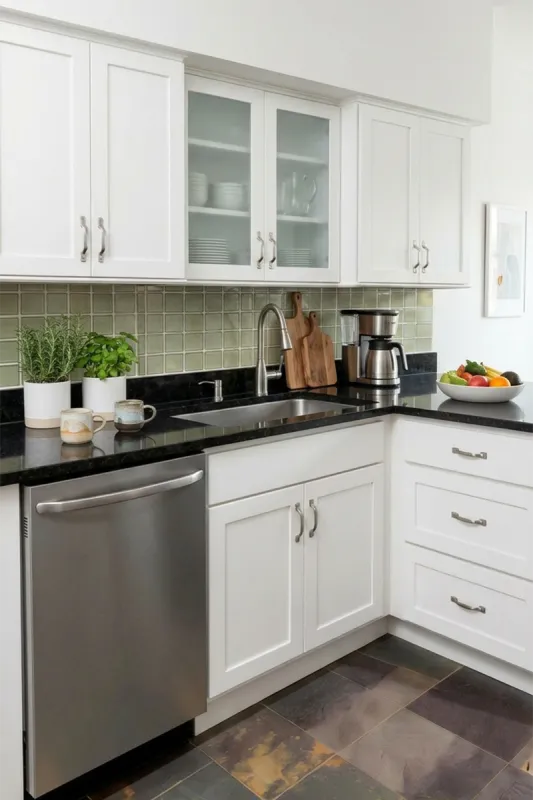
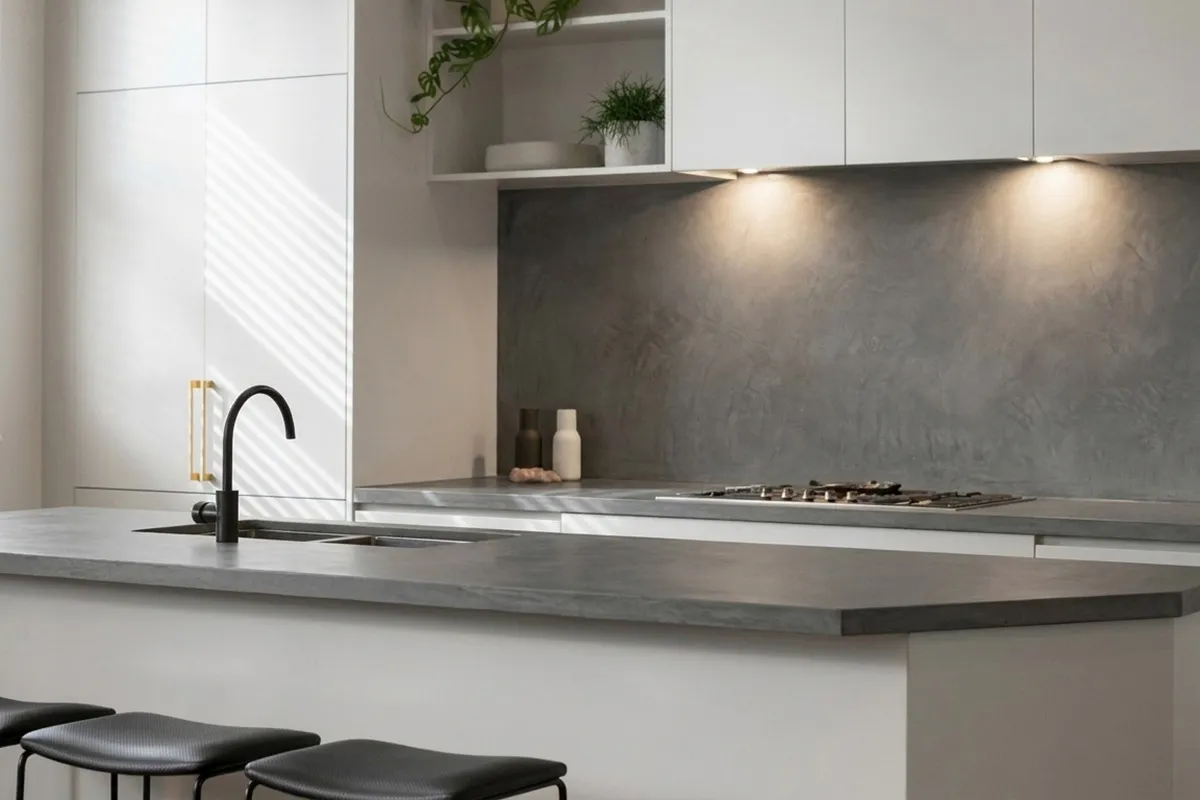
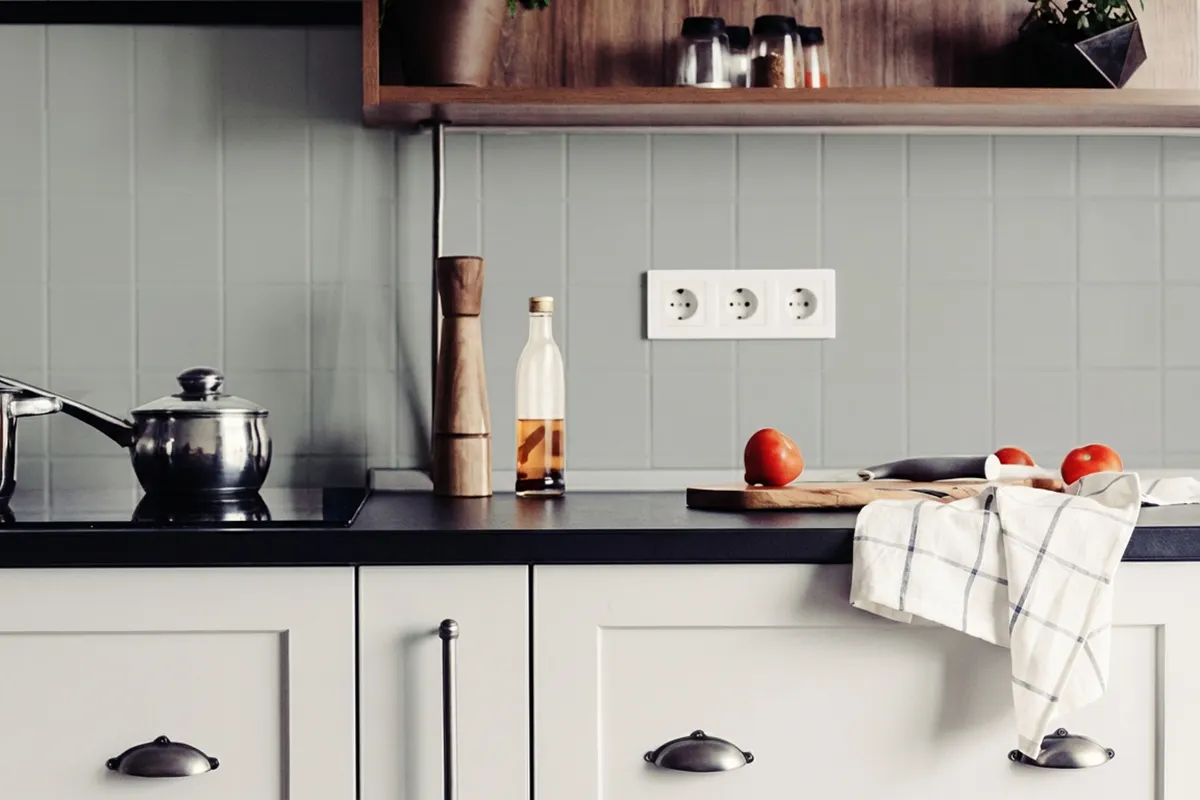
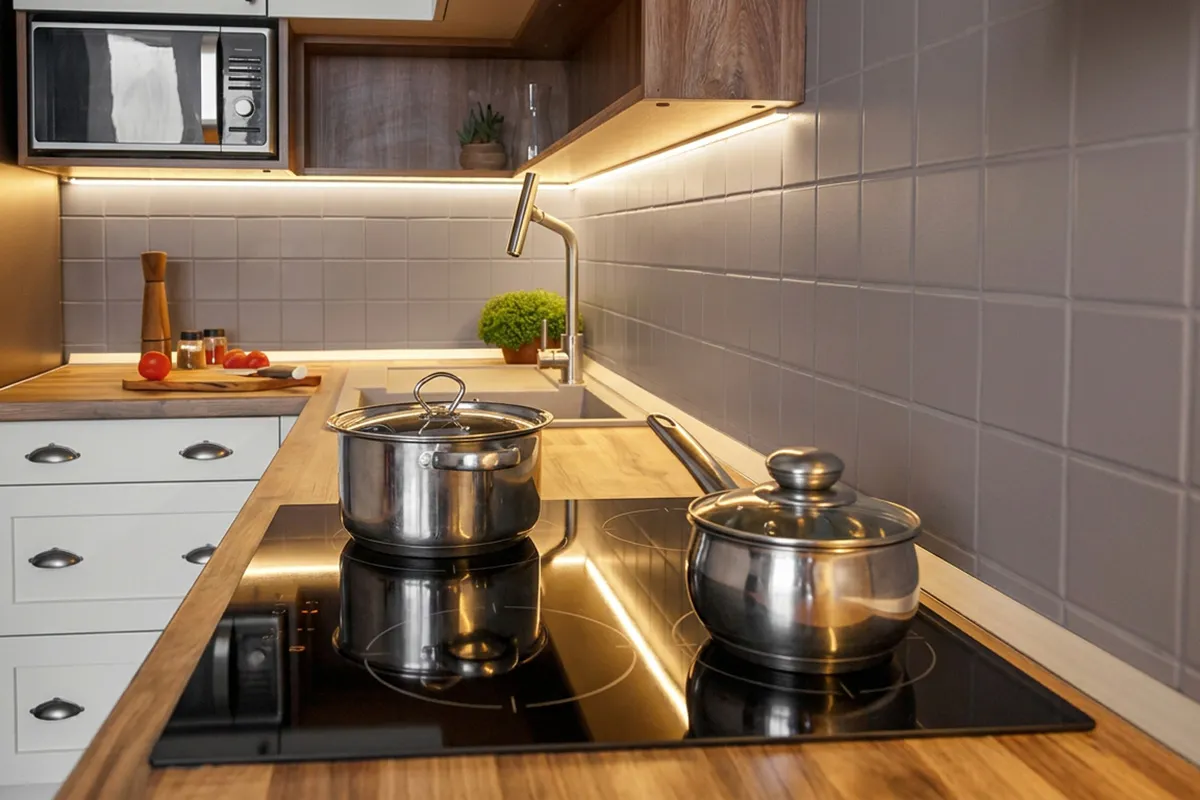
Before & After Inspiration

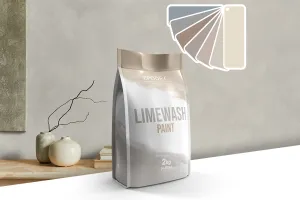
Which Kitchen Paint Are You Looking For?

For heavily used wall and floor tiles as well as tiles with permanent water contact.
Suitable on bricks, render, plaster, drywalls, stones, concrete, wood, fabrics, wallpaper, and already painted walls.
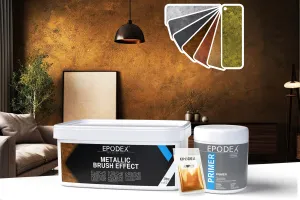
Complete Set incl. Primer and metallic effect paint to achieve a modern metallic finish on your walls.
Paints for Walls, Furniture and Tiles in the Kitchen
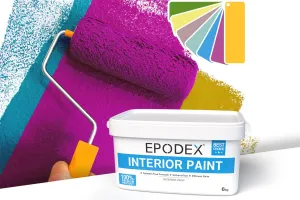
Interior Paint is a high-quality interior paint for smooth, long-lasting wall surfaces, ideal for painting kitchen walls away from the splash zone. Acrylic Protect is an acrylic-based furniture paint with a satin finish, perfectly suited to painting kitchen furniture – easy to maintain and durable on wood and MDF. Fliesenlack 2K is a two-component, epoxy-based paint for tiled floors, kitchen splashbacks and wet areas, offering high resistance to moisture, heavy wear and cleaning agents.
Alternative Surfaces: Microcement and Epoxy Resin
For those who wish to go beyond traditional painting a kitchen, microcement and epoxy resin offer exciting alternatives. Microcement can be applied to kitchen walls, beneath the worktop and even onto the worktop itself, creating a seamless, modern concrete finish. For kitchen worktops, epoxy resin provides a particularly durable and bespoke solution – available in transparent, metallic and coloured variations. Please note that microcement must be sealed with a PU finish and epoxy resin is heat-resistant up to 60 °C once fully cured.
Why Painting a Kitchen Is the Right Choice
Painting an old kitchen is considerably more affordable than a complete kitchen renovation whilst offering maximum design freedom. Painting kitchen walls with emulsion paint quickly refreshes them, whilst Acrylic Protect allows you to paint worn cabinets and fronts, making them gleam like new. For kitchen tiles, Floor & Wall Tile Paint 2K provides a durable, water-resistant surface – whether on the floor or as a kitchen splashback. All paints are water-based or low-odour, so you can use the kitchen again quickly. If you're looking for painting kitchen walls colour ideas, you'll find limitless possibilities with the variety of colour shades and finishes – from matt to silk to gloss.

Discover Our Kitchen Coatings
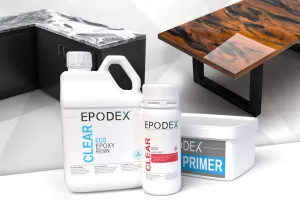
Shop epoxy resin for worktops (countertops), tables, counters, etc.

Microcement of premium quality for wall surfaces of all kinds indoors and outdoors. Living areas, commercial spaces, facades, and more.

Microcement of premium quality for floor surfaces of all kinds indoors and outdoors. Living areas, commercial spaces, stairs, and more.

Premium quality microcement for all types of indoor and outdoor tiles. For wall tiles and floor tiles in kitchens, bathrooms, hallways and more

Microcement of premium quality for objects of all kinds. Ideal for tables, kitchen countertops, islands, doors, lamps, and more.
More Design Inspiration
Let yourself be inspired by further design ideas and discover the diverse possibilities of painting a kitchen. From bright, friendly white tones through modern grey tones to bold accent colours – the right choice of colour transforms every kitchen into a space to feel at home. Browse through image galleries and project examples to find the perfect inspiration for your kitchen project.

How do I paint the kitchen walls properly?
First, protect all areas that should not be painted with masking film and painter's tape. Mix the wall paint thoroughly and add your WB pigment – only the Polar White variant is already pre-tinted. Apply the paint and allow it to dry. We recommend approximately two coats. When painting a kitchen, you should paint the ceiling first and then the walls. Remove the painter's tape before the paint has dried completely.
How do I paint kitchen cabinets and cupboards with Acrylic Protect?
Sand the surface to improve adhesion. Ensure the surface is clean and grease-free – use a pre-cleaner if necessary. Mix the paint thoroughly and add the supplied WB pigment. Apply one coat with a brush or foam roller and allow it to dry for approximately 8 hours at 20 °C. We recommend approximately 2 coats for an optimal result.
How do I paint kitchen tiles when painting a kitchen?
Sand the tiles evenly (P80–P120) – even if you want to paint a high-gloss kitchen, it is sufficient to sand until visible scratches appear. Mask off areas that should not be painted. Clean the tiles with a pre-cleaner to remove dust and grease – remove all silicone joints. Mix 2K resin tile paint (A) and hardener (B) in a ratio of 5:1 and add the WB pigment. Apply the first coat in a cross-hatch pattern with the roller and leave it to dry for approximately 12 hours at 20 °C. Apply at least two coats.
How long does 2K tile paint need to dry when painting a kitchen?
2K tile paint requires approximately 12 hours at 20 °C and 65% relative humidity to become touch-dry. A painted kitchen floor is ready to walk on after at least 24 hours. 2K tile paint is fully cured after 7 days at 20 °C. At lower temperatures or higher humidity, the drying time will be extended.
Can I apply tile paint over silicone joints when painting a kitchen?
No, tile paint does not adhere to silicone. We recommend removing all silicone joints before painting. Tile paint can, however, be applied over acrylic joints without any problems. With 2K tile paint, it is especially important to remove silicone joints completely, as otherwise the paint may lift at the edges and water could get behind the paint layer.
What is the minimum temperature required for painting a kitchen?
Wall paint, Acrylic Protect and tile paint must be applied at a minimum of +8 °C. The components of two-component tile paint should be at least 15 °C. The optimal application temperature for all products is 20 °C. Applying below the minimum temperature can lead to problems with opacity and drying.
How do I coat my kitchen worktop with epoxy resin?
We recommend applying the clear epoxy resin in two coats. The first thin coat serves as a primer. Mix resin (A) with hardener (B) in a 2:1 ratio by weight and apply the primer evenly using a foam roller. Allow it to cure. Then mix the main coat and apply it across the entire surface using a squeegee or foam roller. The coating will be touch-dry after approximately 20 hours and fully cured after 7 days.
Is the epoxy resin worktop heat resistant?
After complete chemical curing, epoxy resin is heat resistant up to 60 °C. We nevertheless recommend using trivets or a mat when placing hot pots or pans on it. By applying a 2K PU topcoat, the heat resistance can be increased to up to 80 °C.
How do I apply microcement in the kitchen?
Ensure the substrate is stable, dry and free from dirt and unevenness. Prime with the appropriate primer. Mix the microcement powder with liquid component B in a ratio of 100:20 and add 2% WB pigment. Apply the mixture thinly with a trowel and leave to dry. Apply a second coat within 24 hours. For wet areas and worktops, seal with PU Finish.
Painting a kitchen which paint – is there a transparent protective paint?
Yes, our 2K PU Topcoat can be used as a transparent protective coat on a wide variety of surfaces in the kitchen – on furniture, tiles, microcement and epoxy resin. It is available in matt and gloss finishes. Please note that the untinted variants of Acrylic Protect and Wall Paint are not transparent – they have a milky-white appearance.

STEVE SMITH
Any questions? I am glad to help!